Start Testing
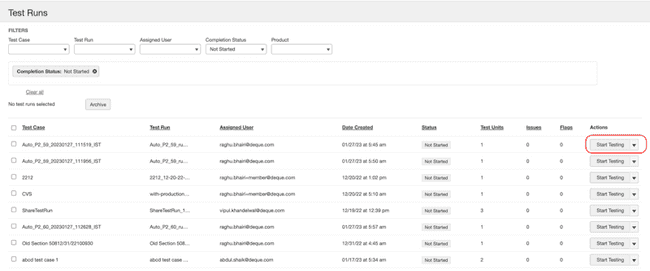
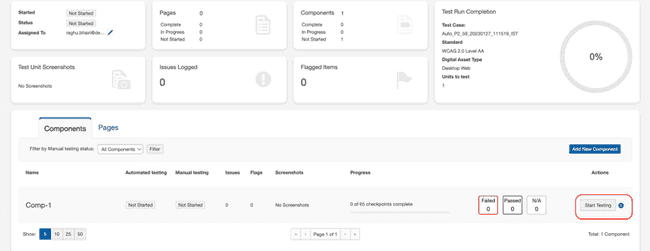
When test runs have been established, but have not yet been started, they can be started by clicking the Start Testing button in the Actions column. This action causes the Test Run Overview page to appear, which also displays Start Testing buttons within sections for each component or page to be tested. After at least one has been clicked from the Test Run Overview page, the status will change from 'Not Started' to 'In Progress' and the Start Testing button in the Actions column of the Test Runs screen will change to read Resume.
To start testing a test run from the Test Runs screen:
-
On the Test Runs page, in the Actions column, activate the Start Testing button within the desired test run row.

The Test Run Overview screen appears, which displays sections for each component or page to be tested (on the respective Components and Pages tabs). These each have an individual Start Testing button.
Note: The Start Testing button will only appear in the Actions column when the Status column displays the ‘Not Started’ state. This typically represents a new test run that has been created and assigned to a user, but none of its individual components or pages to be tested have had their tests started yet.
-
On the Test Run Overview screen, within the desired component or page section, activate the Start Testing button.

For more about the information and action options available on the Test Run Overview page, see Test Run Overview.
