
Deleting Projects
Not for use with personal data
Once you have configured your projects, administrators can use the Manage Projects page to view, edit, and delete the configured projects, and update defined Dimensions. You can also add new projects using this page.
To delete a Project:
-
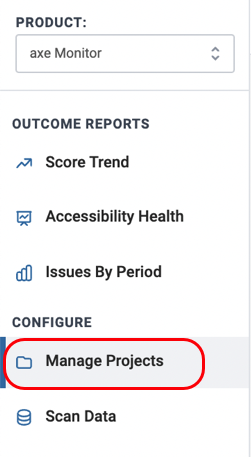
Select the Manage Projects option under the Configure section on the left-hand corner of the screen.
-
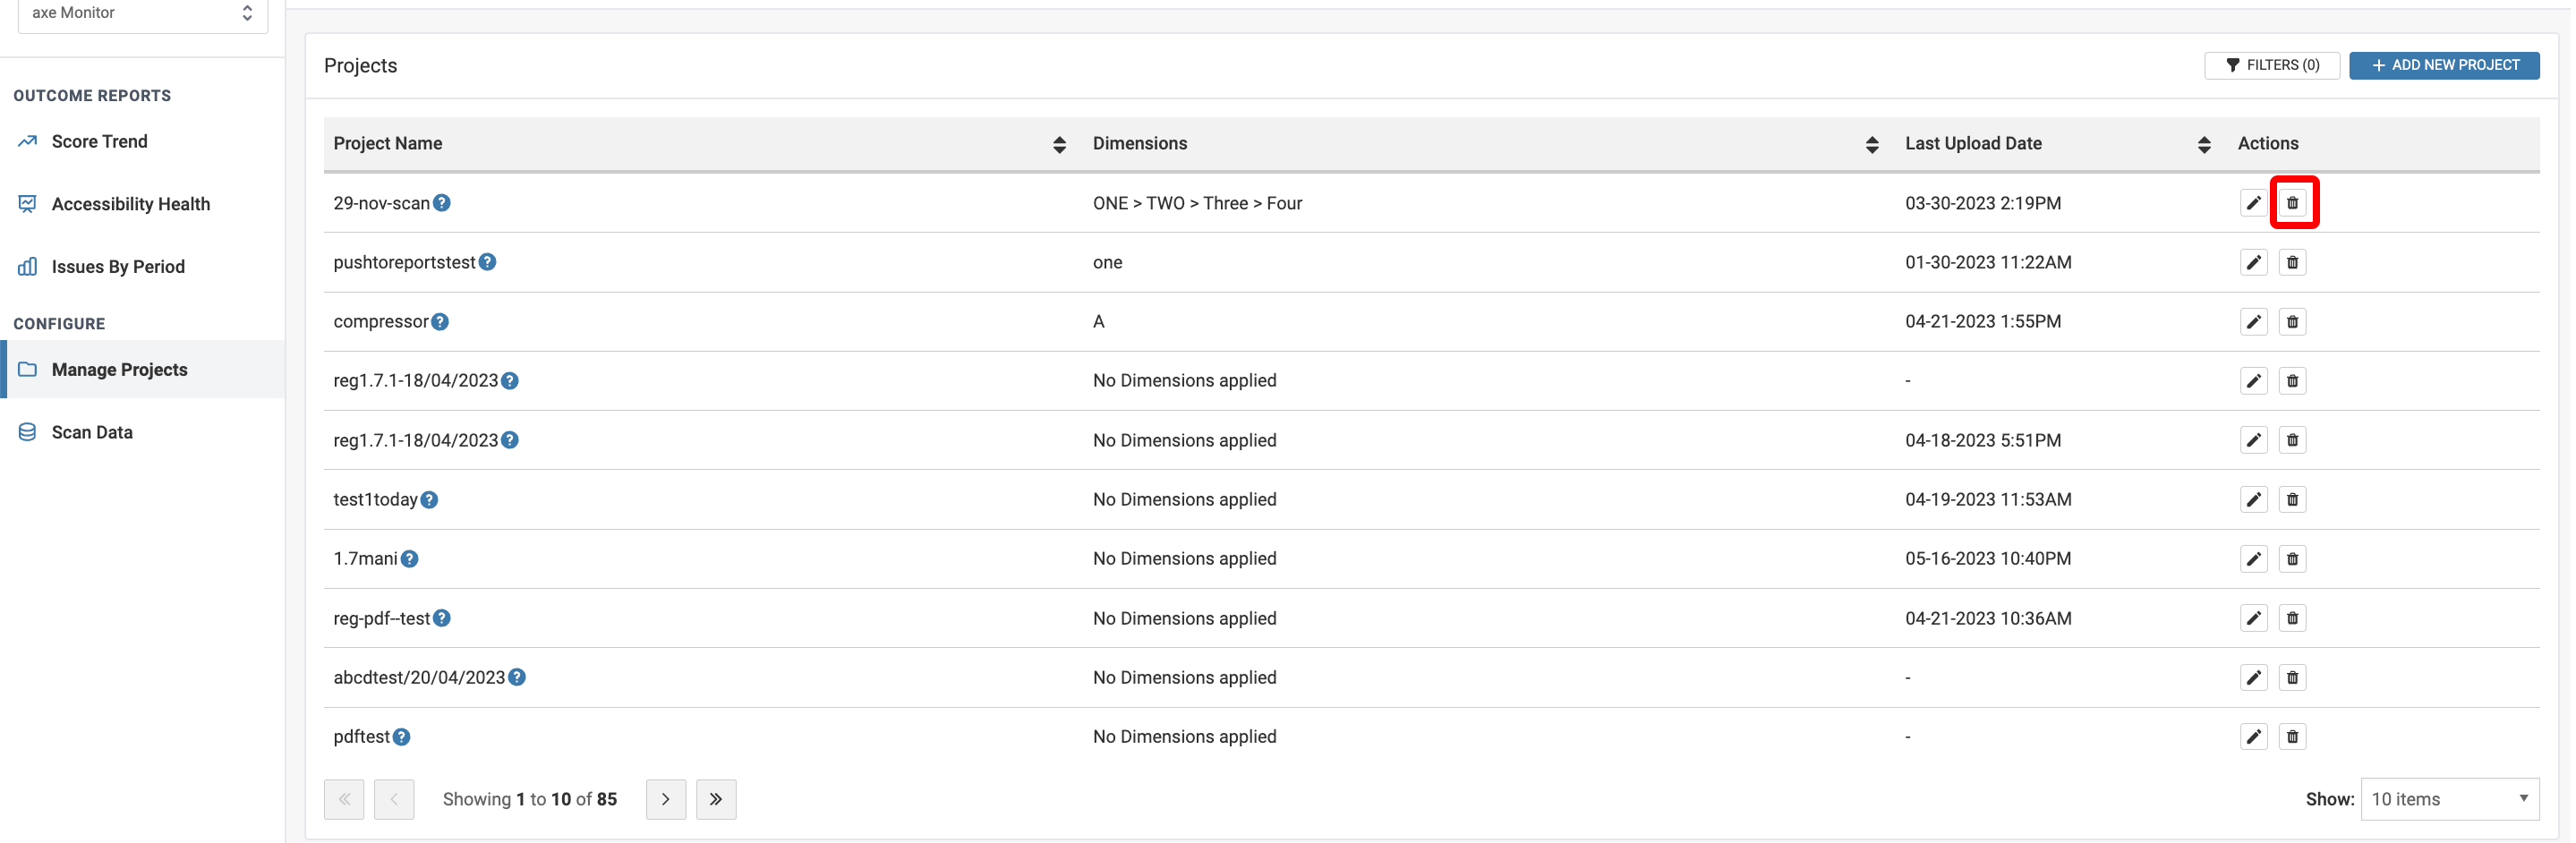
In the Configure Projects screen that appears, to delete the project from the configured projects, click the Delete button (bin icon) under Actions column on the table for the project you want to delete.
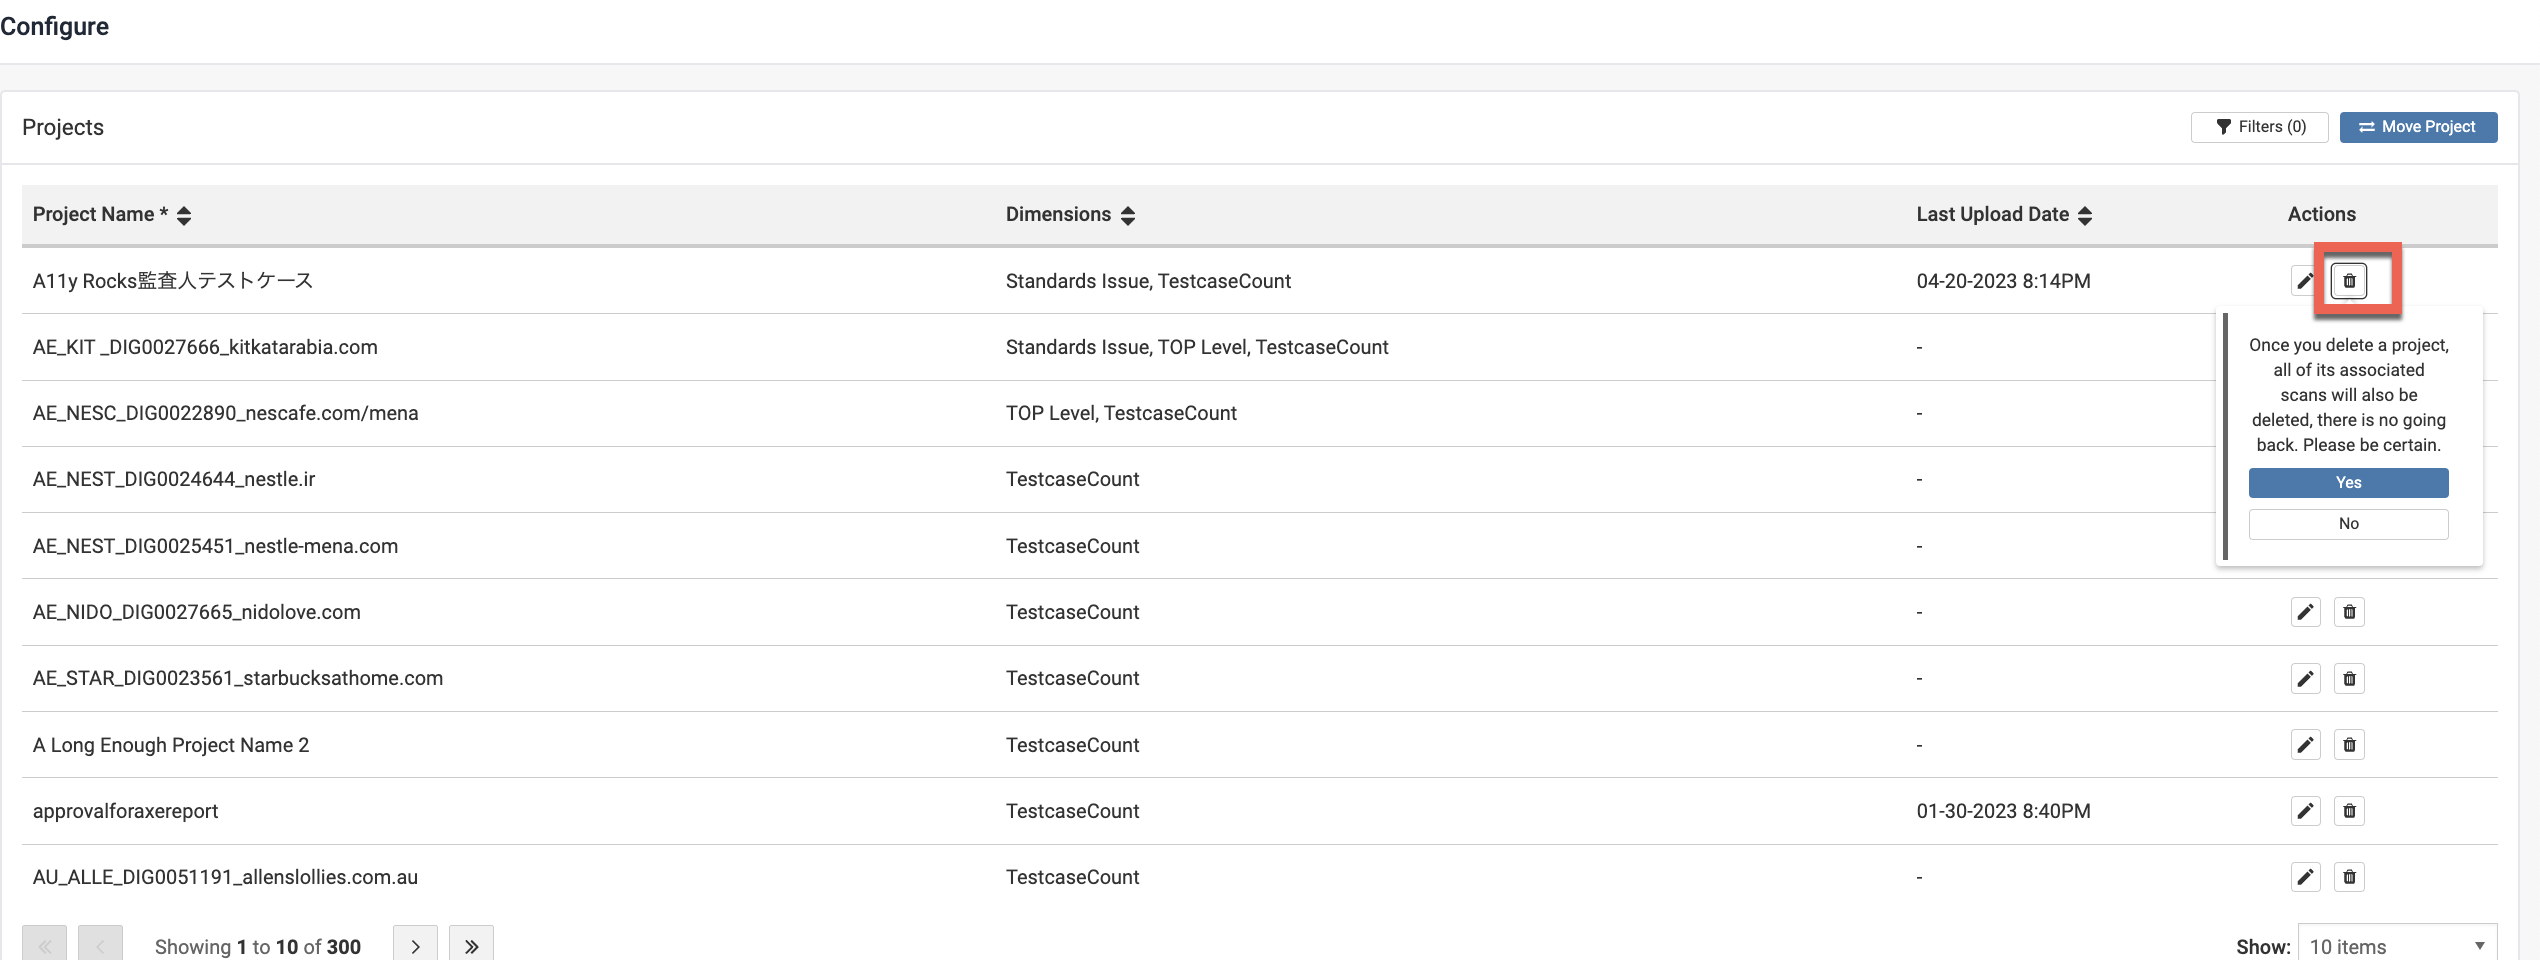
A confirmation message pops up informing the user that all associated scans of the project also get deleted along with the project. If you want to continue to delete the project, use the Yes button. This deletes the project along with all the associated scans.
- To edit an existing project, click the Edit button under the Actions column. This opens the Edit Projects dialog box where project details can be modified. For more information, see the topic Edit Projects.
- To add a new project, click the Add New Projects button on the Manage Projects screen. For more information, see the topic Configure Projects.