Editing Dimensions in Scripts
Not for use with personal data
Administrators can also edit the Dimensions they’ve defined for the scripts, as needed due to changes in organizational structure. This feature is also useful to track accessibility issues reported by various teams that fall under different accountability structures.
To edit Script Dimensions:
-
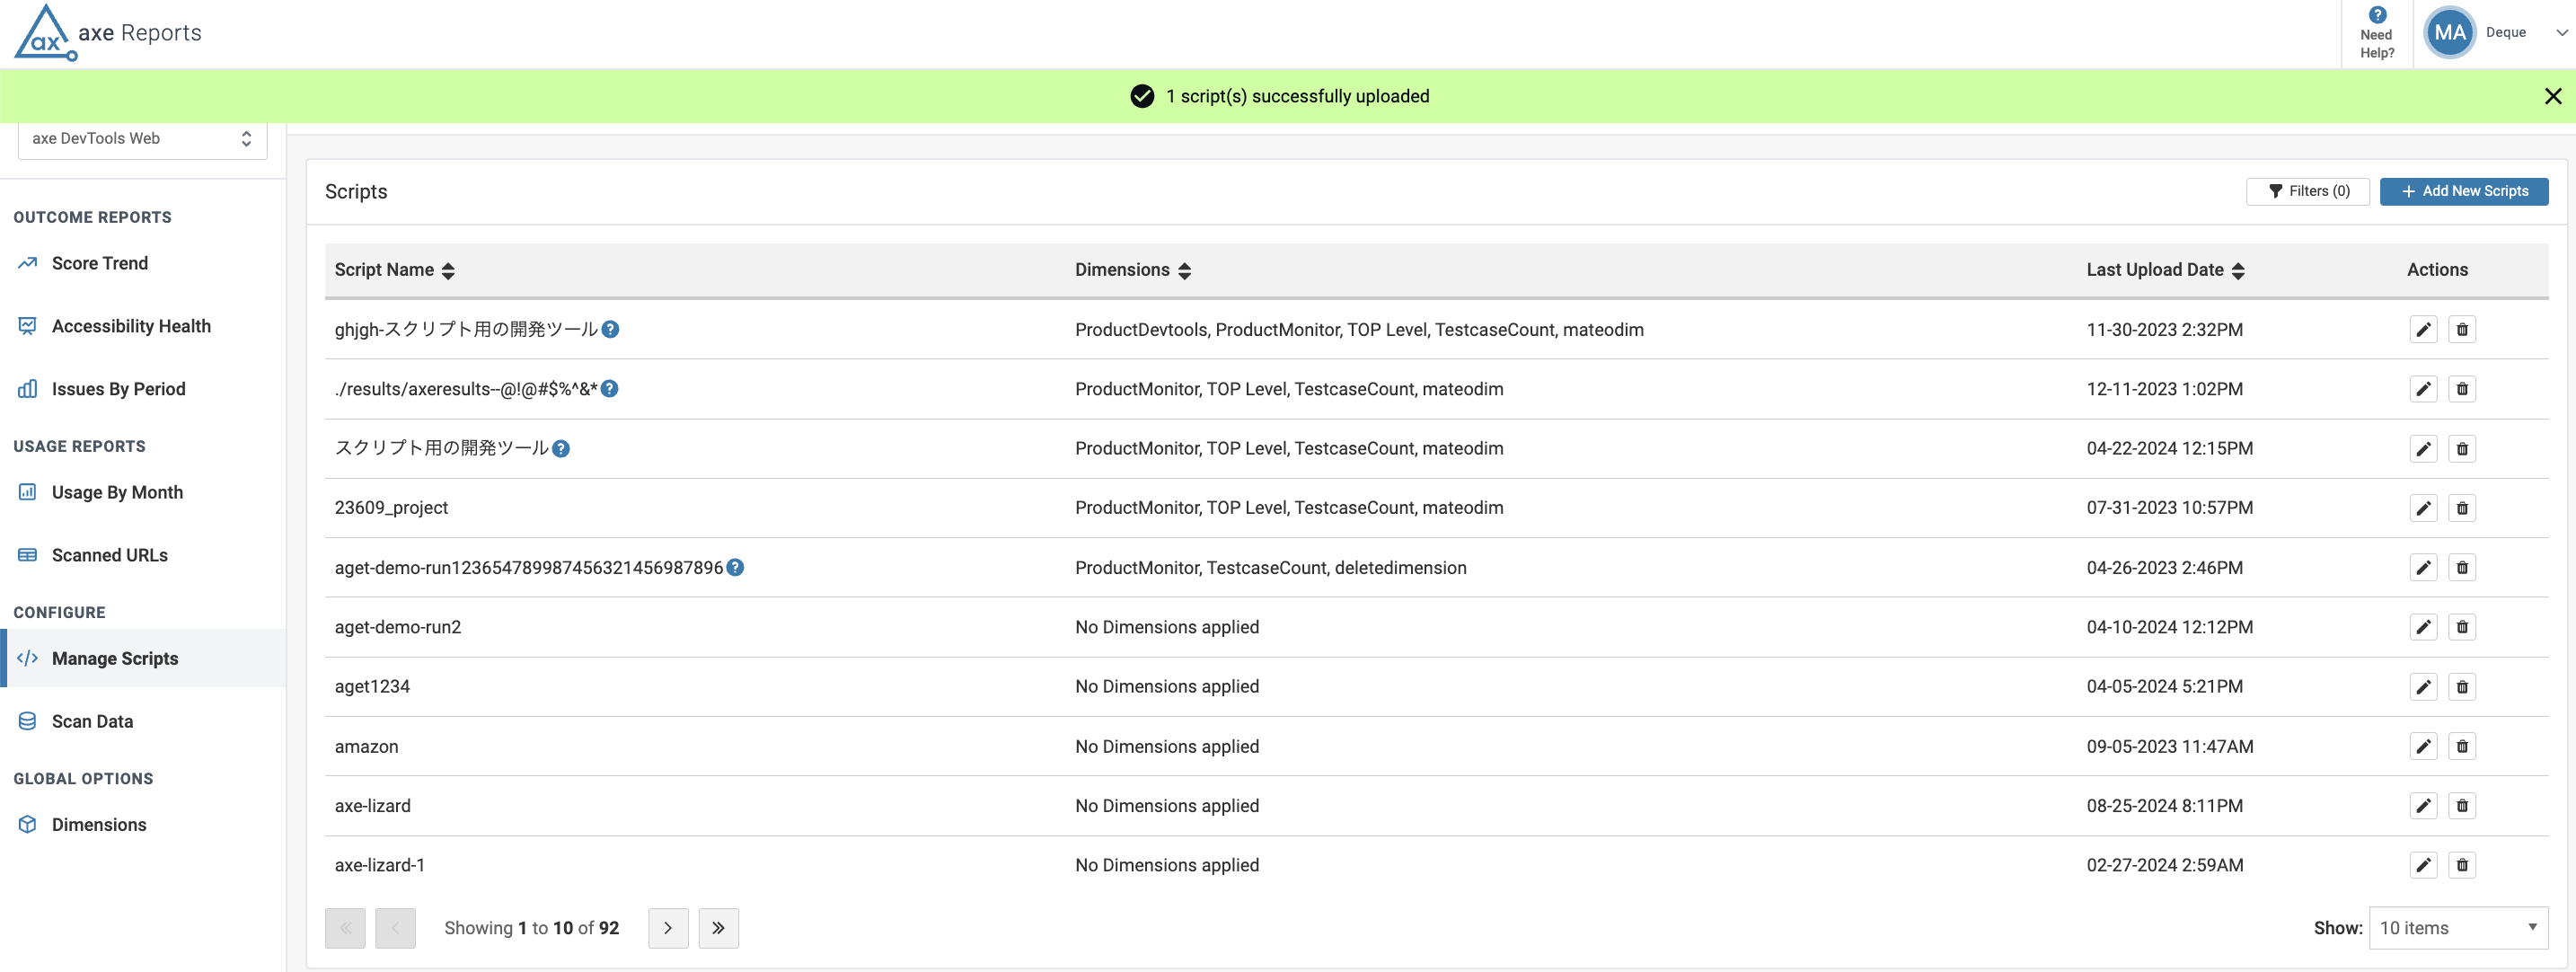
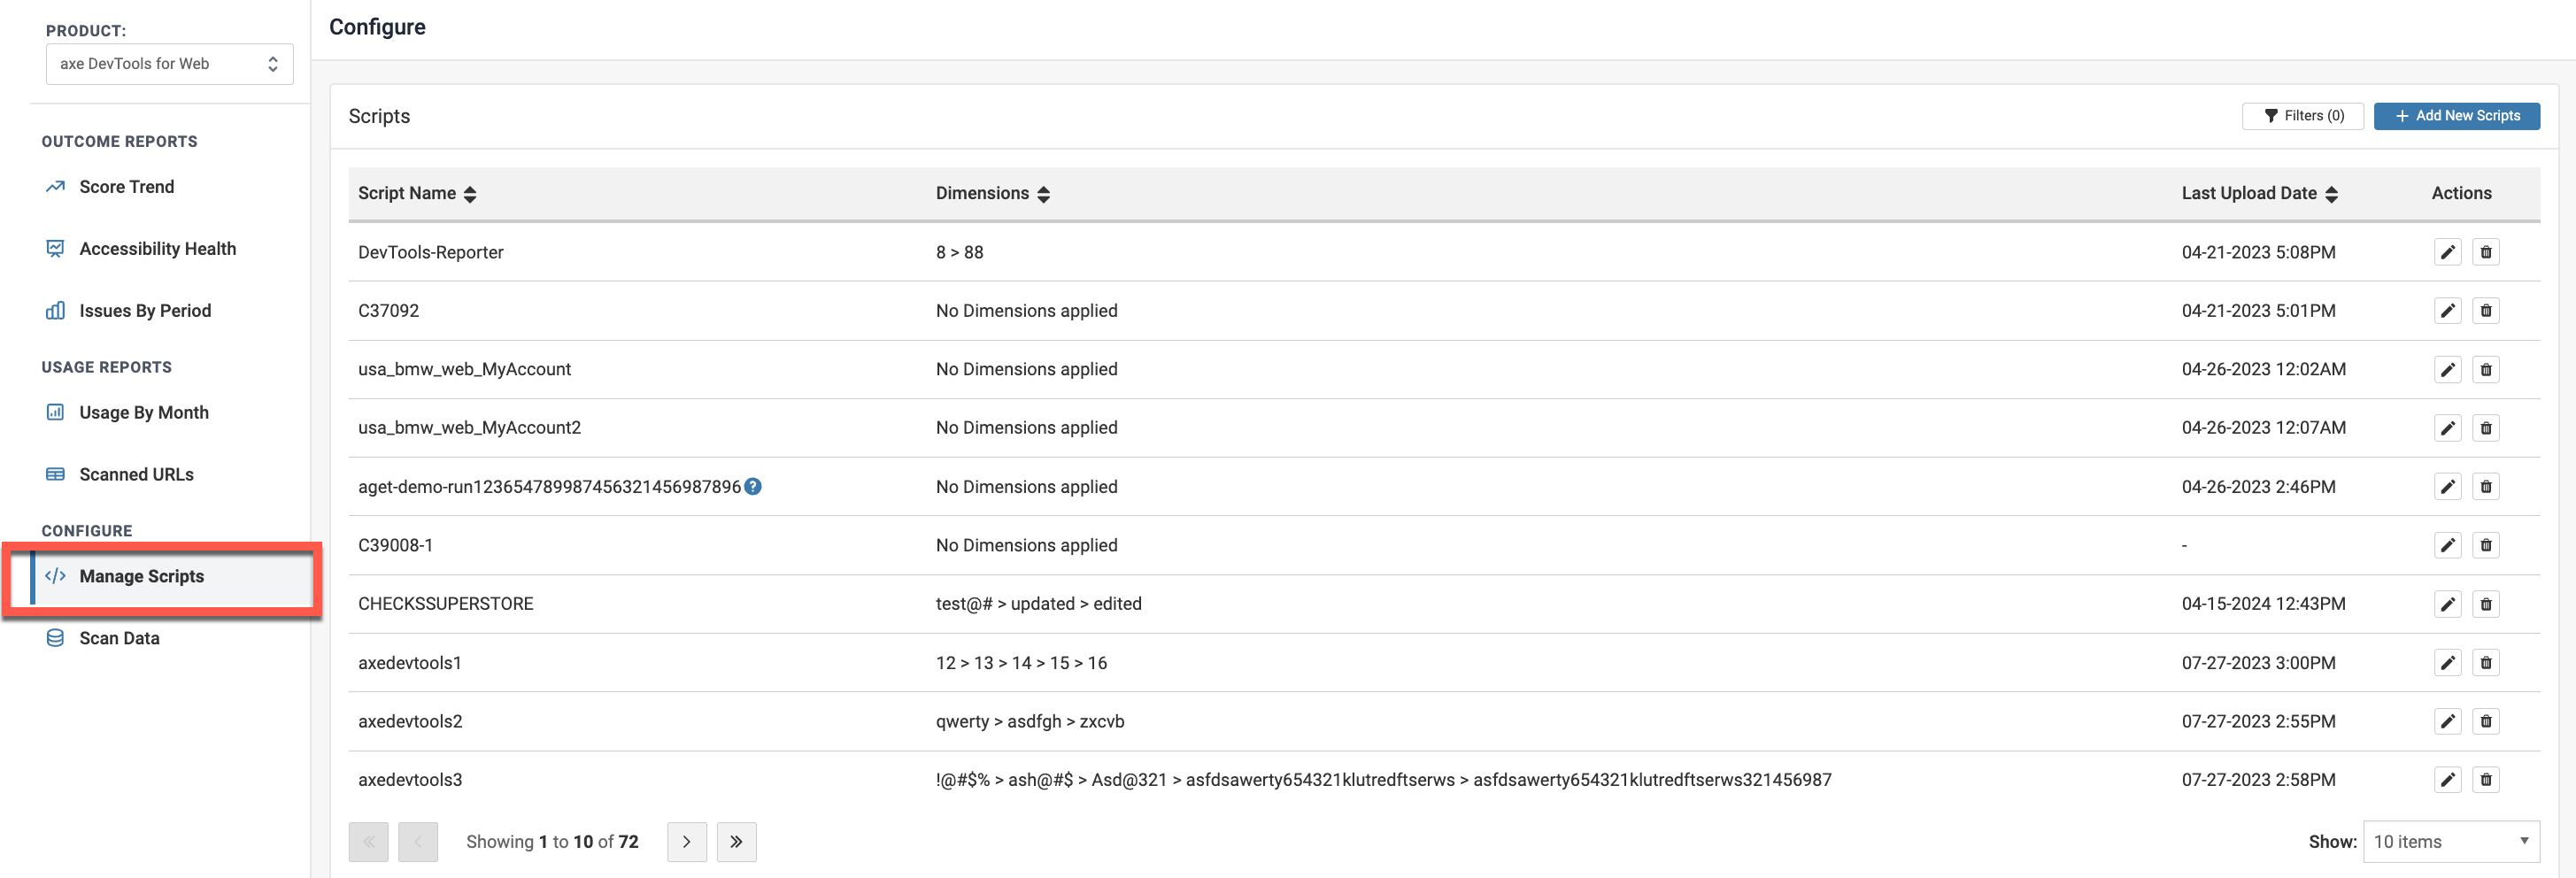
Select the Manage Scripts link under the Configure section on the left-hand corner of the screen.
- Navigate to the Scripts screen by clicking Axe DevTools for Web >> Scripts from the two tab panels.
-
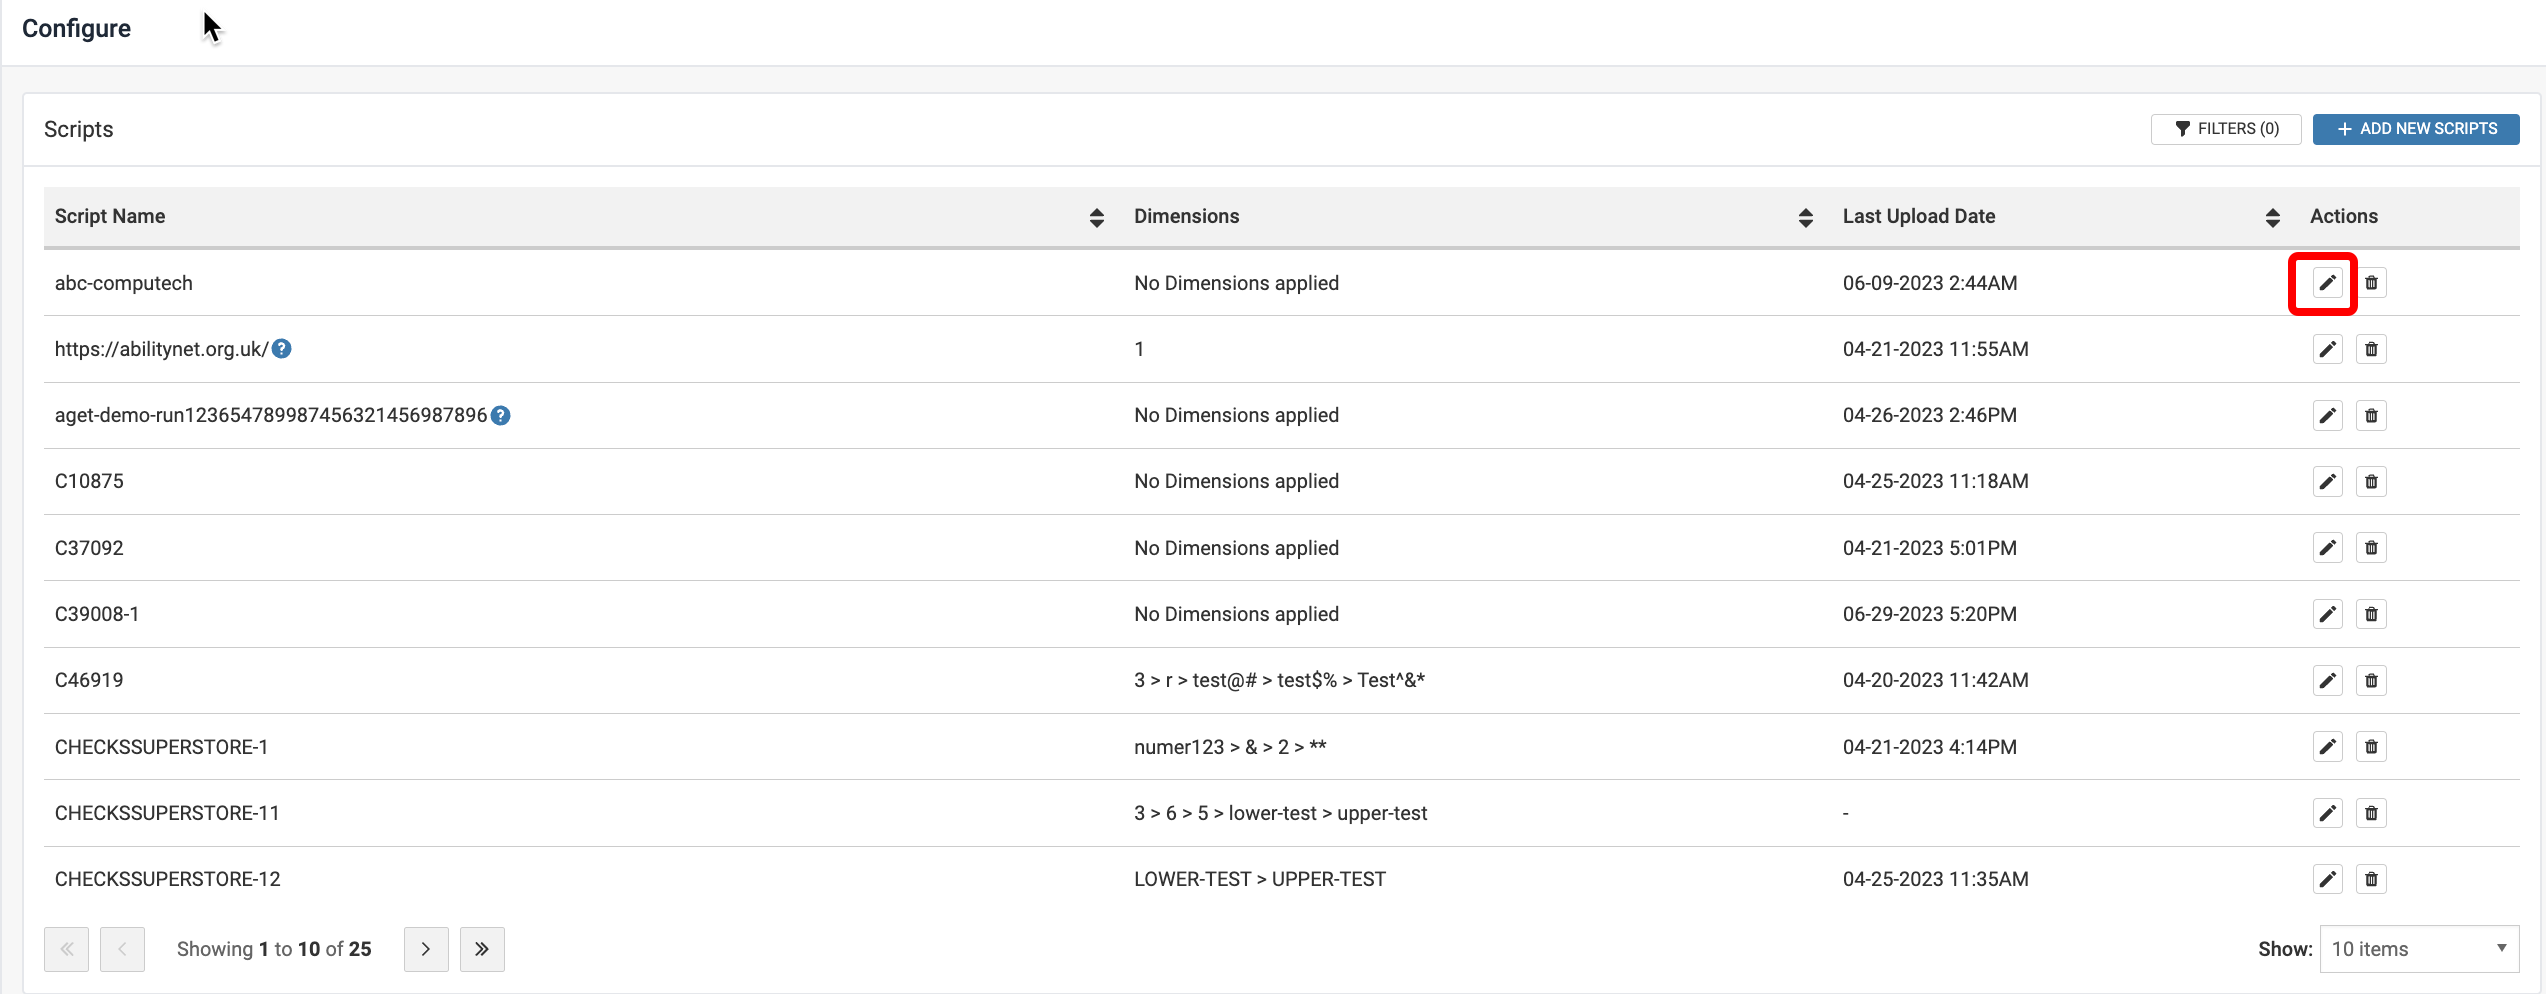
Select the Pencil icon under the Actions column on the table for the Script you want to edit the Dimensions for.
-
On the resulting modal window:
-
Edit the display name of the script to your preferred name. This name then appears on the Scripts screen under the Script Name column, after you have edited the script details.
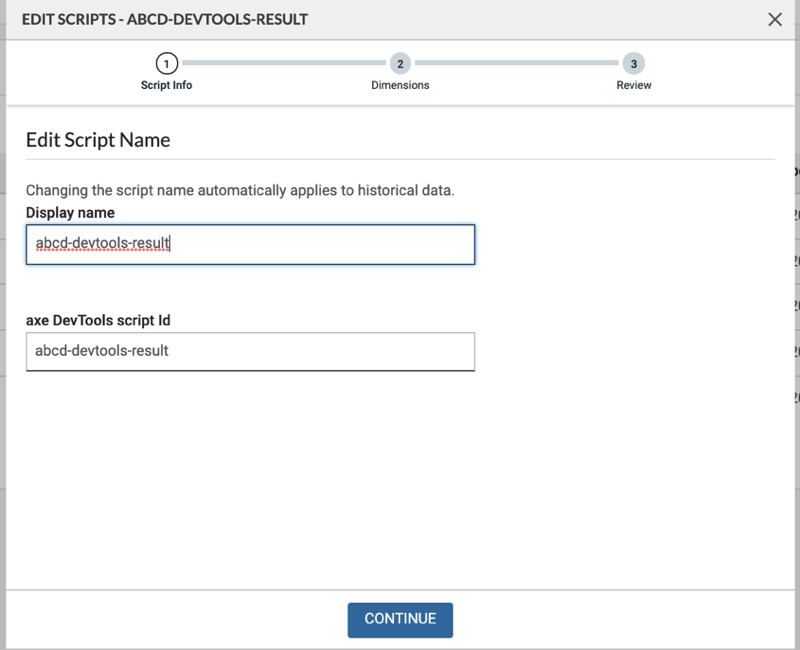
Note: The axe DevTools script ID is not editable. Hovering over the Help icon next to the Script Name in the Manage Scripts screen displays the axe DevTools script ID (script name) of the script. The Help icon does not appear if the display name and script name are the same. -
Make changes to the Dimensions, as needed. Dimensions can be reordered, added, or removed. Select the Continue button.
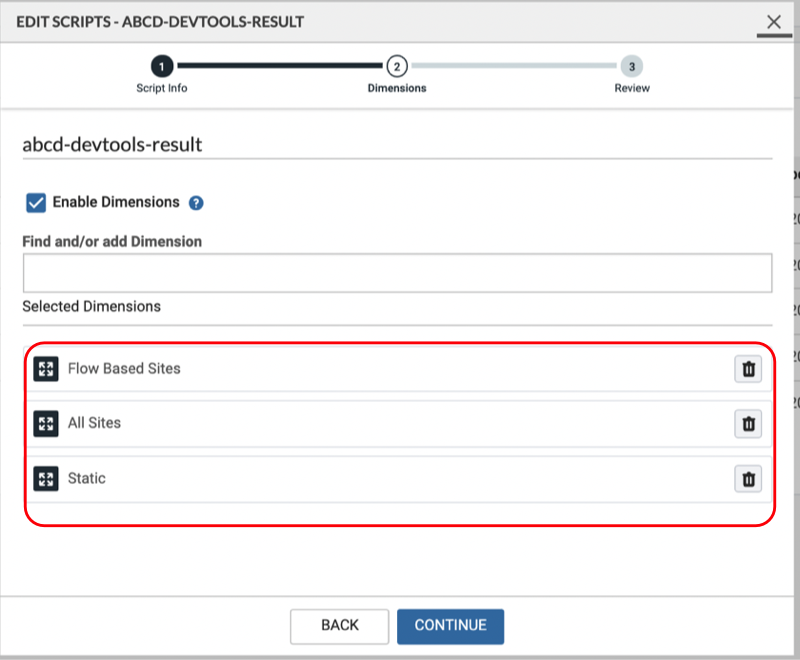
Note: You can create a maximum of six Dimensions per script. The Dimension name can only be up to forty characters long.
-
Edit the display name of the script to your preferred name. This name then appears on the Scripts screen under the Script Name column, after you have edited the script details.
-
Review the change summary in the Review screen.
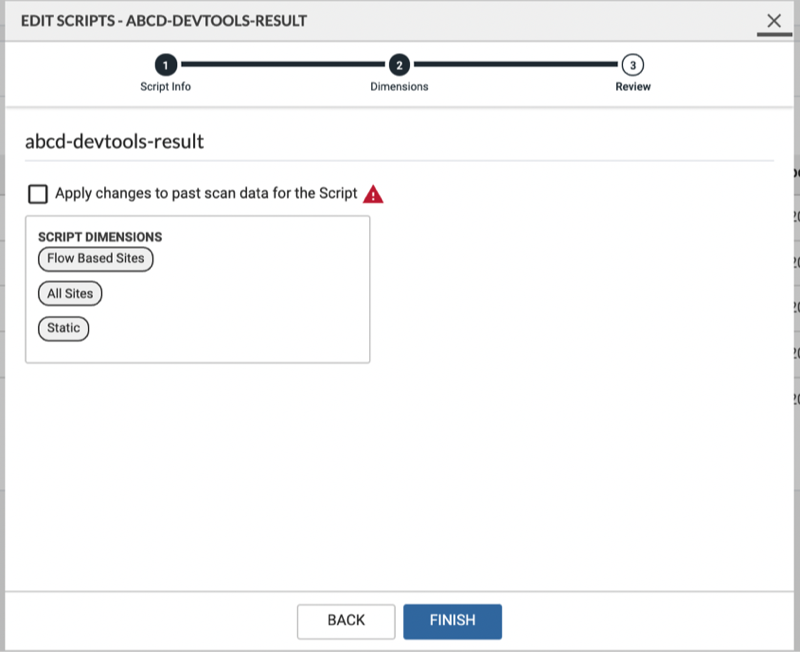
- Review the summary of changes.
- Enable the checkbox Apply changes to past scan data for the Script to update the existing scan data with the updated Dimensions. By default, this option is unchecked. If left unchecked, the data prior to the date of change is reported with old Dimensions.
-
Select the Finish button to save your changes.
This brings up the Scripts screen. The display name appears under the Scripts Name column with the Help icon next to the name. Hover over the icon to display the axe DevTools for Web script name.