Editing a Test Case
Not for use with personal data
To make changes to an existing test case, follow these steps. All instructions, images, and notes are now properly nested within a single ordered list for improved accessibility:
-
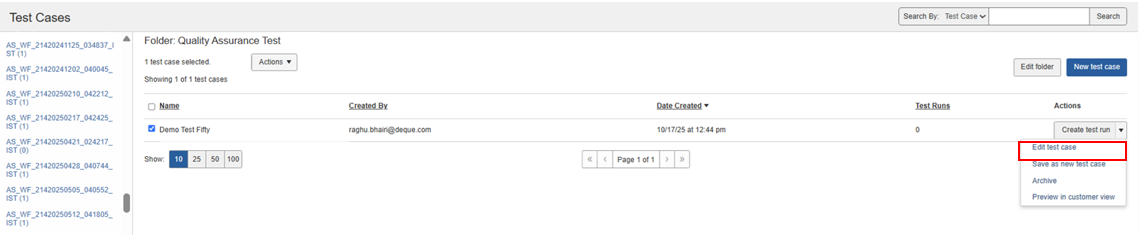
On the Test Cases page, expand the Actions drop-down for the test case you want to edit, and click Edit test case (or select Edit test case from the Actions column of the Test Runs table on either the Test Runs or Home screens).
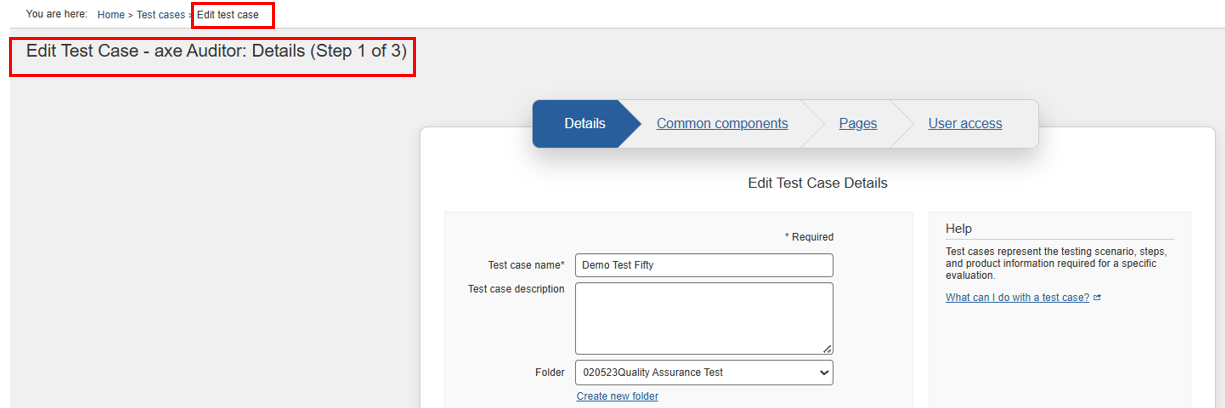
The Edit Test Case: Details (Step 1 of 3) screen appears, with the Details panel displayed by default. You can edit existing field values by modifying text entries and menu selections on each panel. then on the Pages panel, click the Save Test Case button to save the edits you make.
-
On the Edit Test Case screen, click the desired step tab link to navigate to each panel as necessary to make changes to the existing selections and entries as desired (or use the Next button at the bottom of each panel to progress to the next).
- To edit the details, be aware that the Next button at the bottom of the panel, or the tab links for either Common Components or Pages allow you to navigate away from the panel after making edits, and should you navigate back to the Details panel, those edits will remain. However, you must navigate to the Pages panel and click the Save Test Case button in order for those edits to become effective. For more information about editing the fields in the Details panel, see Adding Test Case Details.
-
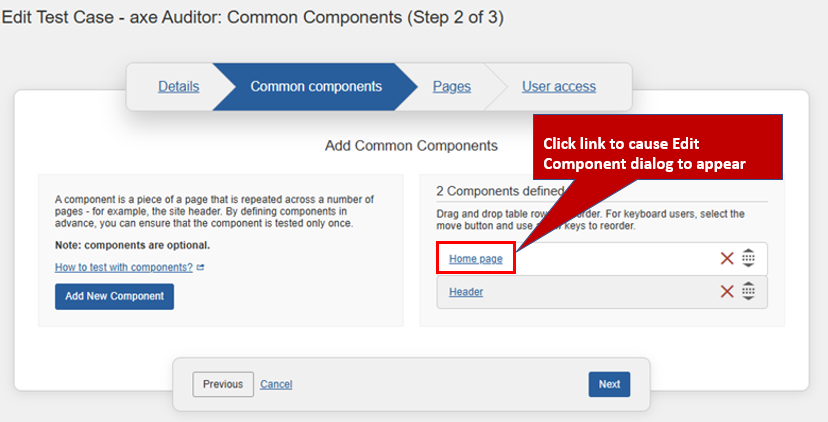
To edit a component, click the Component row link in the Components Defined section table on the Common Components panel. This causes the Edit Component dialog box form to pop up, which allows you to make changes to fields, then click an Edit Component button to save those changes. The Edit Component dialog box closes and a confirmation message appears at the top, right of the Edit Test Case screen to indicate editing success. Additionally, you can delete, reorder, or add components as part of the editing process. For more information
see Adding Common Components.
-
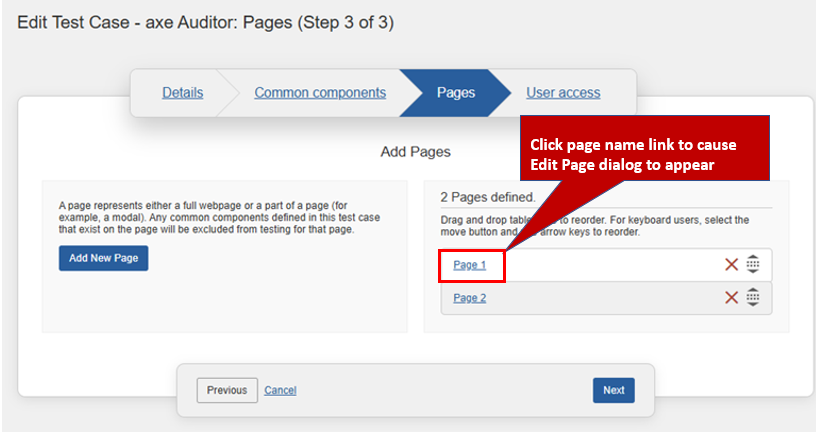
To edit a page, click the Page name row link in the Pages Defined section table on the Pages panel. This causes the Edit Page dialog box form to pop up, which allows you to make changes to fields, then click an Edit Page button to save those changes. The Edit Page dialog box closes and a confirmation message appears at the top, right of the Edit Test Case screen to indicate editing success. Additionally, you can delete, reorder, or add components as part of the editing process. For more information, see Adding a Page to a Test Case.
-
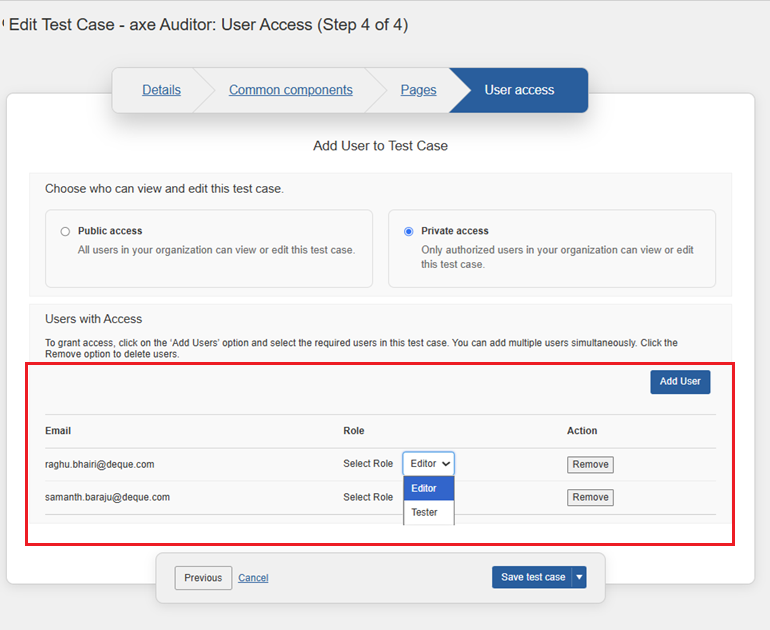
To edit existing user access, from the Add User section, modify the user access for the selected test case. The available access levels are:
- Public Access: Makes the test case available to all users in your organization. Any user can view and edit it.
- Private Access: Restricts visibility and editing permissions to authorized users only.
- This option will be available on the New Test Case page only when the administrator enables the User Access Control option on the Admin Settings page. To enable this option, go to Admin Settings > Settings > User access control under the Enable/Disable Features section, then select Save settings.
- If you select Private Access, then modify the role for the desired user. You can add new users or remove existing users. For more information about user access control and how to add users, see User Access Control and Adding Users and Providing Access Control.
-
After making the desired changes to fields on any of the four panels, navigate to the User access panel, then click the Save Test Case button. Note that this button only appears on the User access panel.
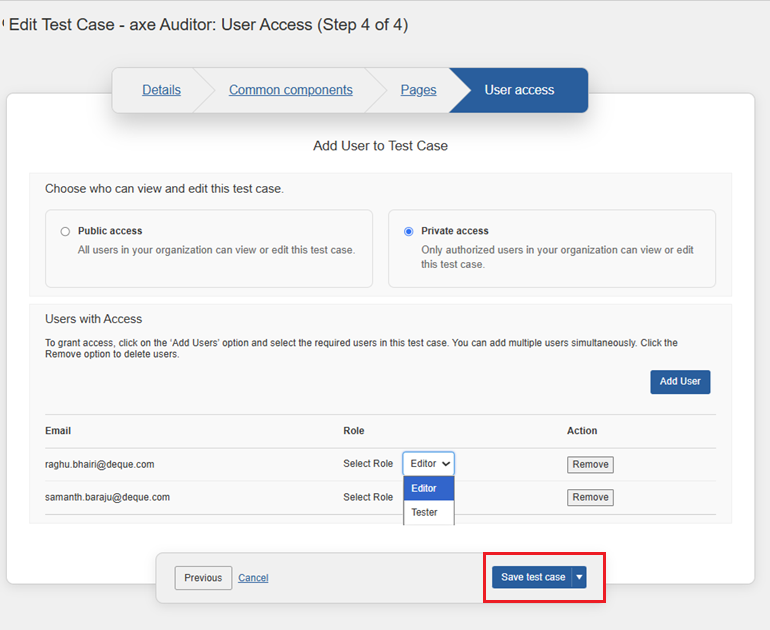
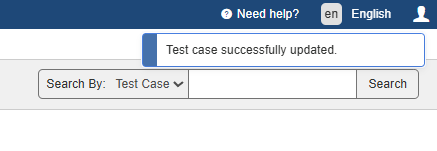
The Edit Test Case screen closes, and the Test Cases screen displays a system response message confirming your success in updating the test case: 'Test case successfully updated' at the top, right corner of the screen.