
Set Up Projects in Axe Developer Hub
How to create and manage projects in Axe Developer Hub
A project in Axe Developer Hub holds accessibility results, test run information, and - depending on the project type - Git data.
When you create and name a new project in Developer Hub, a unique Project ID is generated that you will use with your tests to associate your results data with the project. You will also use a Deque API Key for authorization. This API Key does not have to be unique - you can use the same API Key for multiple projects. It is product-specific, so you will use an Axe DevTools for Mobile API Key only with mobile projects and an Axe Developer Hub API Key for web projects.
A project locks to one data shape, Git or Gitless, and, for Git projects, one repository, based on its first successful session. A brand-new project has no lock yet; whichever kind of session it first ingests successfully sets the lock going forward. Runs that don't match a project's lock are rejected at ingestion, with a message naming what the project expects, what the run sent, and what to do about it. See Run Rejected: Data Shape or Repository Doesn't Match the Project if a run has been rejected.
What Your Project Locks To
Once a project has ingested its first successful session, its data shape (Git or Gitless) and, for Git projects, its repository are fixed. Project settings displays the locked data source and repository as read-only. To send results with a different data shape or from a different repository, create a separate project rather than pointing another test suite at this one.
Create a New Project
-
When you log in to Developer Hub, you will land on the Projects page.
-
Click the + Add new project button to create a new Developer Hub project.
-
Select an integration method for gathering accessibility data. Note: You will see options only for the integration methods you have a valid license for. You need an Axe Developer Hub license for Axe Watcher, Axe DevTools for Web APIs and CLI. You need an Axe DevTools for Mobile license for mobile projects.
-
Select Axe Watcher to run accessibility checks in your automated testing for web projects (Requires an Axe Developer Hub license)
importantAxe Watcher requires a supported browser: Chrome for Testing (a separate browser install, distinct from Google Chrome), Chromium, or Microsoft Edge. Google Chrome, version 139 or later, is not supported. See Setting Up and Configuring Browsers for Use with Axe Watcher for installation instructions.
-
Select Web APIs / CLI integration if you want more fine-grained control over accessibility runs in your web projects (Requires an Axe Developer Hub license)
-
Select Axe DevTools for Mobile to integrate accessibility checks in your existing UI tests for mobile apps (Requires an Axe DevTools for Mobile license)
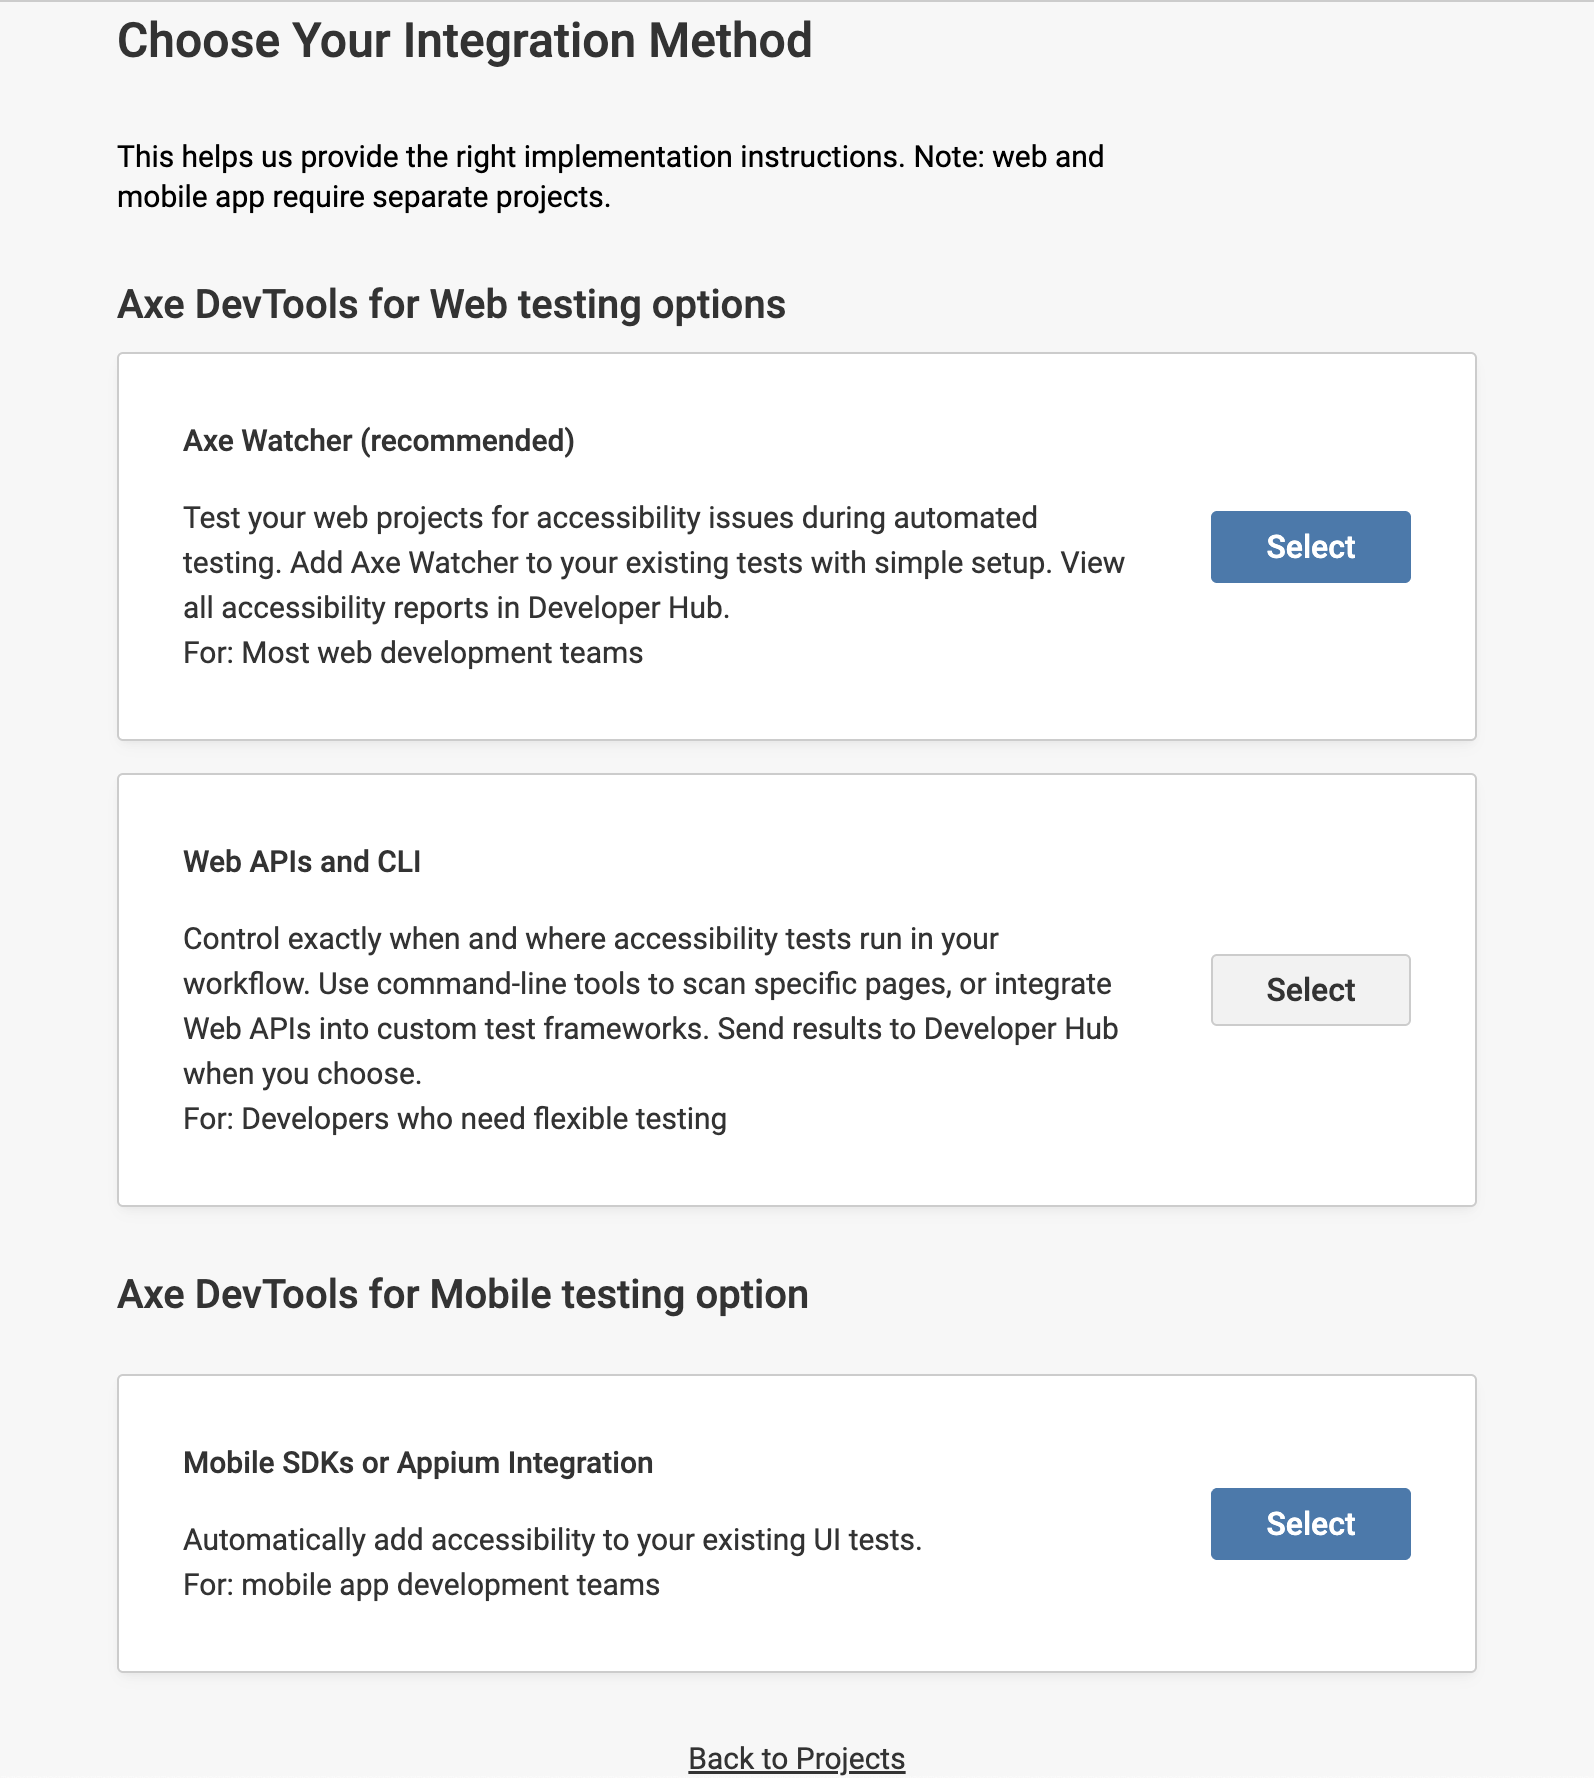
-
-
The next step is to name your project. We recommend including your repository or test suite name for easy reference. After entering a Project Name, select Next.
-
Continue to follow the prompts, indicating the language or testing framework you are using when applicable.
-
Once your project is successfully created, follow the instructions on the screen to complete installation.
- Copy the code provided in the Setup Instructions and add it to your end-to-end tests where suggested.
- Copy a Deque API Key corresponding to your project type (web or mobile) in Axe account settings, and update the API key field in the pasted code.
- Update the value for project ID in the pasted code with that of the project you just created.
noteIf you need to refer to the Installation Instructions page again in the future, you can navigate there from the Projects page by opening the Settings dropdown for your project and selecting Configure Project.
Set Up Multi-User Projects
Admins can set up projects so that multiple users can view and send test run results in Developer Hub. Assign roles to different users on your team, giving admin permissions at your discretion. Every user will need an Axe Developer Hub (for website testing) or Axe DevTools for Mobile (for mobile app testing) license in order to access the results dashboard. Learn more about Setting Up Multi-User Projects.
What's Next?
After you have set up a new project, run your test suites with one of our accessibility toolkits to generate results.