
Troubleshooting
Guidance for resolving problems you may encounter when using Axe Developer Hub
Opening a Project Shows "No Scan Data Available"
If you have already run accessibility scans and are expecting to see results, you should verify the project configuration.
Verify Your API Key
Your personal API Key should be compatible with your project type. For projects integrating Axe Watcher, Web APIs, or CLI, you must use an Axe Developer Hub API key. For mobile projects, you must use an Axe DevTools for Mobile API key. To create an API Key you need to have an active license for Axe Developer Hub and/or Axe DevTools for Mobile. Once you have access, visit API Keys to add a new key.
- Click on the + ADD NEW API KEY button, and you will see a pop-up window like the one pictured below:
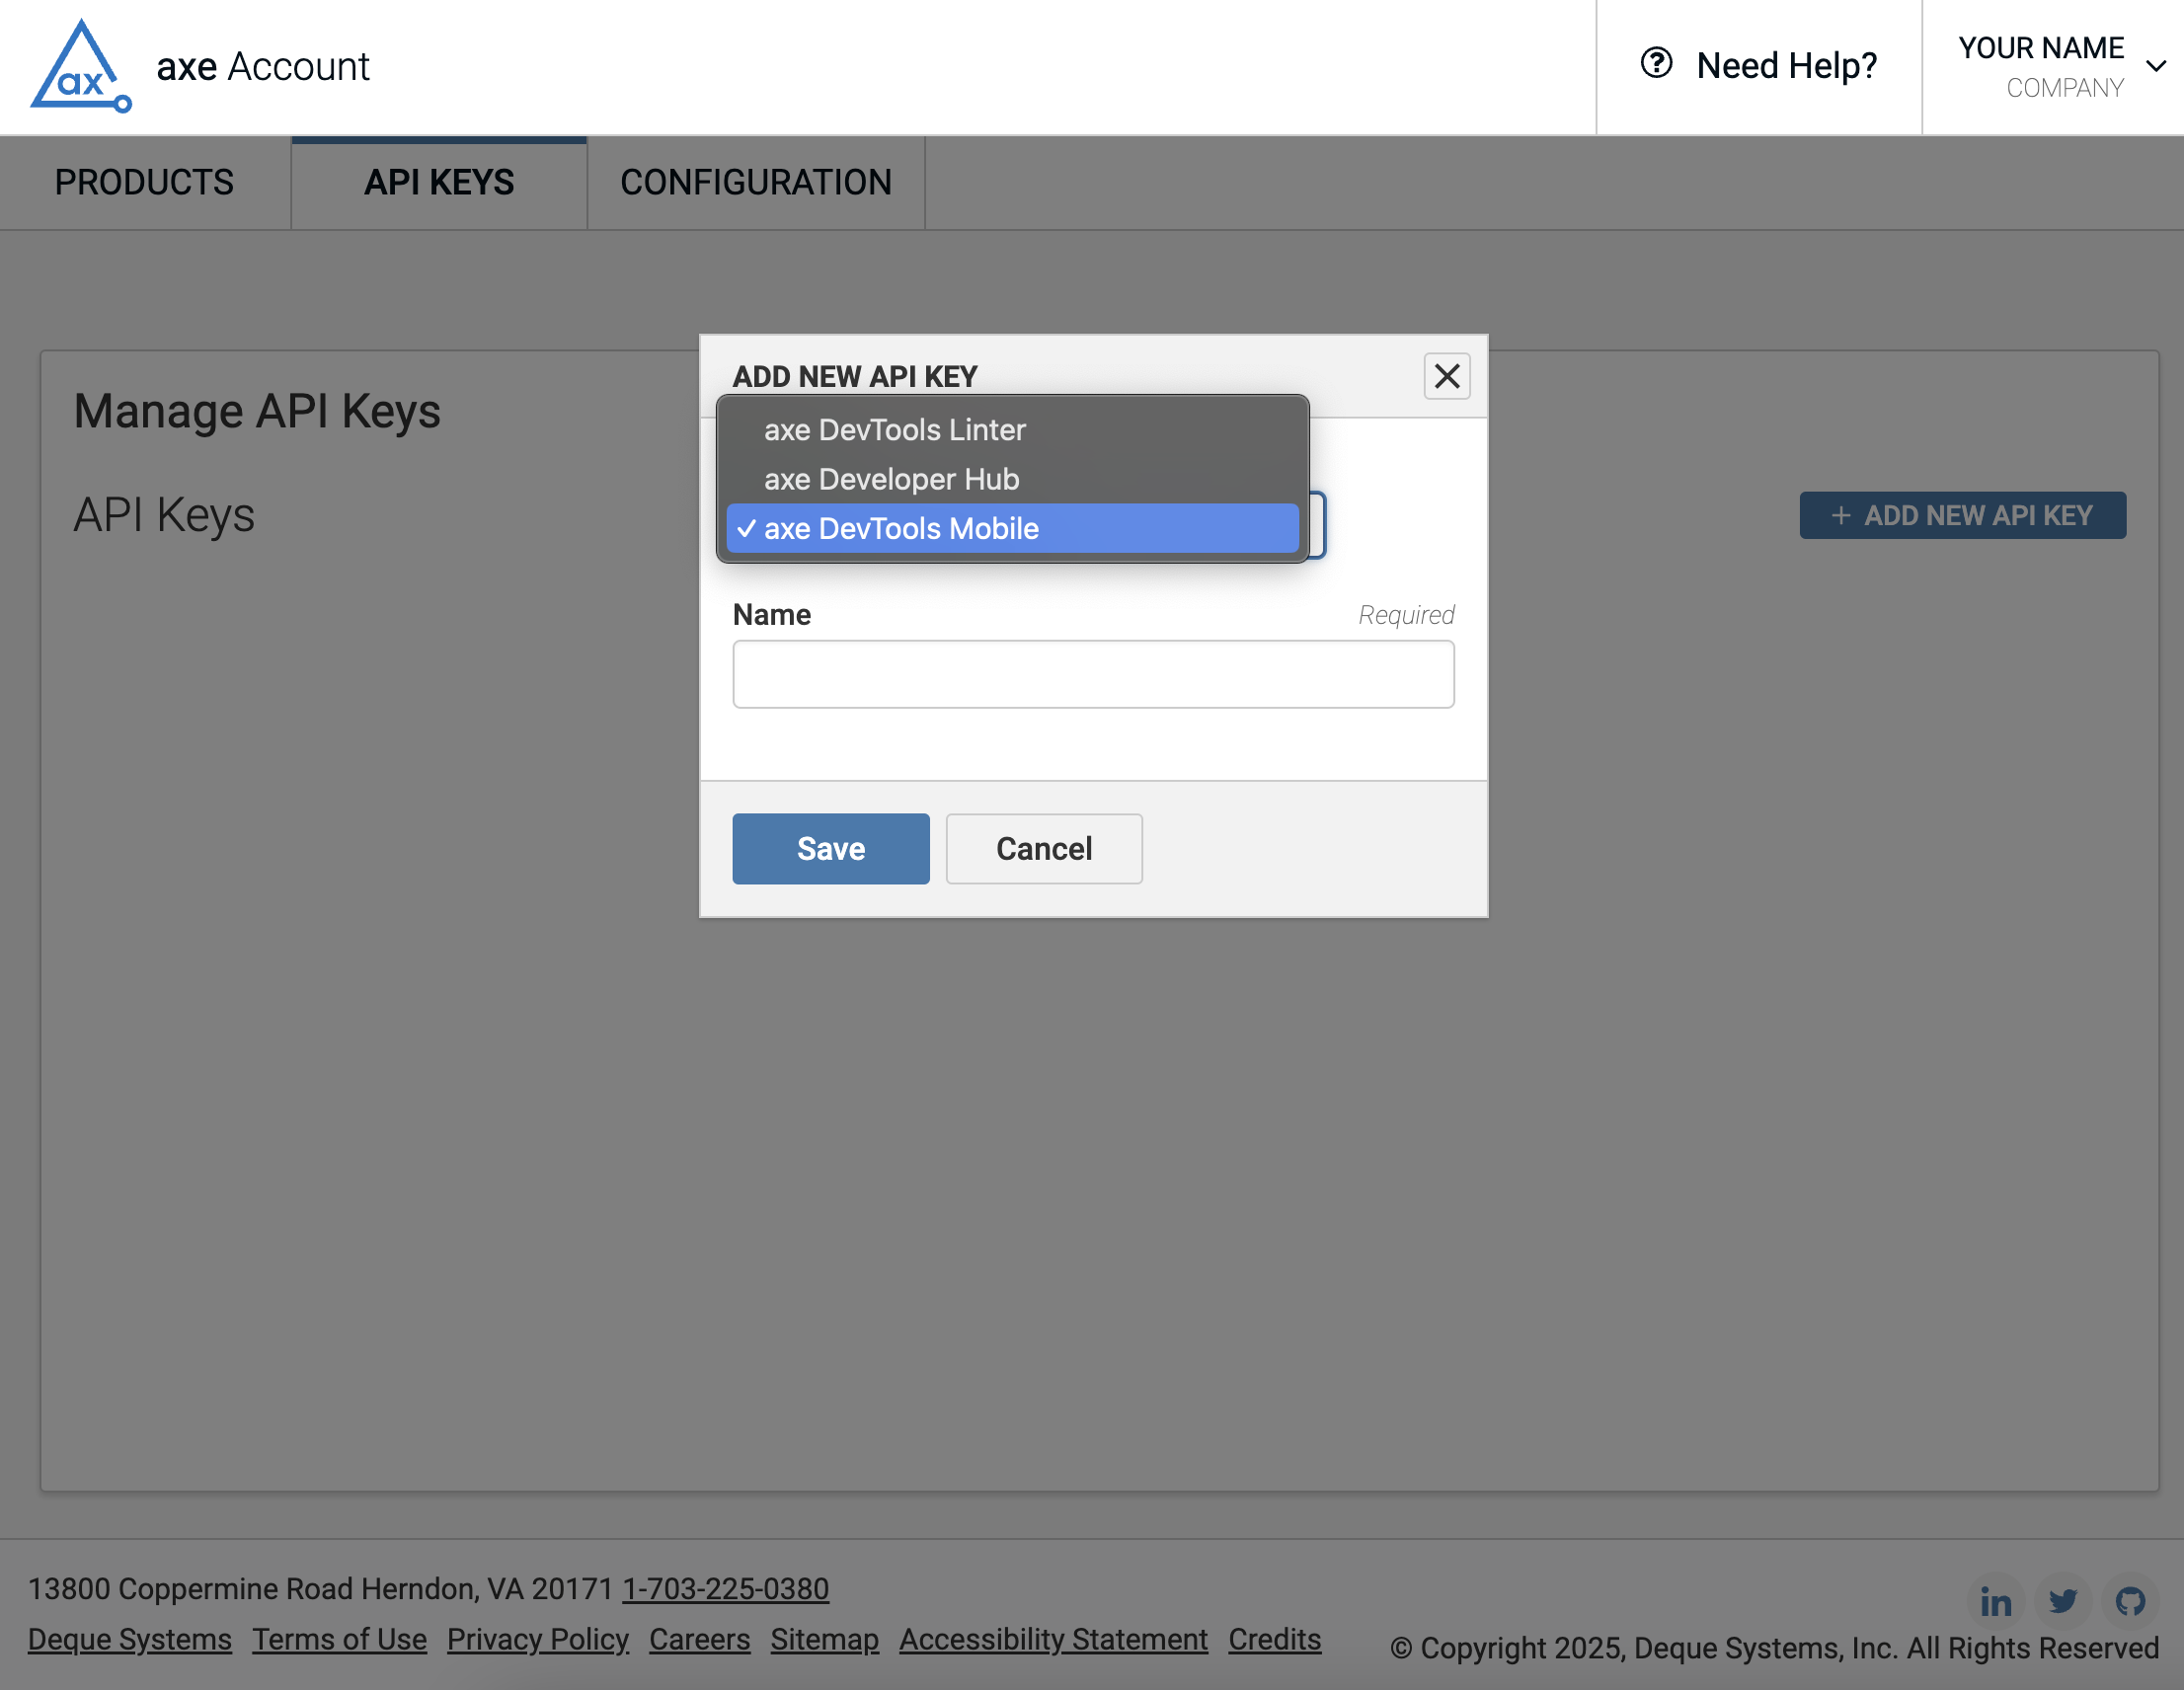 2. Select Axe Developer Hub or Axe DevTools for Mobile under the Product drop down.
3. Give the API Key a Name.
4. Click Save.
2. Select Axe Developer Hub or Axe DevTools for Mobile under the Product drop down.
3. Give the API Key a Name.
4. Click Save.
After a few seconds, the updated Manage API Keys page will be displayed with as well as a message that the API Key was successfully added.
In the Actions column for your API keys, click to copy an API key to the clipboard. You should then see a message that the API key was successfully copied.
When you setset up your project, you may have copied and pasted code into your end-to-end tests. Review this code and ensure that you replaced API_KEY with the corresponding API Key
Verify Your Project ID
To find your Project ID, navigate to the Installation Instructions from the Projects page. Open the Settings dropdown for your project and select Configure Project. You'll see the Project ID, which you can click and copy to the clipboard. Review the code you copied and pasted in your end-to-end tests during project setup and ensure that you replaced all instances of PROJECT_ID with the corresponding Project ID.
Verify Scan Output Does Not Show Errors
In the window running your test, you may have errors that prevented the results from being sent to Axe Developer Hub. Carefully review these errors and resolve them.
Verify Test Completed Successfully
If your test is still running, your results may not have been sent to Developer Hub yet. Wait until your test finishes successfully and then refresh the page to see your results.
Not Seeing Results for All Scans
If you scan multiple times on the same commit (same commit SHA), results can be "overwritten" to only show the latest. When Git data is being used, you must create a new commit in order to see new scans. If you do not want to create a new commit every time you run the test, and this project is not yet Git-locked, using Gitless testing avoids the issue.
To get a Gitless view of a test suite, send its results to a separate, Gitless-locked project rather than trying to change an existing project's data shape. Once a project has locked to Git on its first successful session, deleting the .git folder or turning off Git data collection no longer produces a Gitless session: the run is rejected instead. See Run Rejected: Data Shape or Repository Doesn't Match the Project for what the rejection looks like and how to resolve it.
As a best practice, you should run the test suite each time a new commit is created.
Git Data Doesn't Correspond to Code
If end-to-end tests are being run in a repository separate from the code you are testing, the Git data that is displayed will be for the test, not the code you are testing. If this causes confusion and this project is not yet Git-locked, using Gitless testing avoids it.
To get a Gitless view of a test suite, send its results to a separate, Gitless-locked project rather than trying to change an existing project's data shape. Once a project has locked to Git on its first successful session, deleting the .git folder or turning off Git data collection no longer produces a Gitless session: the run is rejected instead. See Run Rejected: Data Shape or Repository Doesn't Match the Project for what the rejection looks like and how to resolve it.
As a best practice, we recommend that you keep the end-to-end tests in the same repository as the code you are testing.
Run Rejected: Data Shape or Repository Doesn't Match the Project
Once a project has ingested its first successful session, its data shape (Git or Gitless) and, for Git projects, its repository, are locked. A run that doesn't match the lock is rejected at ingestion, and the results are not saved. The rejection message names what the project expects, what the run sent, and what to do about it, for example:
This project is locked to a different repository. Project expects {lockedRepo}; this run sent {incomingRepo}. The results were not ingested. Send this run to its own Axe Developer Hub project, or check that CI is providing git information for the locked repository.Common causes and how to resolve them:
- A second repository or test suite is pointed at the same project. Send it to its own project instead of the one already locked to a different repository.
- A shallow clone, detached HEAD state, or a missing
originremote is stripping the repository URL, branch, or commit SHA from CI, making a Git run look Gitless. Check that your CI configuration provides full Git information. See Axe Watcher in Continuous Integration (CI) Environments for CI-specific guidance. - Git data collection was turned off on a project already locked to Git. Sending a run with
git: falseor with the.gitfolder removed no longer converts the project to Gitless; the run is rejected. Send Gitless runs to a separate Gitless project instead.
Help
Visit support.deque.com to access knowledge base articles, Deque's SaaS product's status reports, and other product support. If you can't resolve your problem, please email us so we can help.