
Add Users
The Add users option allows the customer administrator to invite one or more users to Axe Auditor and grant them access to test cases.
To add user(s), perform the following steps:
-
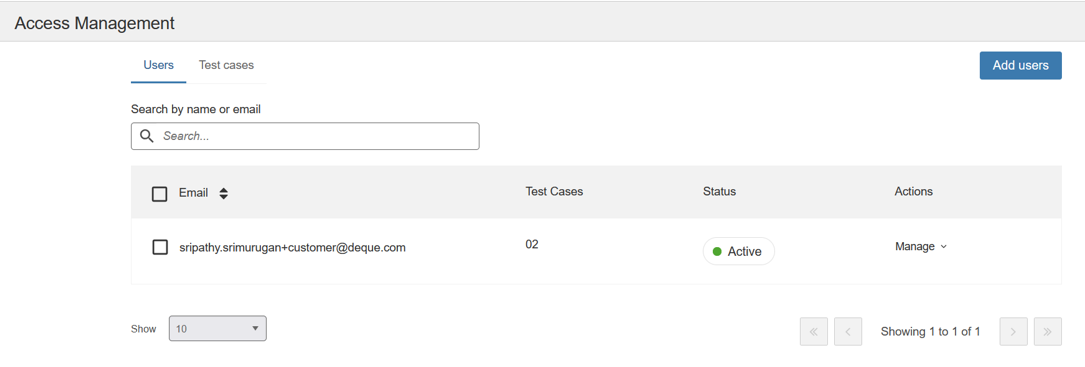
On the Axe Auditor homepage, click Access Management. The Access Management page appears.
-
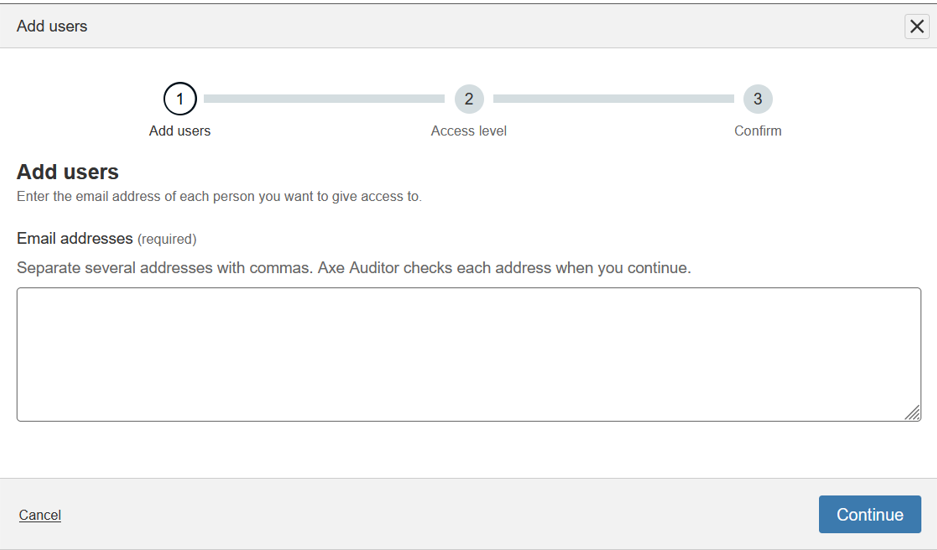
Click Add users. The Add users page appears.
-
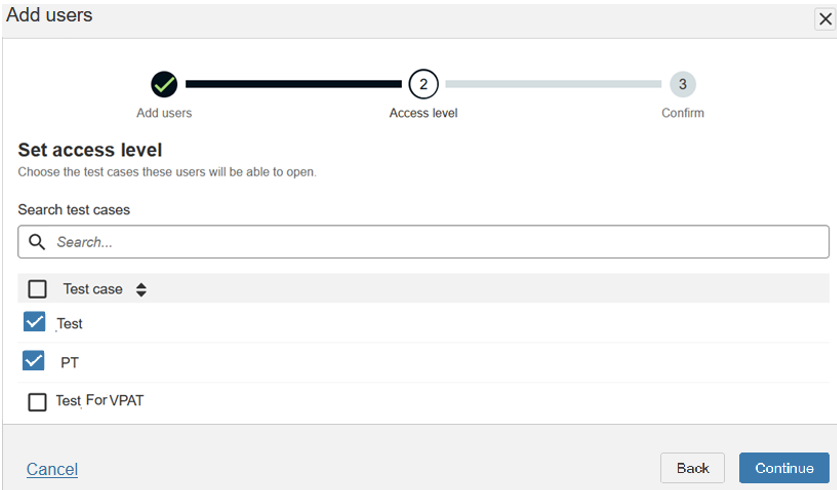
Enter the email address of the user you want to provide access to in the description box. To add multiple users, separate the email addresses with commas, and then click Continue. The Set access level dialog appears.
-
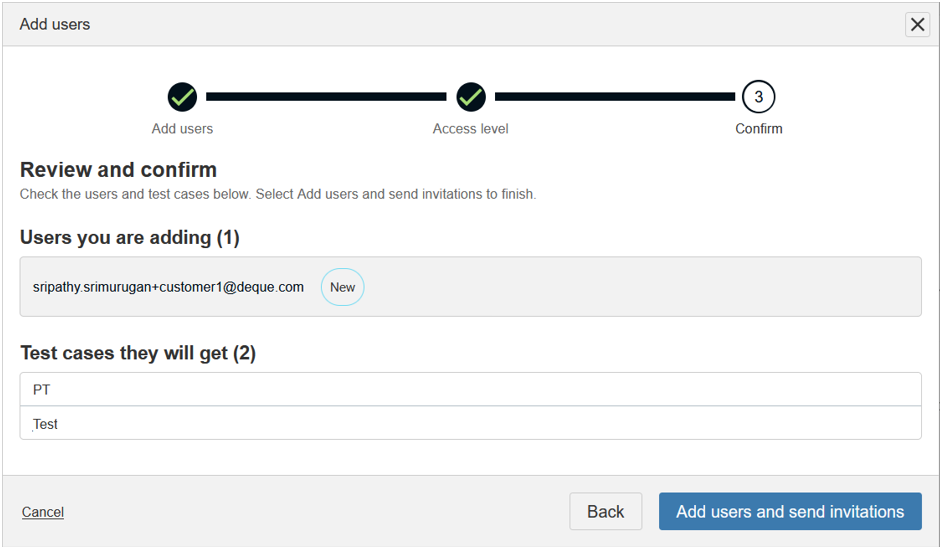
Choose the test case(s) and click Continue. The Review and Confirm dialog appears.
-
Review the added test case details, then click Add Users and Send Invitations. The Invitations sent message page appears.

-
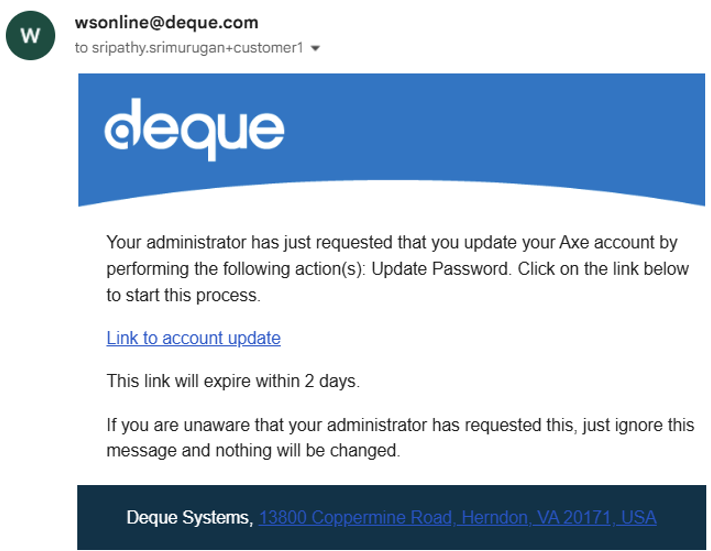
Open your email, you would have received the following email with a link to set your new password.
-
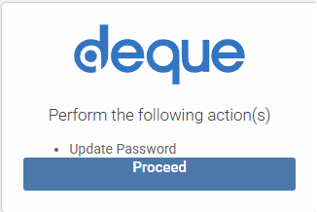
Right-click the new link, select Copy link, open a new browser window, and paste the link into the address bar. The Update Password dialog appears.
-
Click Proceed. The Update Password dialog appears.
-
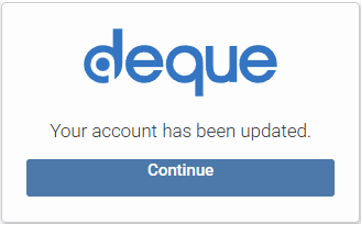
Enter the new password in the New Password and Confirm Password fields and click Submit. The password must contain at least one special character and one uppercase letter. Your account has been updated dialog appears.
-
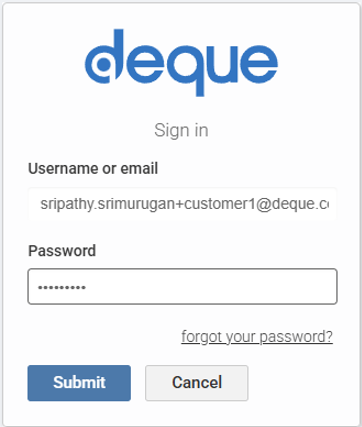
Click Continue. The Deque Sign-in dialog appears.
-
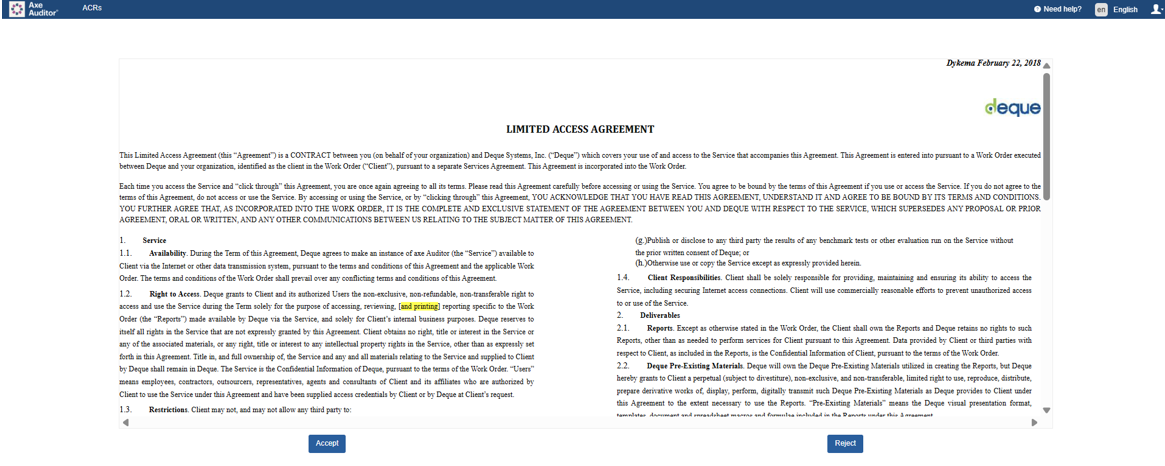
Enter the user name and password in the appropriate fields and click Submit. The Limited Access Agreement page appears.
-
Read the terms and conditions and click Accept. The Welcome page with added test cases page appears.

Test Cases
- The Test Cases page displays all test cases in your account, along with the following information and options:
Your account email address
- A breadcrumb showing your current location
- The total number of test cases in your account
- An Issue search by ID box — enter an issue ID and click Search to find a specific issue
To remove Users from a Test Case, perform the folloints steps:
-
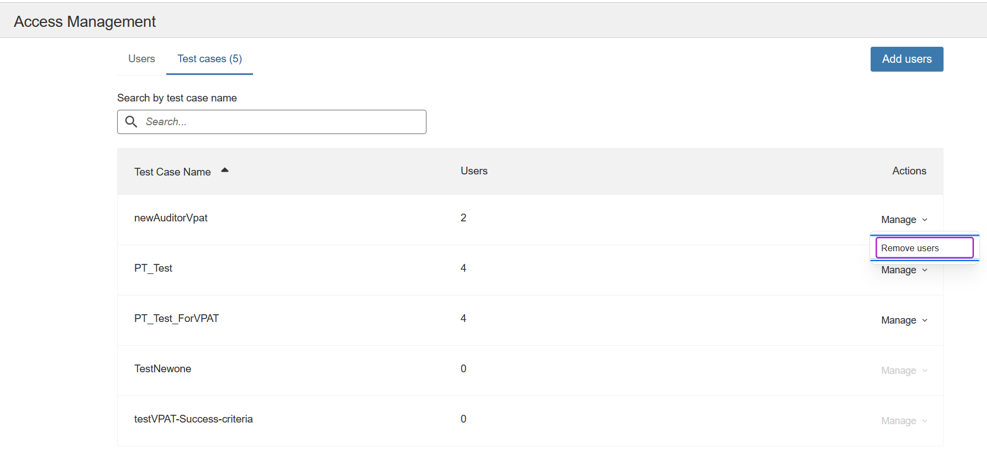
In Access Management, select Test cases. The Test Case page appears.
-
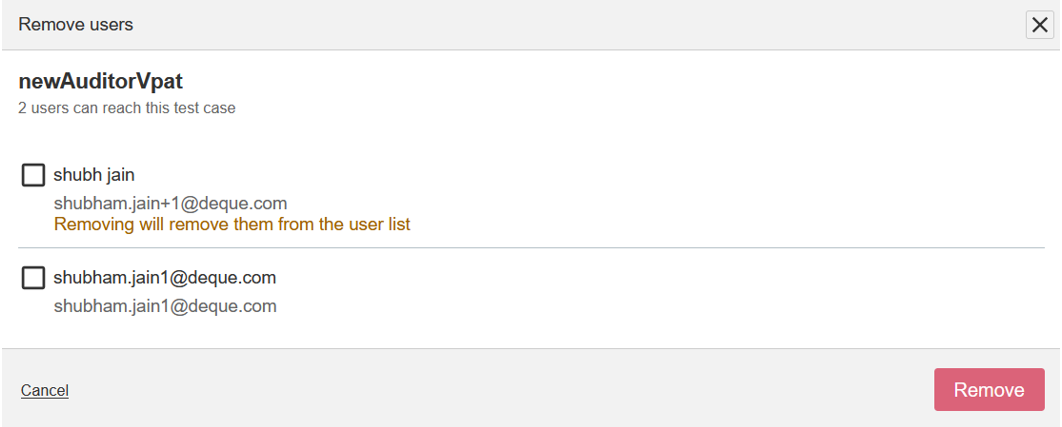
In the Actions column, select Manage, select the user whose assigned test cases you want to remove, and then select Remove users. The Remove users page appears.
-
Select the users you want to remove from the test case and click Remove to confirm.
Note: Removing the user leaves them with no accessible test cases, but you can add them again later.