
Custom Integration
The custom integration allows teams to easily send entire test data from the axe DevTools Extension directly to a configurable webhook endpoint. This allows you to standup a custom webhook endpoint which can consume axe DevTools test data.
Currently, only enterprises who have purchased axe DevTools for Web or axe DevTools Extension (Pro) through a Deque Salesperson qualify for the custom integration. If you are interested in getting a custom integration provisioned, talk to your Deque contact.
How it works
Configuring the Integration
Any axe Account Portal admin can configure the integration.
- Click on "CONFIGURATION" in the navigation bar
- Select the "Integrations" tab
- Click "Add new connection to Custom Integration"
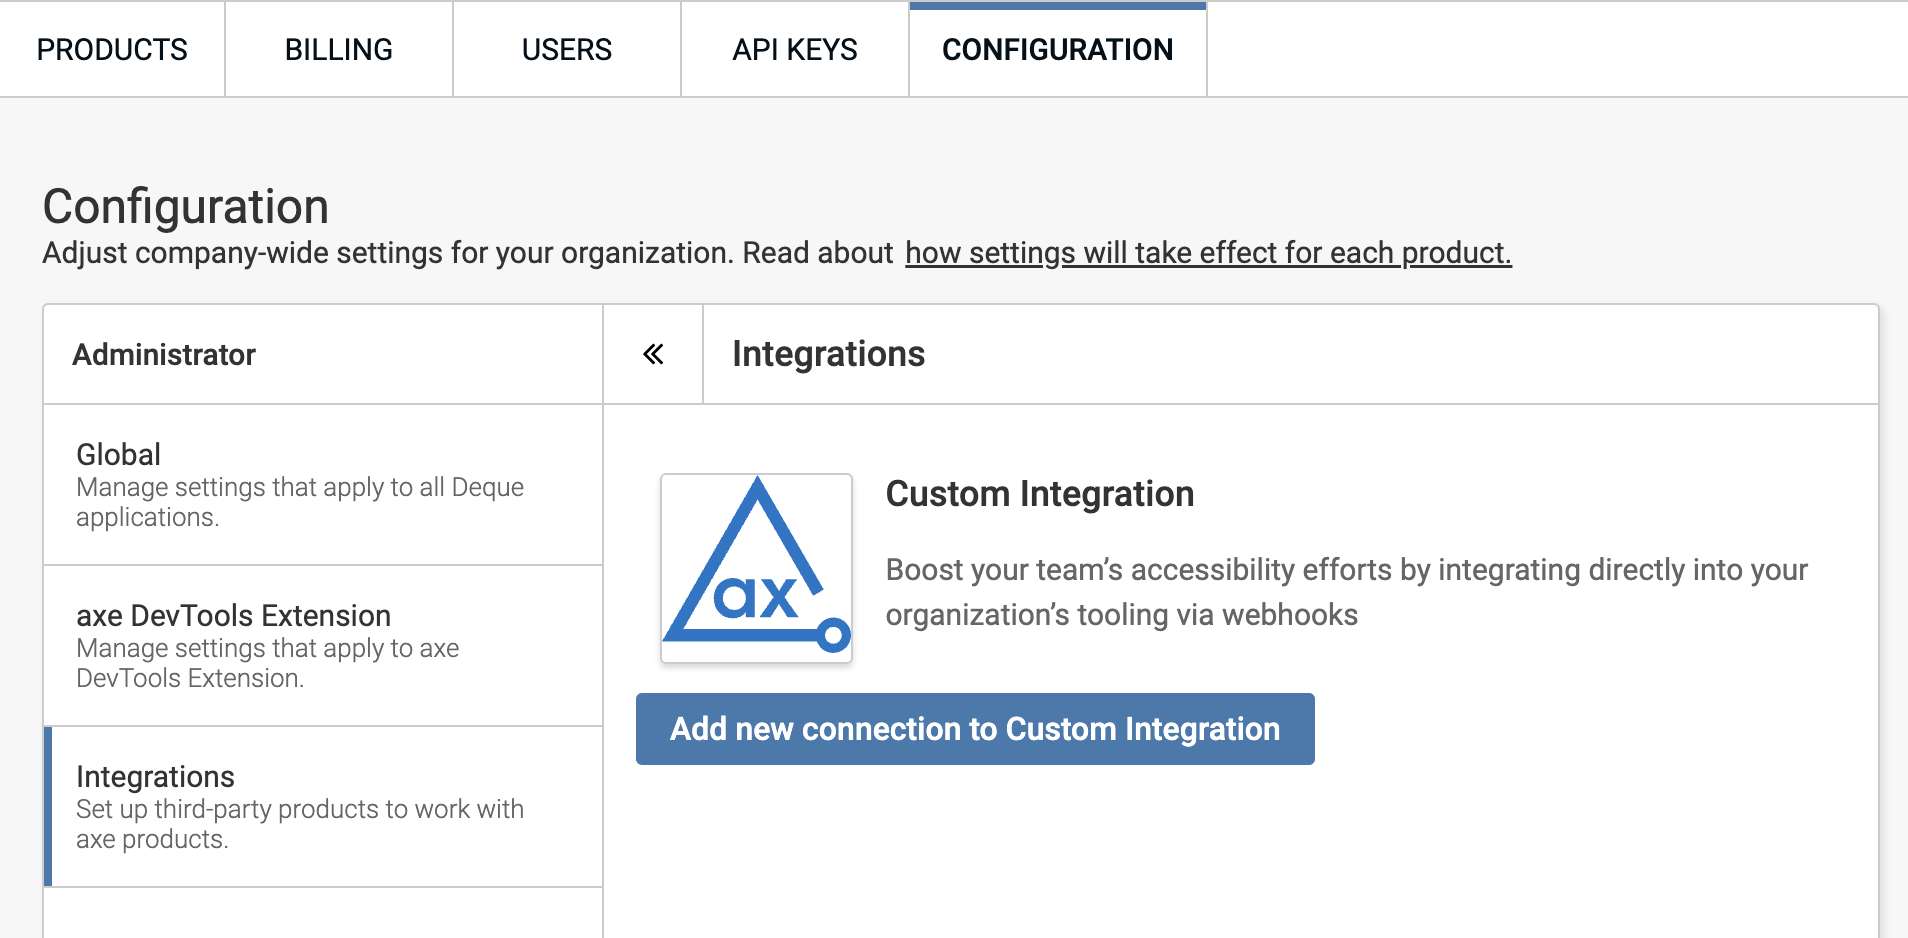
- Provide a name (max characters: 255)
- Provide your webhook URL
- Provide a secret (see authentication below)
Sending Test Results
Automatically Setting testId and url Query Parameters
For automatic test setup, two query parameters are supported:
testId: the identifier of the test within your internal application (e.g.1234567)url: the URI encoded test URL (e.g.https%3A%2F%2Fworkshop.dequelabs.com)
- Link (or navigate your browser) to
/axe-devtools/test-setup?testId=1234567&url=https%3A%2F%2Fworkshop.dequelabs.com - The axe DevTools Extension will automatically pick up on the testId and will queue up the testing to be performed
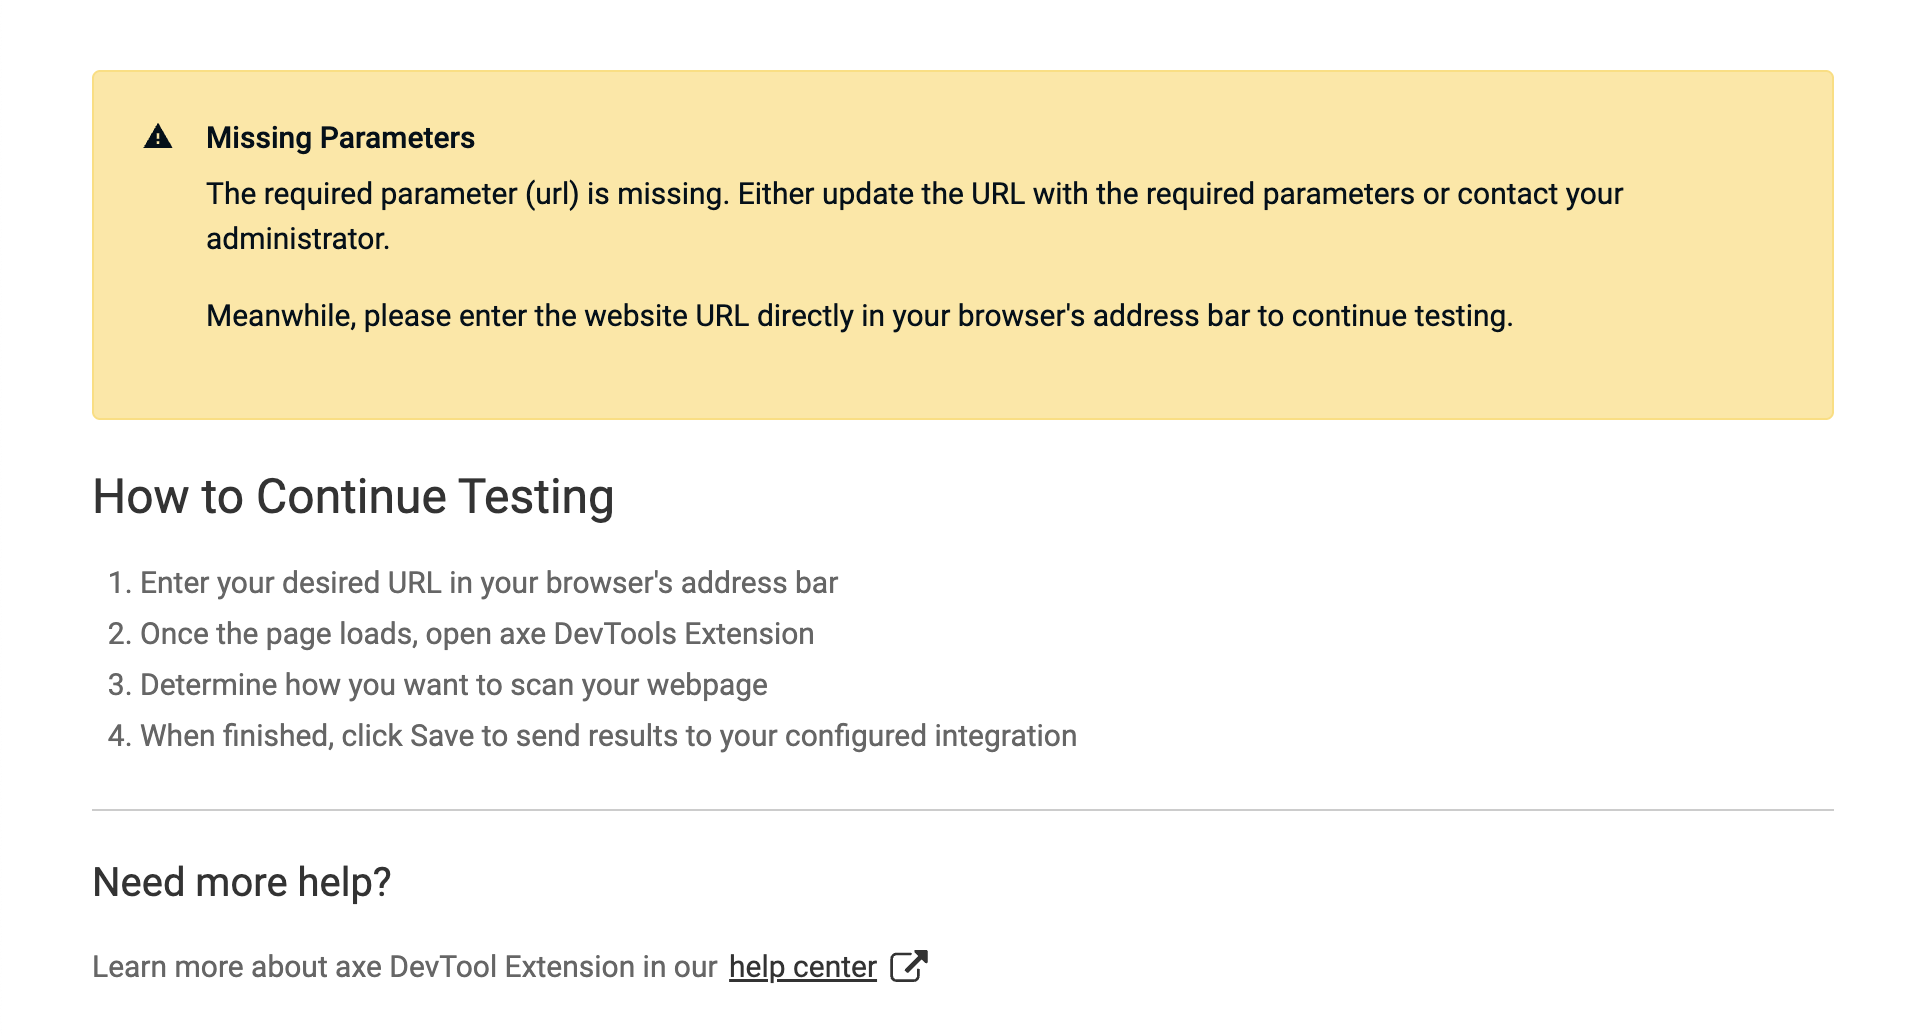
- If a
urlquery parameter is provided, the browser will be navigated to said URL - If no
urlquery parameter is provided, you will be asked to manually navigate to the URL
- If a
- Open the axe DevTools Extension if it isn't already opened
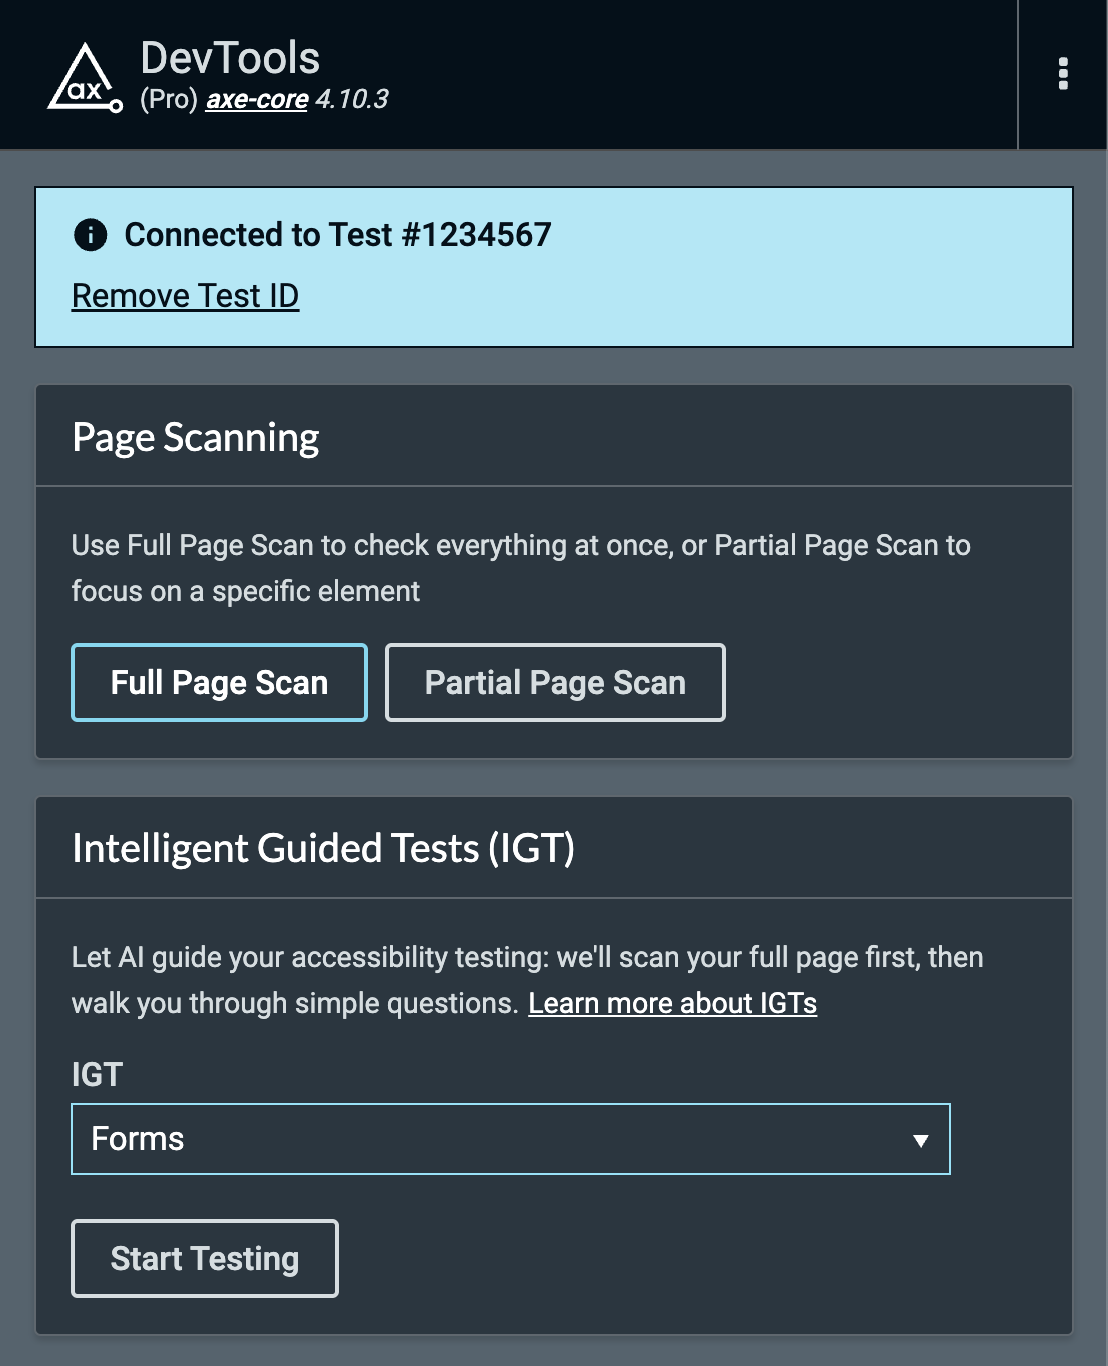
- Choose "Full Page Scan", "Partial Page Scan", or any IGT to begin testing
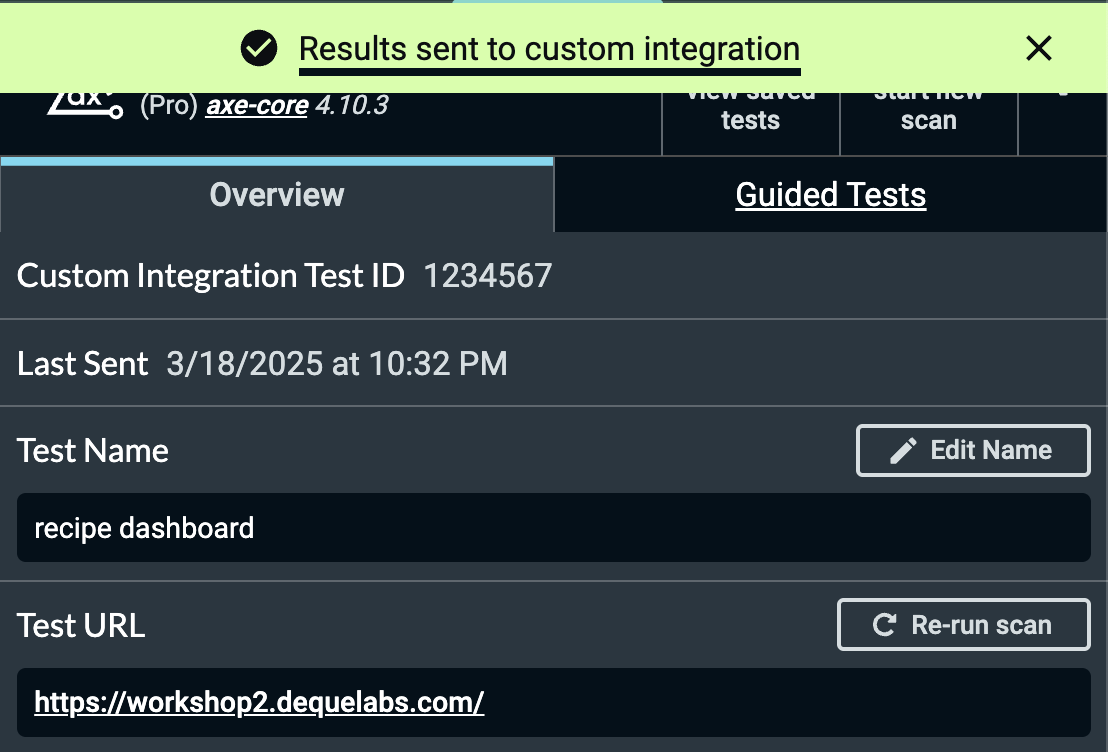
- Once testing is complete, navigate to the "Overview" tab of your saved test
- Open the "Share Options" menu
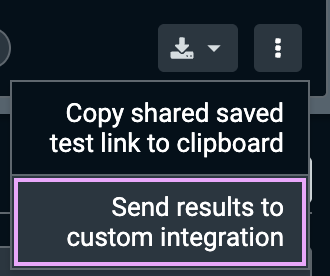
- Click the "Send results to custom integration" option
- If configured webhook endpoint responds with a
2xxresponse code, a success message will be rendered - If configured webhook endpoint responds with a non
2xxresponse code, an error message will be rendered
- If configured webhook endpoint responds with a
Manually Adding Test ID
- Open the axe DevTools Extension
- Create a new saved test or navigate to an existing one
- Once testing is complete, navigate to the "Overview" tab of your saved test
- Open the "Share Options" menu
- Click the "Send results to custom integration" option
- Enter your Test ID
- Click "Send"
- If configured webhook endpoint responds with a
2xxresponse code, a success message will be rendered - If configured webhook endpoint responds with a non
2xxresponse code, an error message will be rendered
- If configured webhook endpoint responds with a
Webhook API
This section describes the webhook endpoint for receiving test results from axe DevTools.
Endpoint Information
URL Structure
The URL structure is mostly up to you. You can use whichever domain and URL path that you'd like (just be sure to enter in the correct URL when configuring custom integration).
POST https://[your-domain]/[webhook-endpoint]Authentication
Authentication is implemented using webhook signatures. Each webhook request includes a signature header that should be verified to ensure the request came from axe DevTools.
Signature Verification
- A secret key is shared between axe DevTools and your service
- The signature is included in the
X-Hub-Signatureheader - Format:
X-Hub-Signature: sha256=<signature> - Timestamp
X-Deque-Request-Timestamp: <ISO timestamp> - Verify the signature by computing a SHA-256 HMAC of the timestamp and request body using your secret key that was originally provided
Example signature verification (node):
import crypto from 'crypto'

function verifyWebhookSignature(payload, timestamp, signature, secret) {
  const expectedSignatureBody = Buffer.from(timestamp + JSON.stringify(payload), 'utf8')
  const expectedSignature = crypto
    .createHmac('sha256', secret)
    .update(expectedSignatureBody)
    .digest('base64')

  return crypto.timingSafeEqual(
    Buffer.from(signature),
    Buffer.from(expectedSignature)
  )
}
Request Headers
| Header | Description |
|---|---|
Content-Type |
application/json |
X-Deque-Event |
The event type (e.g. integration-test-results) |
X-Deque-Request-Id |
Unique identifier for the webhook request |
X-Deque-Request-Timestamp |
An ISO 8601 timestamp |
X-Hub-Signature |
Payload signature for verification |
Request Body Schema
The webhook payload follows the axe Universal JSON format. Below is the detailed schema with examples:
Example Payload
{
  "source": {
    "productName": "axe DevTools Enterprise",
    "productComponentName": "axe-core",
    "productVersion": "4.7.2"
  },
  "testDetails": {
    "testId": "test-123e4567-e89b",
    "integrationTestId": "your-test-id-123456",
    "startDate": "2025-01-09T10:00:00Z",
    "endDate": "2025-01-09T10:01:00Z",
    "engine": "axe-core",
    "axeVersion": "4.7.2",
    "standard": "WCAG 2.1 AA",
    "bestPracticesEnabled": true,
    "experimentalEnabled": false,
    "testName": "Homepage Accessibility Scan",
    "createdBy": "john.doe@example.com"
  },
  "allIssues": [
    {
      "issueId": "issue-123",
      "ruleId": "color-contrast",
      "description": "Elements must have sufficient color contrast",
      "help": "Elements must meet minimum color contrast ratio requirements",
      "helpUrl": "https://dequeuniversity.com/rules/axe/4.7/color-contrast",
      "impact": "serious",
      "needsReview": false,
      "isExperimental": false,
      "isManual": false,
      "summary": "Button text does not have sufficient contrast with background",
      "selector": [["#main-nav", "button.login"]],
      "tags": ["wcag2aa", "wcag143"],
      "createdAt": "2025-01-09T10:00:30Z",
      "testUrl": "https://example.com/homepage"
    }
  ]
}
Response Requirements
Your webhook endpoint must:
- respond within 10 seconds
- Return a
2xxstatus code for successful receipt
Error Handling
Implement appropriate error handling by returning a non-2xx status code for these scenarios:
- Invalid signature
- Request timeout
- Malformed payloads
- Server errors