
Jira Integration Templates
Templates are preset mappings of axe issue fields to Jira fields that help create standardized formats for Jira tickets. Templates can be created for any project and issue type pairing and can be used by anyone in your organization when sending issues to Jira.
Template Access Management
Who Can Create Templates
Anyone with Jira integration product access can create templates.
Who Can Edit or Delete Templates
- Template authors: Users who created the template can edit or delete their own templates
- axe Account Portal admins: Can edit or delete any template in the organization
Template Permissions
- Templates are organization-wide resources
- All users with Jira integration access can use any template
- Only template authors and admins can modify templates
- Templates cannot be restricted to specific users or groups
Creating a Template
- Navigate to the "CONFIGURATION" page within the axe Account Portal (or navigate directly to https://axe.deque.com/configuration/integrations and skip step 2)
- Click the "Integrations" link within the "Configuration" nav
- Click on "Configure Jira Templates" link
- Click on "Add Template" button
- Fill out the fields on the "Template Information", "Field Mapping", and "Impact Mapping" steps. You can view more details for each step in the following sections.
- Review the information filled out in steps 1 through 3
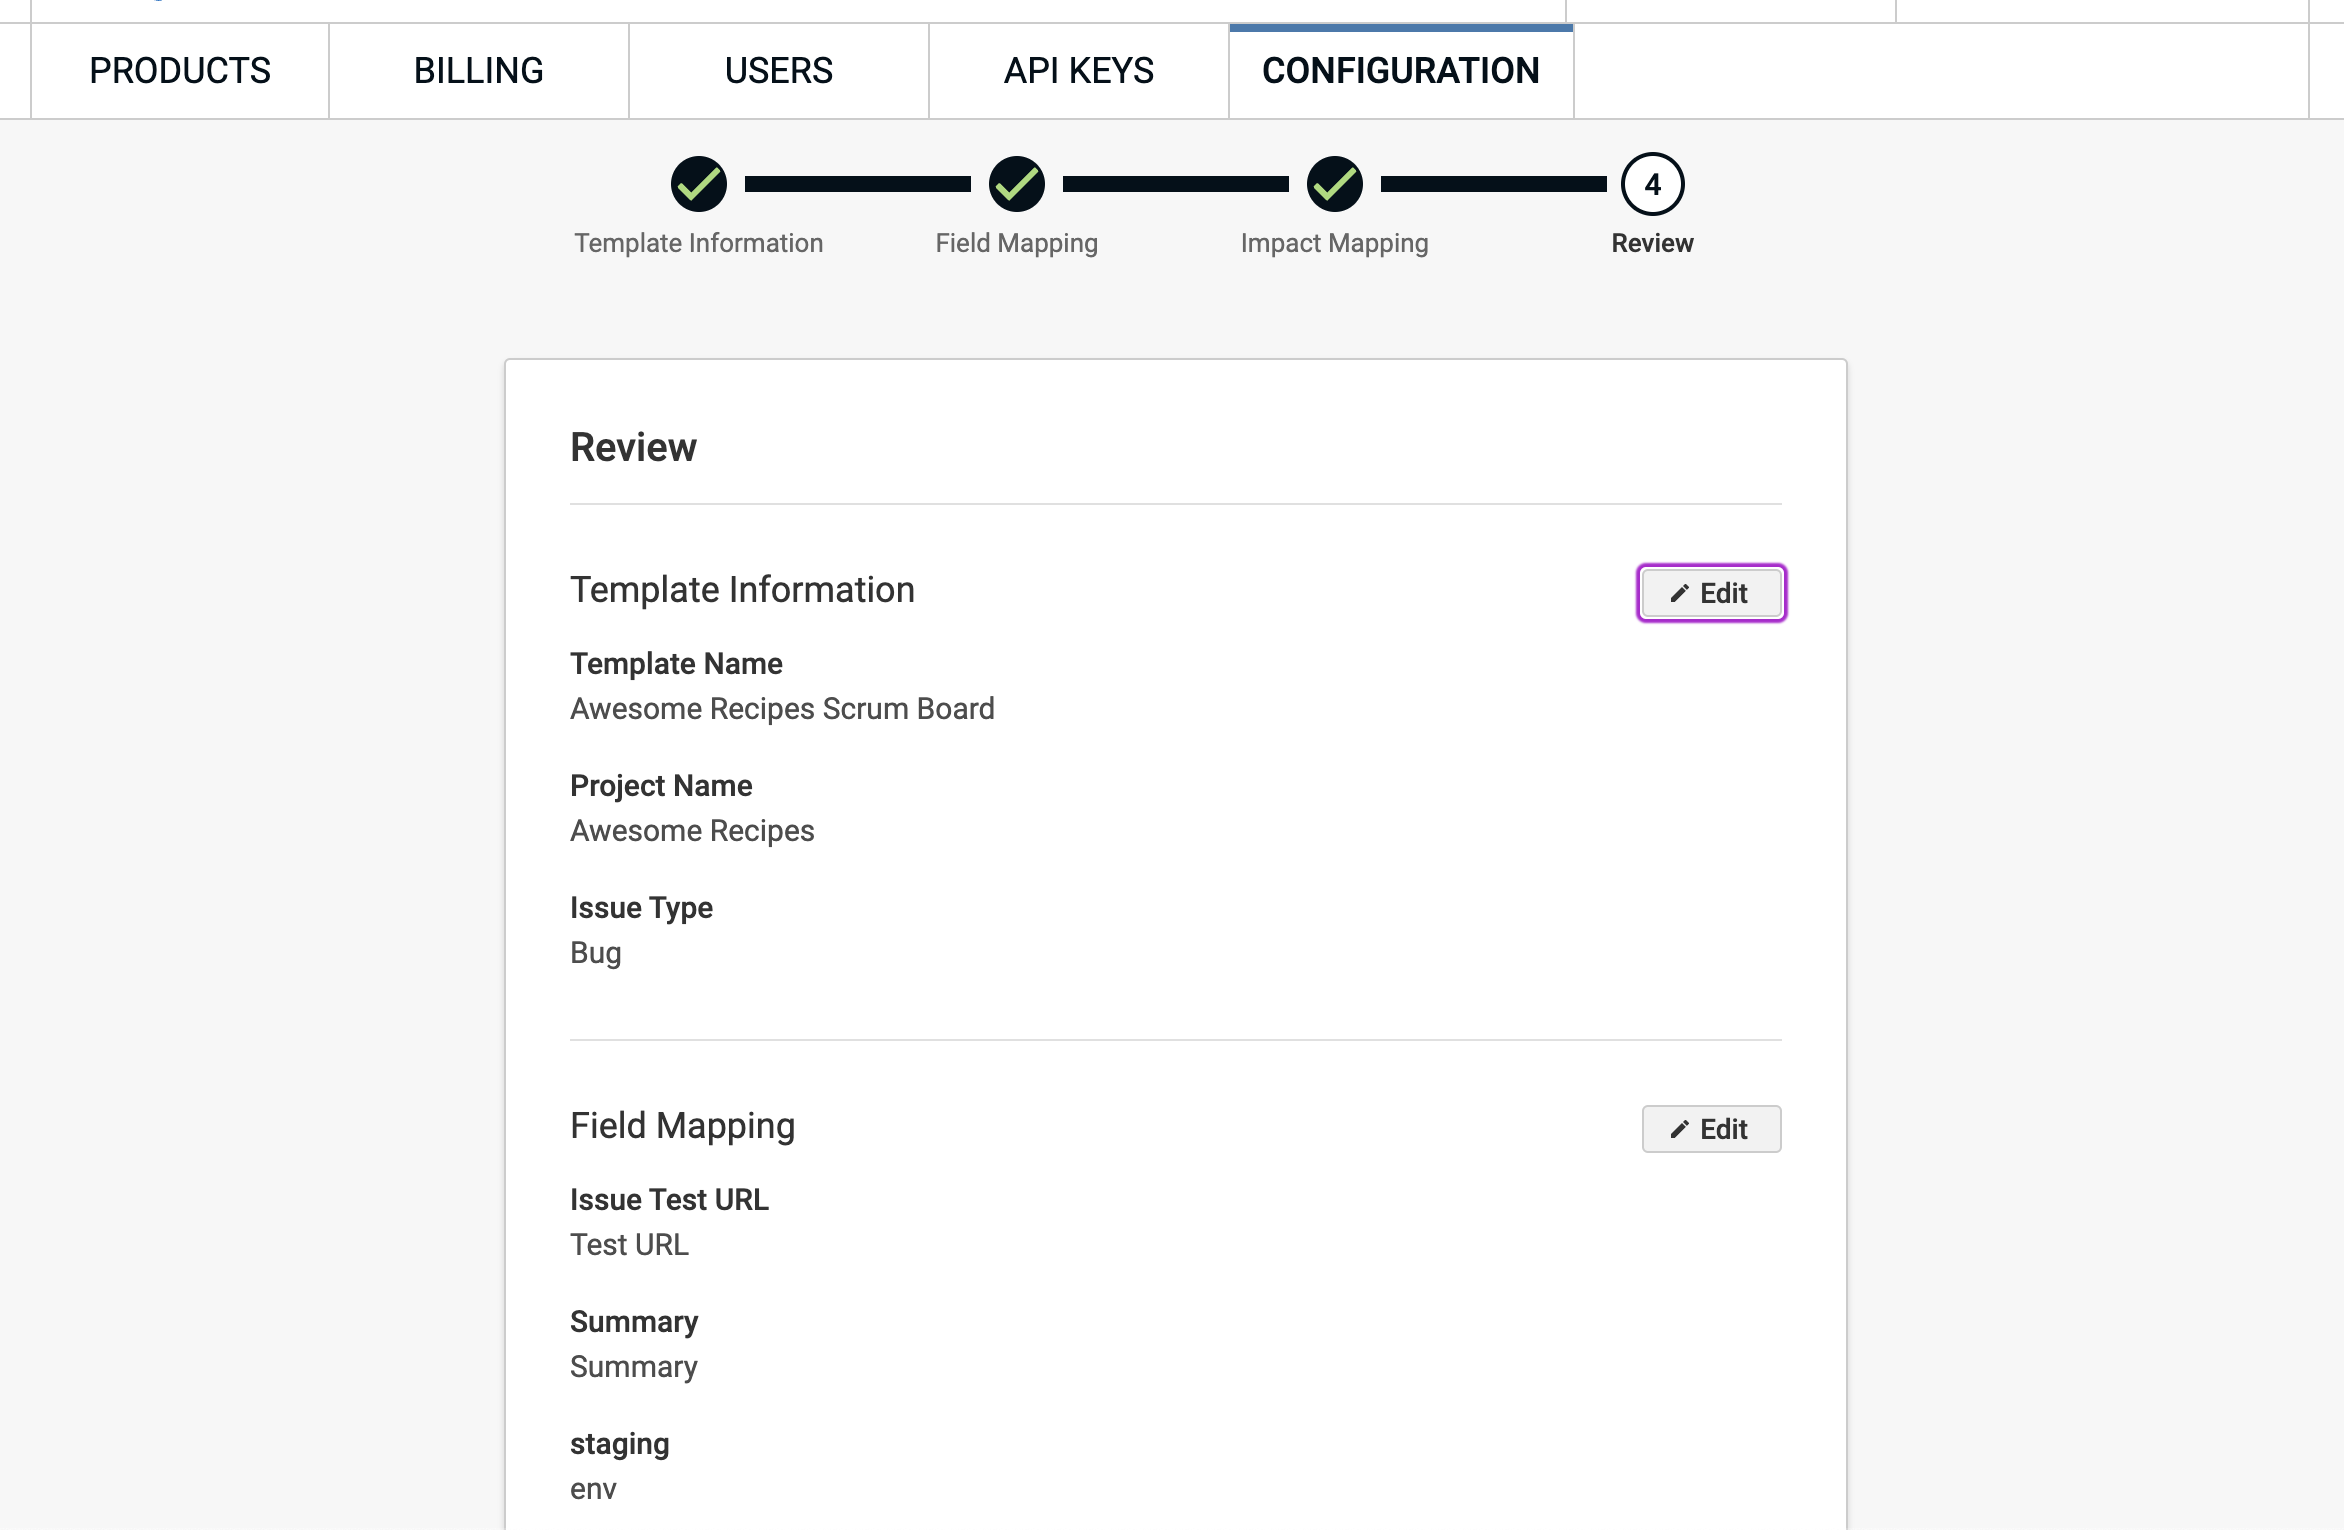
- Click "Save"
To make use of a template, refer to the Sending Issues to Jira section.
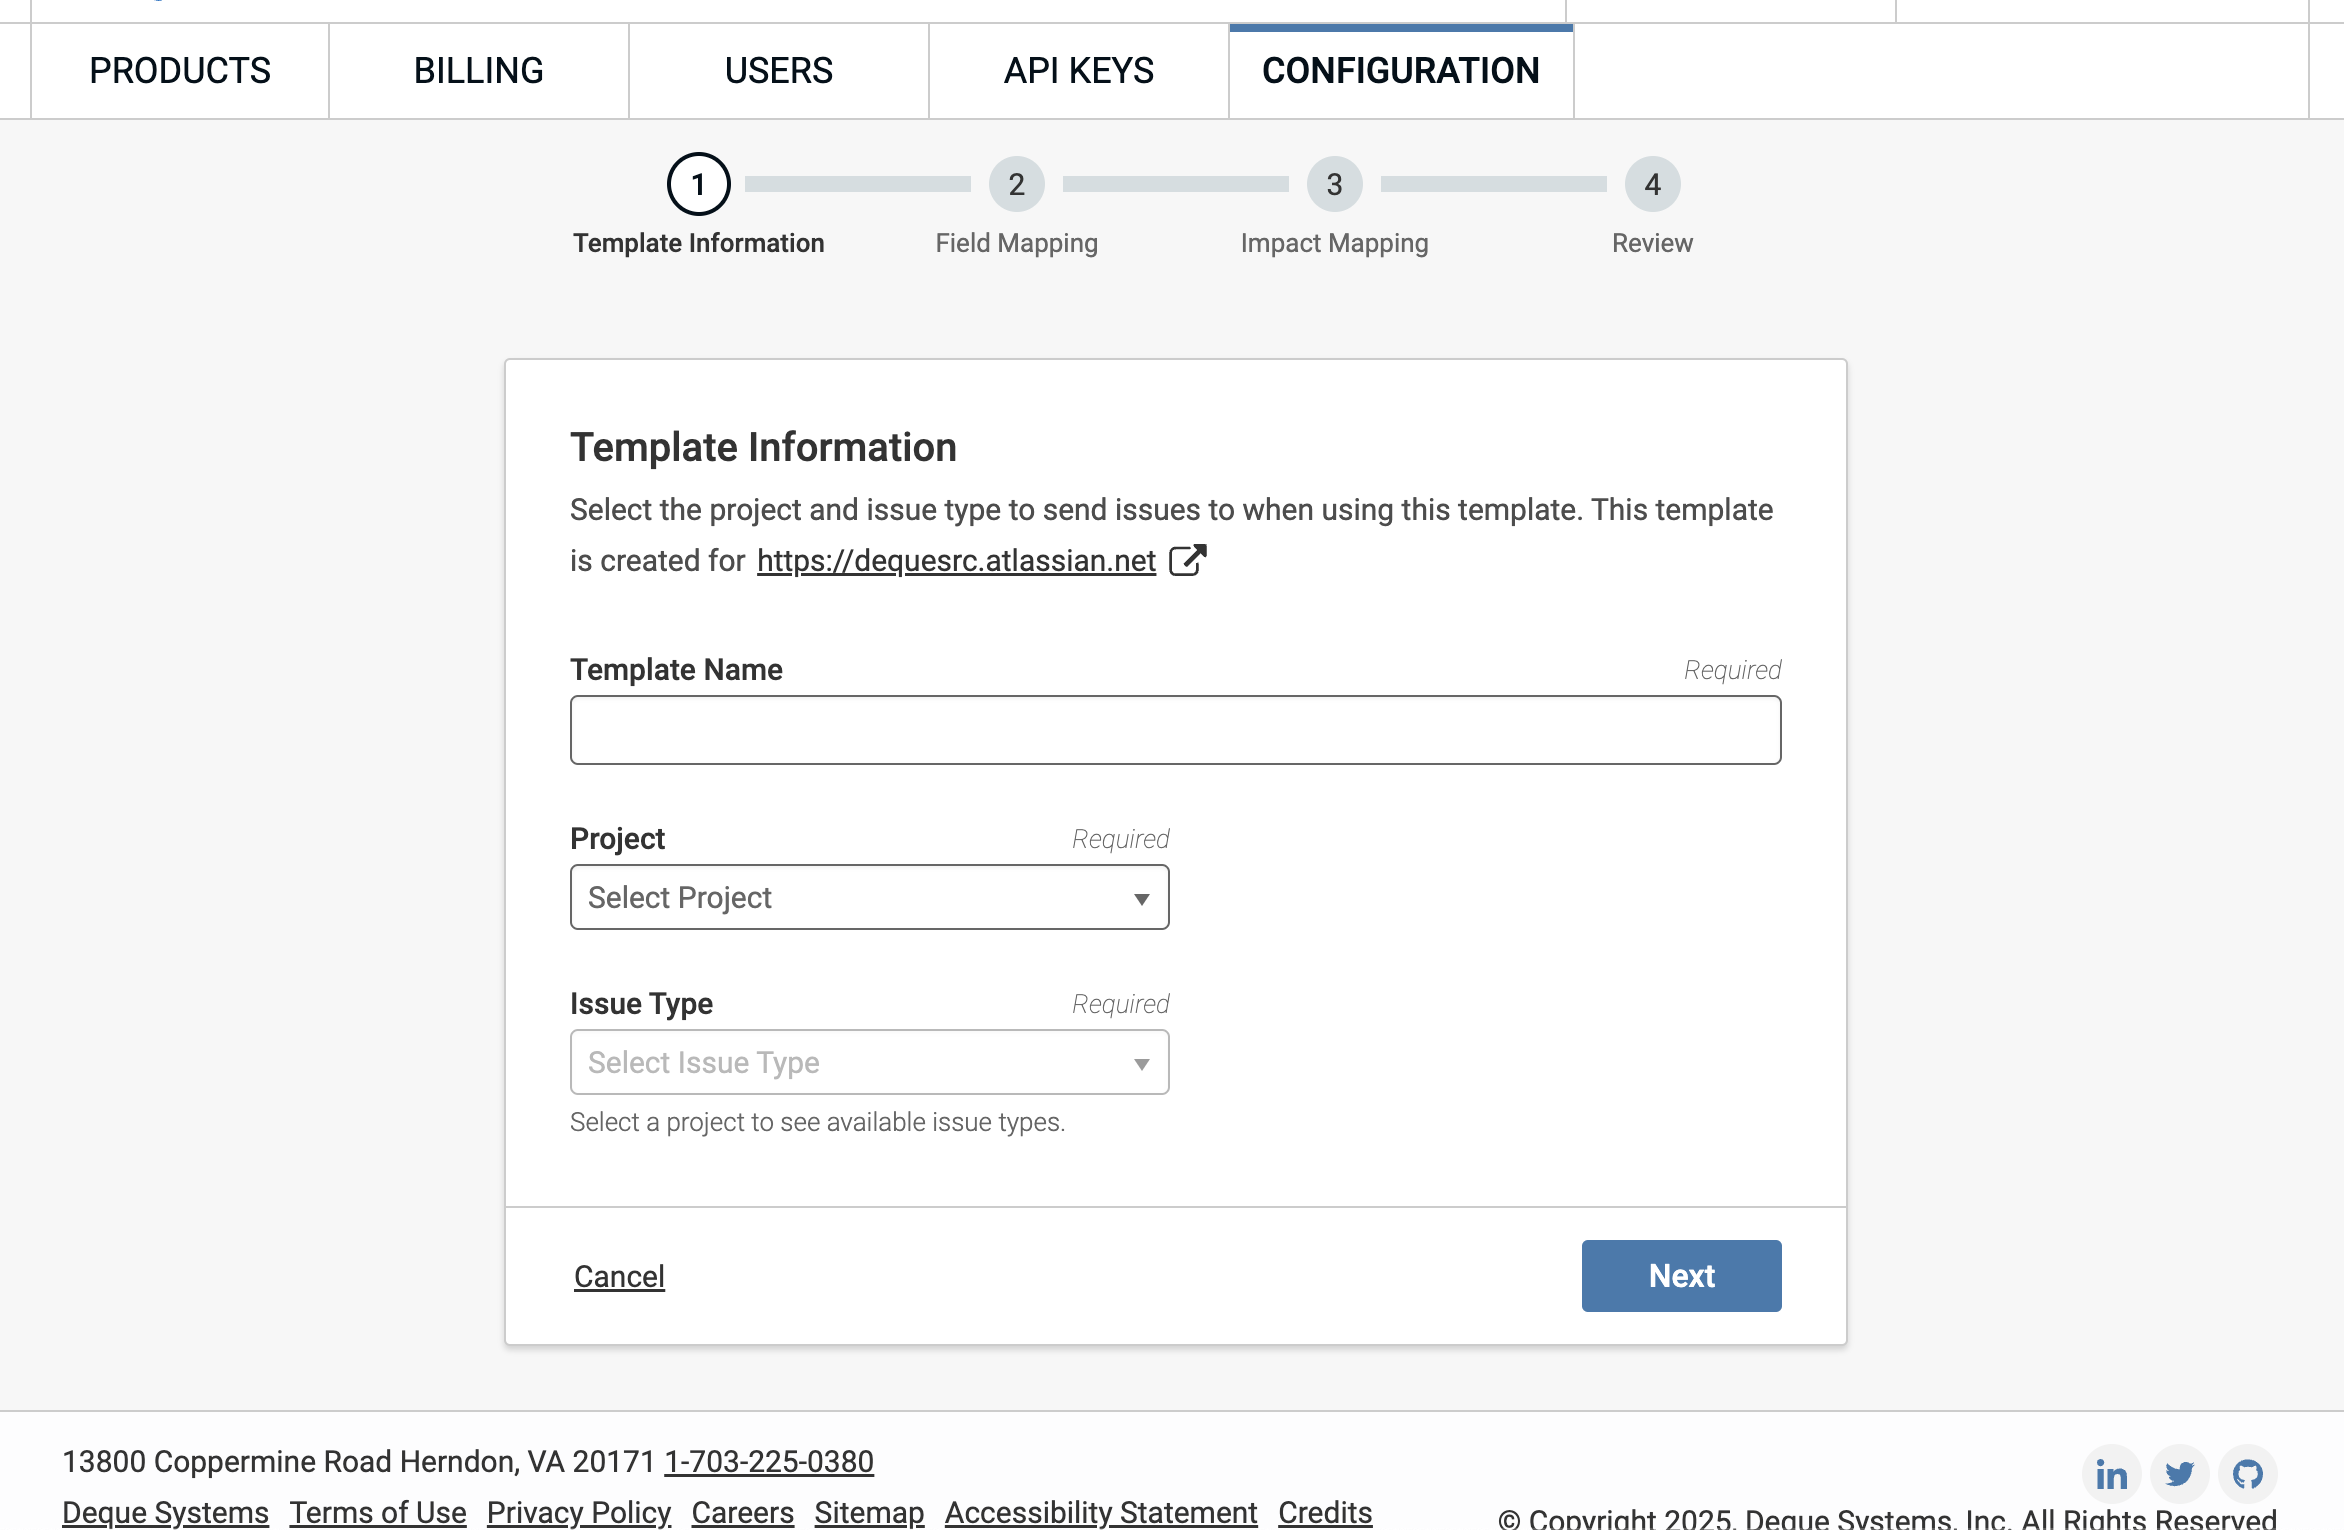
Adding Template Information
The first step in creating a template is to configure the basic information that determines where and how issues will be created in Jira.
- Template Name: Enter a descriptive name for your template. This name will appear in the template list when sending issues to Jira. Example: "A11Y Bug", "Mobile Accessibility", "WCAG 2.1 Violations"
- Project: Select the Jira project where issues will be created when using this template. The dropdown displays all projects you have permission to create issues in.
- Issue Type: Choose the type of issue that will be created in Jira. The available options depend on your selected project's configuration. Common types: Bug, Task, Story, Sub-task
- Enable Axe Issue Screenshots as Attachments: When checked, screenshots captured by axe tools will be automatically attached to the Jira ticket. This provides visual context for developers fixing the issues.
Configure Field Mapping
On the field mapping page, user can map axe fields to Jira fields to automatically transfer accessibility issue data when creating tickets:
- In the Jira Field dropdown, select the Jira field you want to map
- In the axe Field dropdown, choose the corresponding axe data field
- Click + Add axe Field to map additional fields
- Click the minus (−) button to remove a mapping
- Click Next button to save
Important: All Required Jira fields (e.g. Summary) are automatically displayed on this page. If you don't map them to axe fields, users will be prompted to fill them manually when sending issues.
Common axe fields available for mapping include:
- Rule: the accessibility rule ID that was violated
- Description: detailed description of the accessibility issue
- How to fix: instructions for resolving the issue
- Help URL: link to rule documentation
- Issue Summary: brief summary of the issue
- Selector: CSS selector for the element
- Element Source: HTML source code of the element
- Issue Screenshot URL: the URL of the screenshot associated with the issue
- Tags: array of string tags of metadata for the issue (categories, wcag checkpoint identifiers, etc.)
- Test name: name of the saved test in which the issue was found
- Issue Share URL: direct link to the shared issue in axe product
- Created at: the date in which the issue was detected
- Issue Test URL: URL of the tested page
- Found by: user who performed the test in which the issue was raised
- Page Title: document title of the tested page
- Axe version: the axe-core version used for the test
Jira Description field
Jira description field follows standardized structure that cannot be customized or mapped. When issues are sent to Jira, they automatically include a structured description with the following sections:
- Issue Description: description of the issue
- How to fix: step-by-step remediation instructions
- Issue location:
- Selector: CSS selector of element with issue
- Element source: HTML source code of element with issue
- Page URL: URL of tested page
- Additional details:
- Impact: issue severity level
- Axe Issue Link: link to issue report in axe Account Portal (if available)
- Rule Help: link to rule documentation
Configure Impact Mapping
Accessibility issues in axe are classified by impact level, indicating how severely they affect users. On the Impact Mapping page, you can map these impact levels to your Jira priority values to ensure proper issue prioritization.
Error Handling
Required Field Validation
If a required field is left blank in the template
During Issue send time the system will display an error message and users must provide a value for the required field before sending issue to Jira. An axe issue cannot be sent to Jira until all required fields have values
If a template maps a value to a required Jira field but the value doesn't exist in all axe products
- During template creation, the system will show a warning message that mapped field isn't available in all axe products, but users can proceed with creating the template despite the warning
- During sending issues to Jira, If a template contains mappings to fields that are missing in a Deque product, a warning message will appear. The system will highlight the fields requiring manual input and Users must manually enter values for any missing required fields before the issue can be sent. Issues will only be sent to Jira once all required fields are populated—either through existing mappings or manual entry.
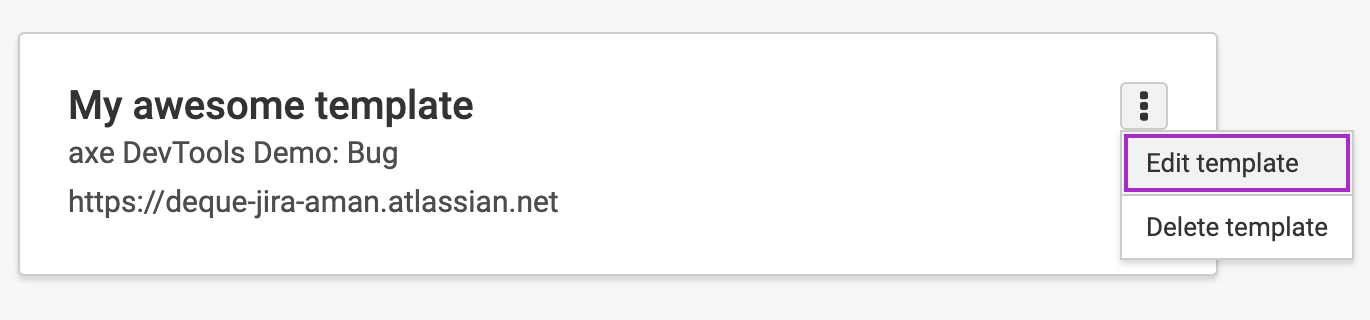
Editing and Deleting Templates
To edit or delete a template activate the "Options" menu for the given template and you will be given 2 options:
- Edit template
- Delete template
To edit or delete an existing template, user must be the author of the template or be an axe Account Portal admin.