
Sending Issues from axe Monitor to Jira
With the axe platform Jira Integration, you can capture accessibility issues identified in axe Monitor as a single issue or multiple issues in your Jira instance. Track issue progress in Jira, collaborate across teams, and resolve accessibility issues efficiently.
Once an axe Account admin for your organization has set up a connection to Jira and created a template, scan admins in axe Monitor can send axe Monitor issues to Jira.
Send a Single Issue to Jira
-
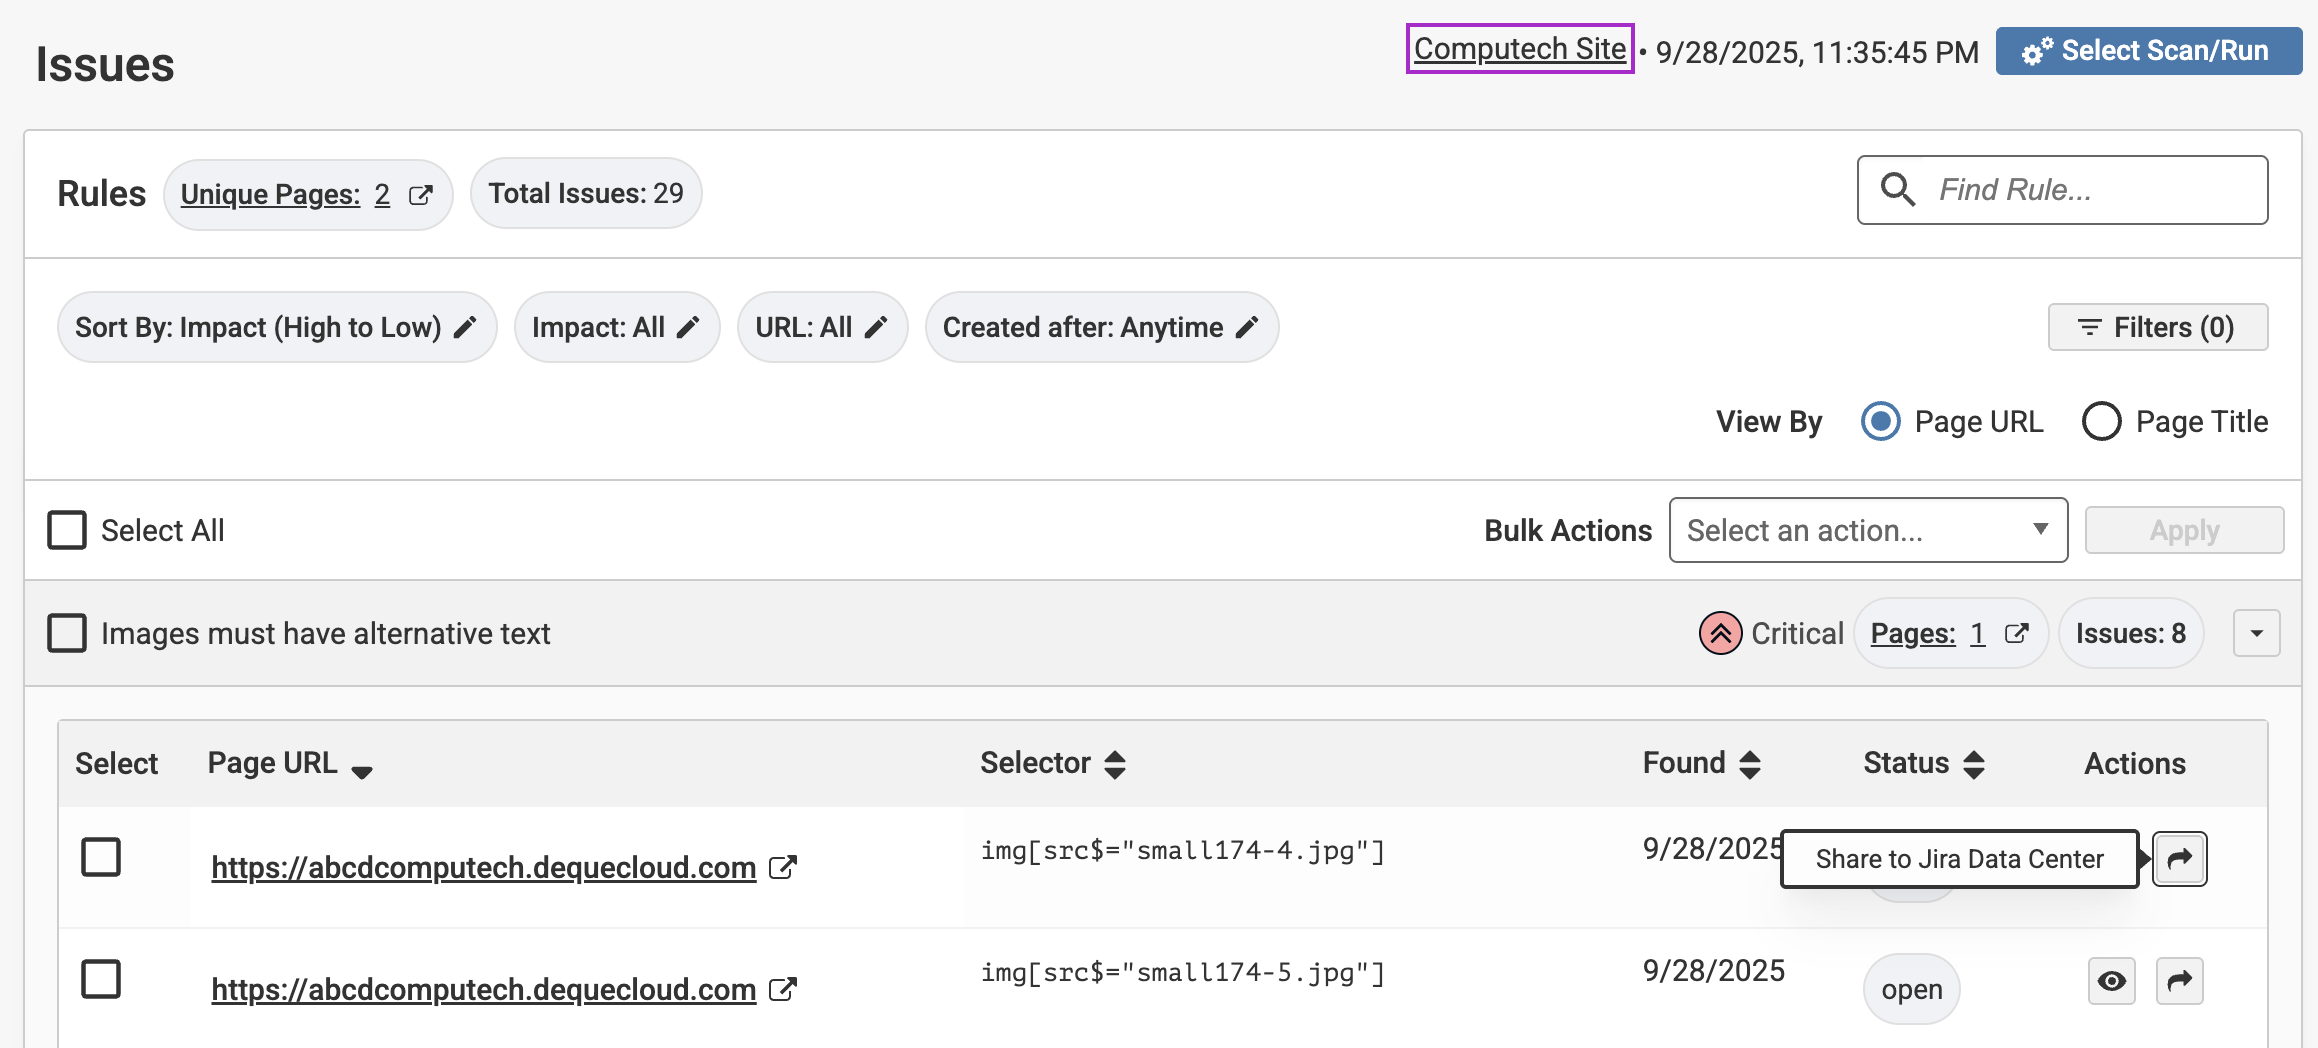
On the Issues page in axe Monitor, expand one of the issue titles.
-
Find the issue you want to send to Jira and select the arrow icon, Share to Jira.
-
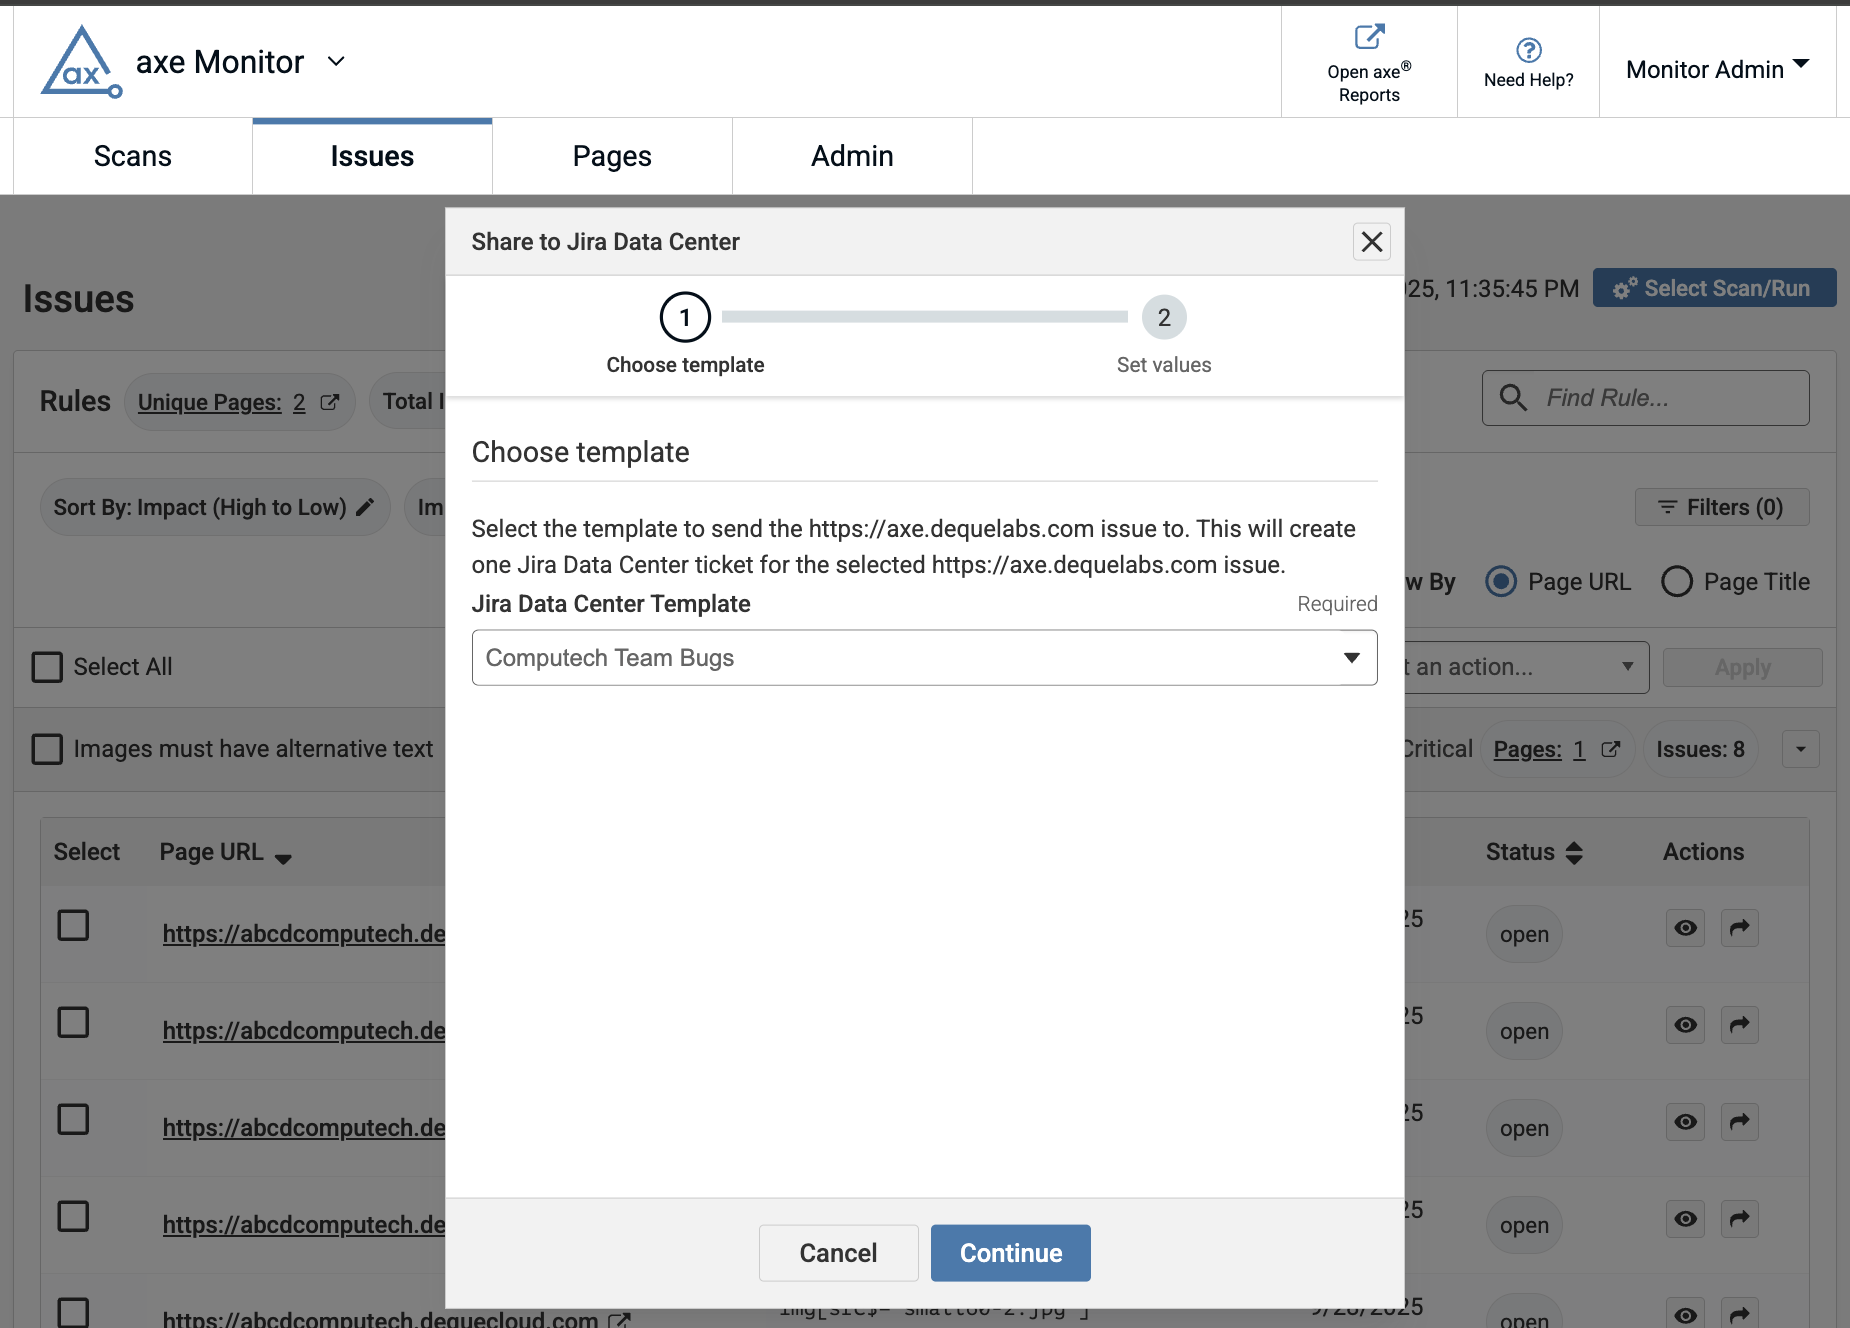
A modal will appear. Choose one of the templates from axe Account and select Continue.
-
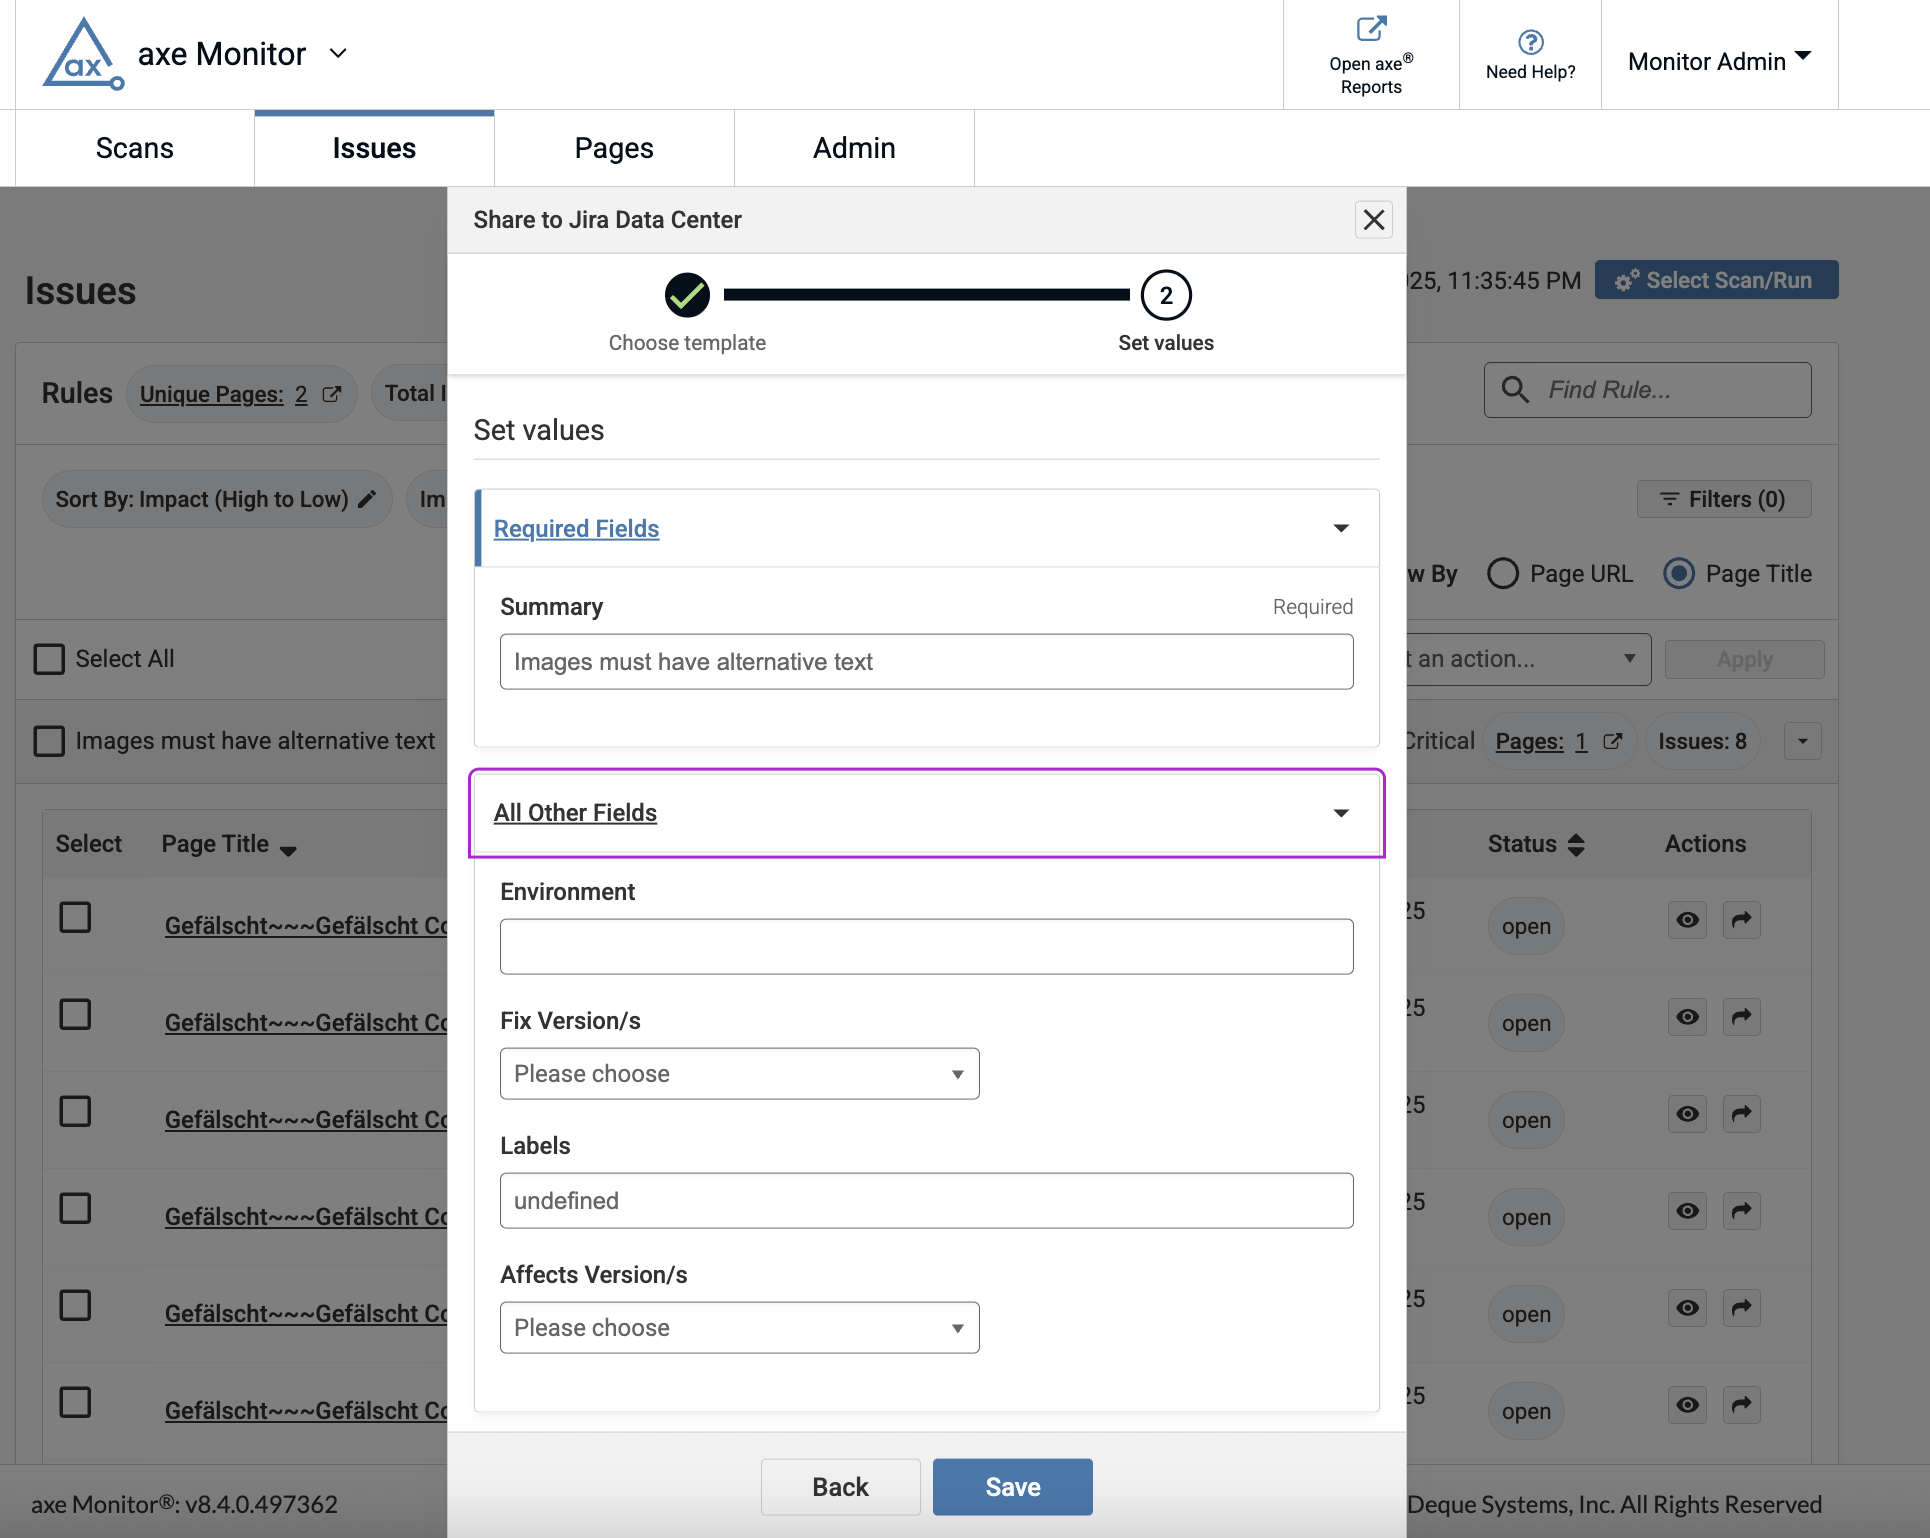
In the Set Values step, you can optionally modify any fields that are already set in your Jira template. Note that your Jira instance’s fields may differ from the screenshot shown below.
Jira fields that are prepopulated according to the selected template mapping from axe Account. For example, the Summary field may display the description of the selected issue.
-
Enter information in the required fields and select Save. A success message will show at the top of the screen, confirming the issue has been shared.
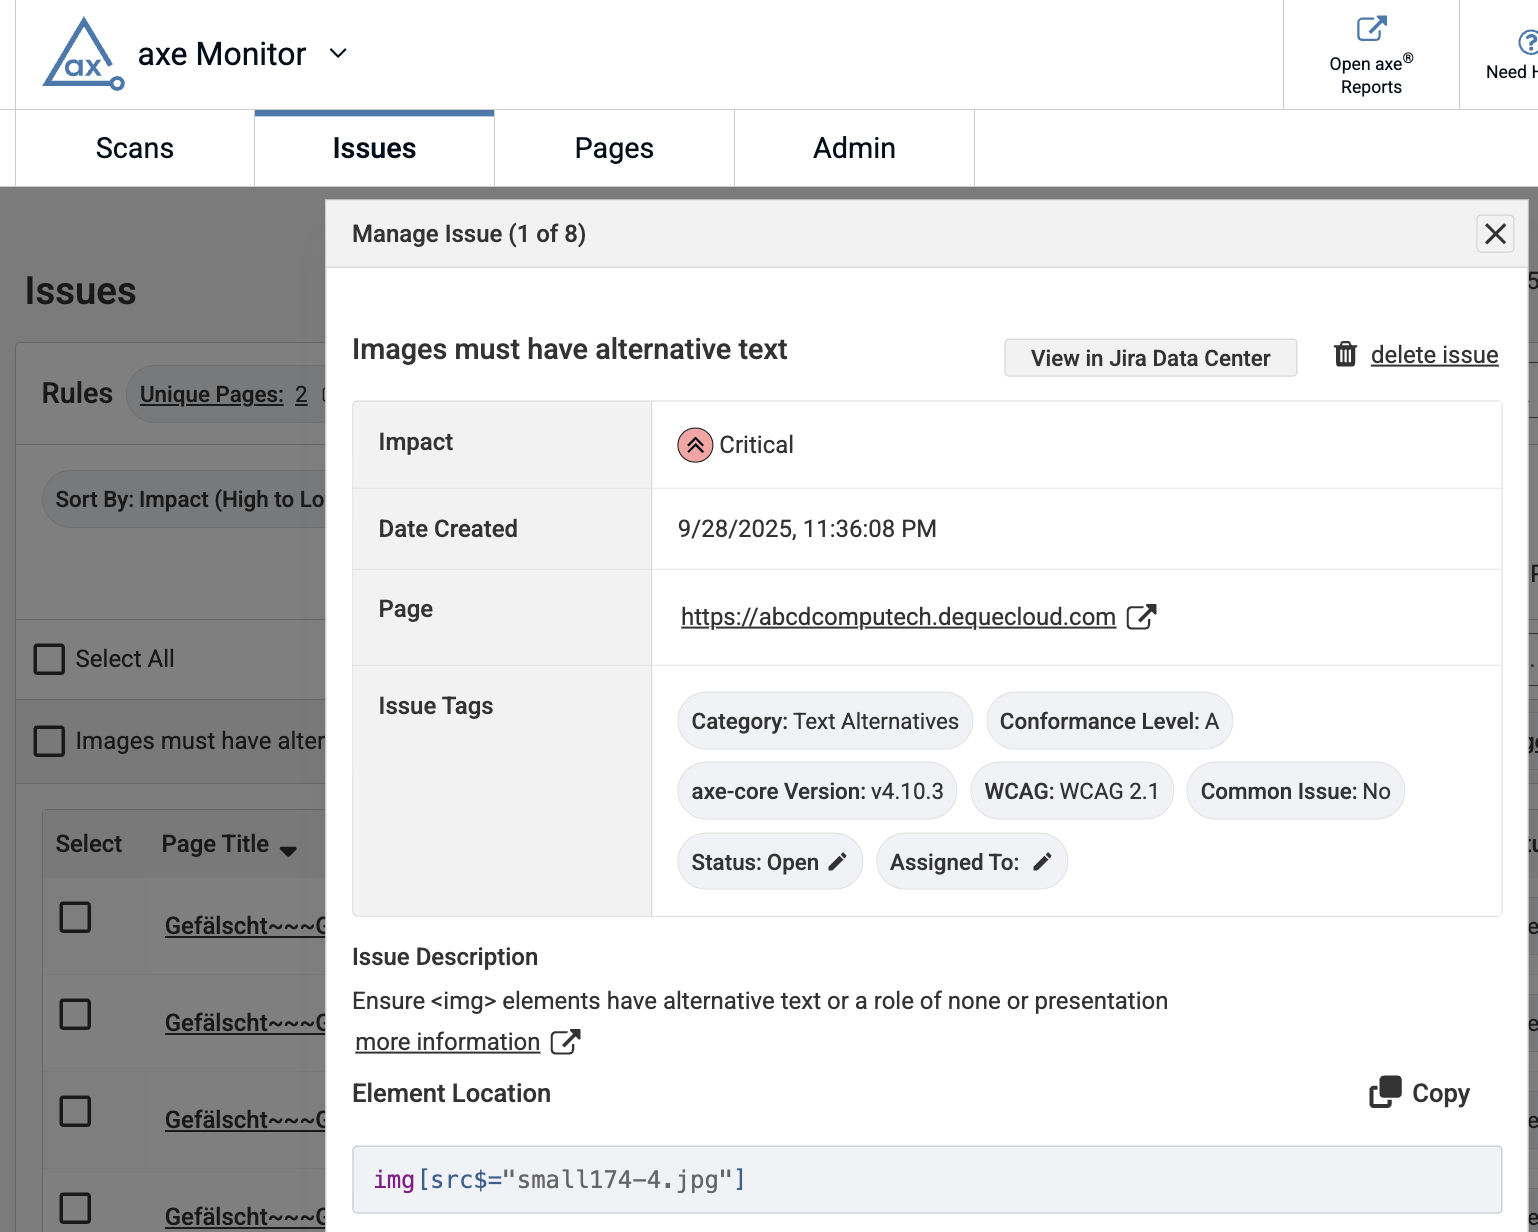
When you reopen the issue, a link to View in Jira will be available to reference your issue.
Note: Scan admins can also send single issues to Jira, or view an issue in Jira from the Issue Detail view.
Send Multiple Issues for a Page to a Single Jira Ticket
Often, accessibility issues require making minor, one-line updates on a single page, and fixing these issues within a single Jira ticket for each page can be an effective strategy for remediating several accessibility issues at once.
-
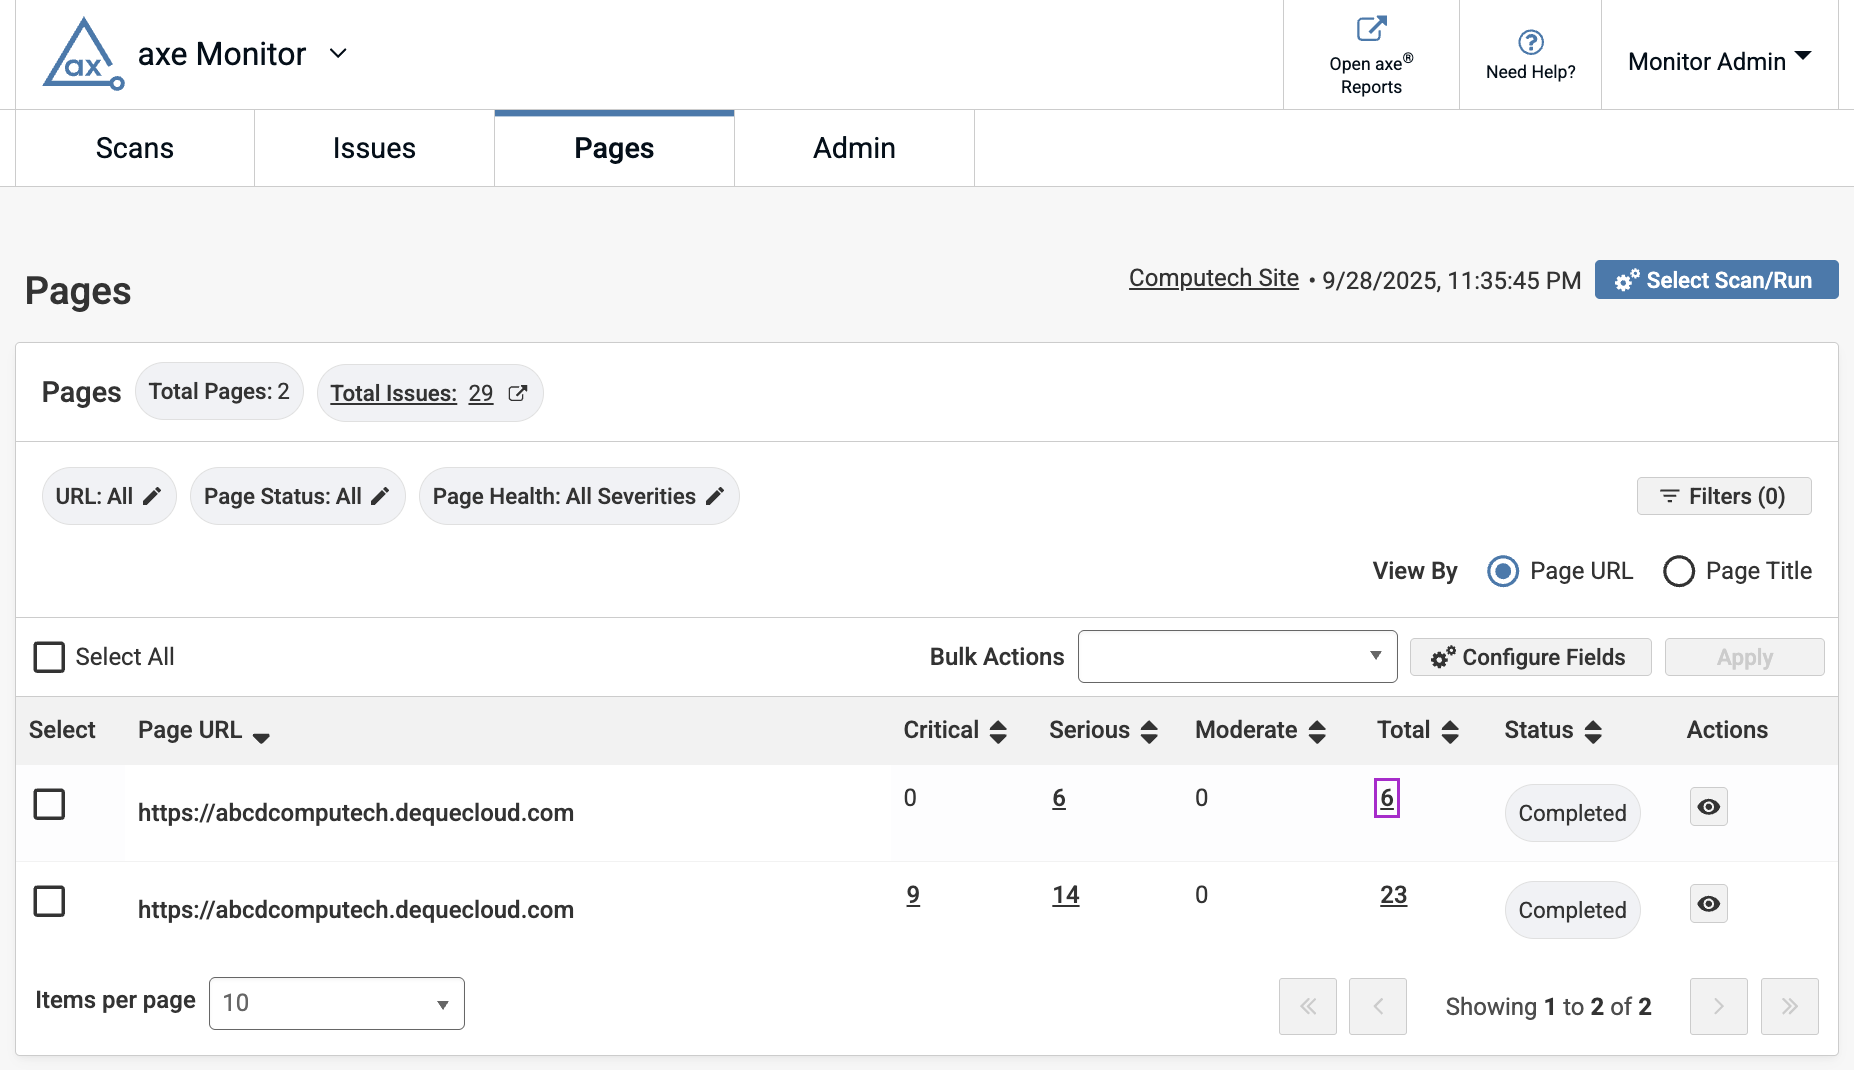
On the Pages view, select one of the issue counts for a page from the Critical, Serious, Moderate, or Total columns.
-
The issue count link will bring you to the Issues view for the selected page. Select all or choose the desired issues to send to Jira.
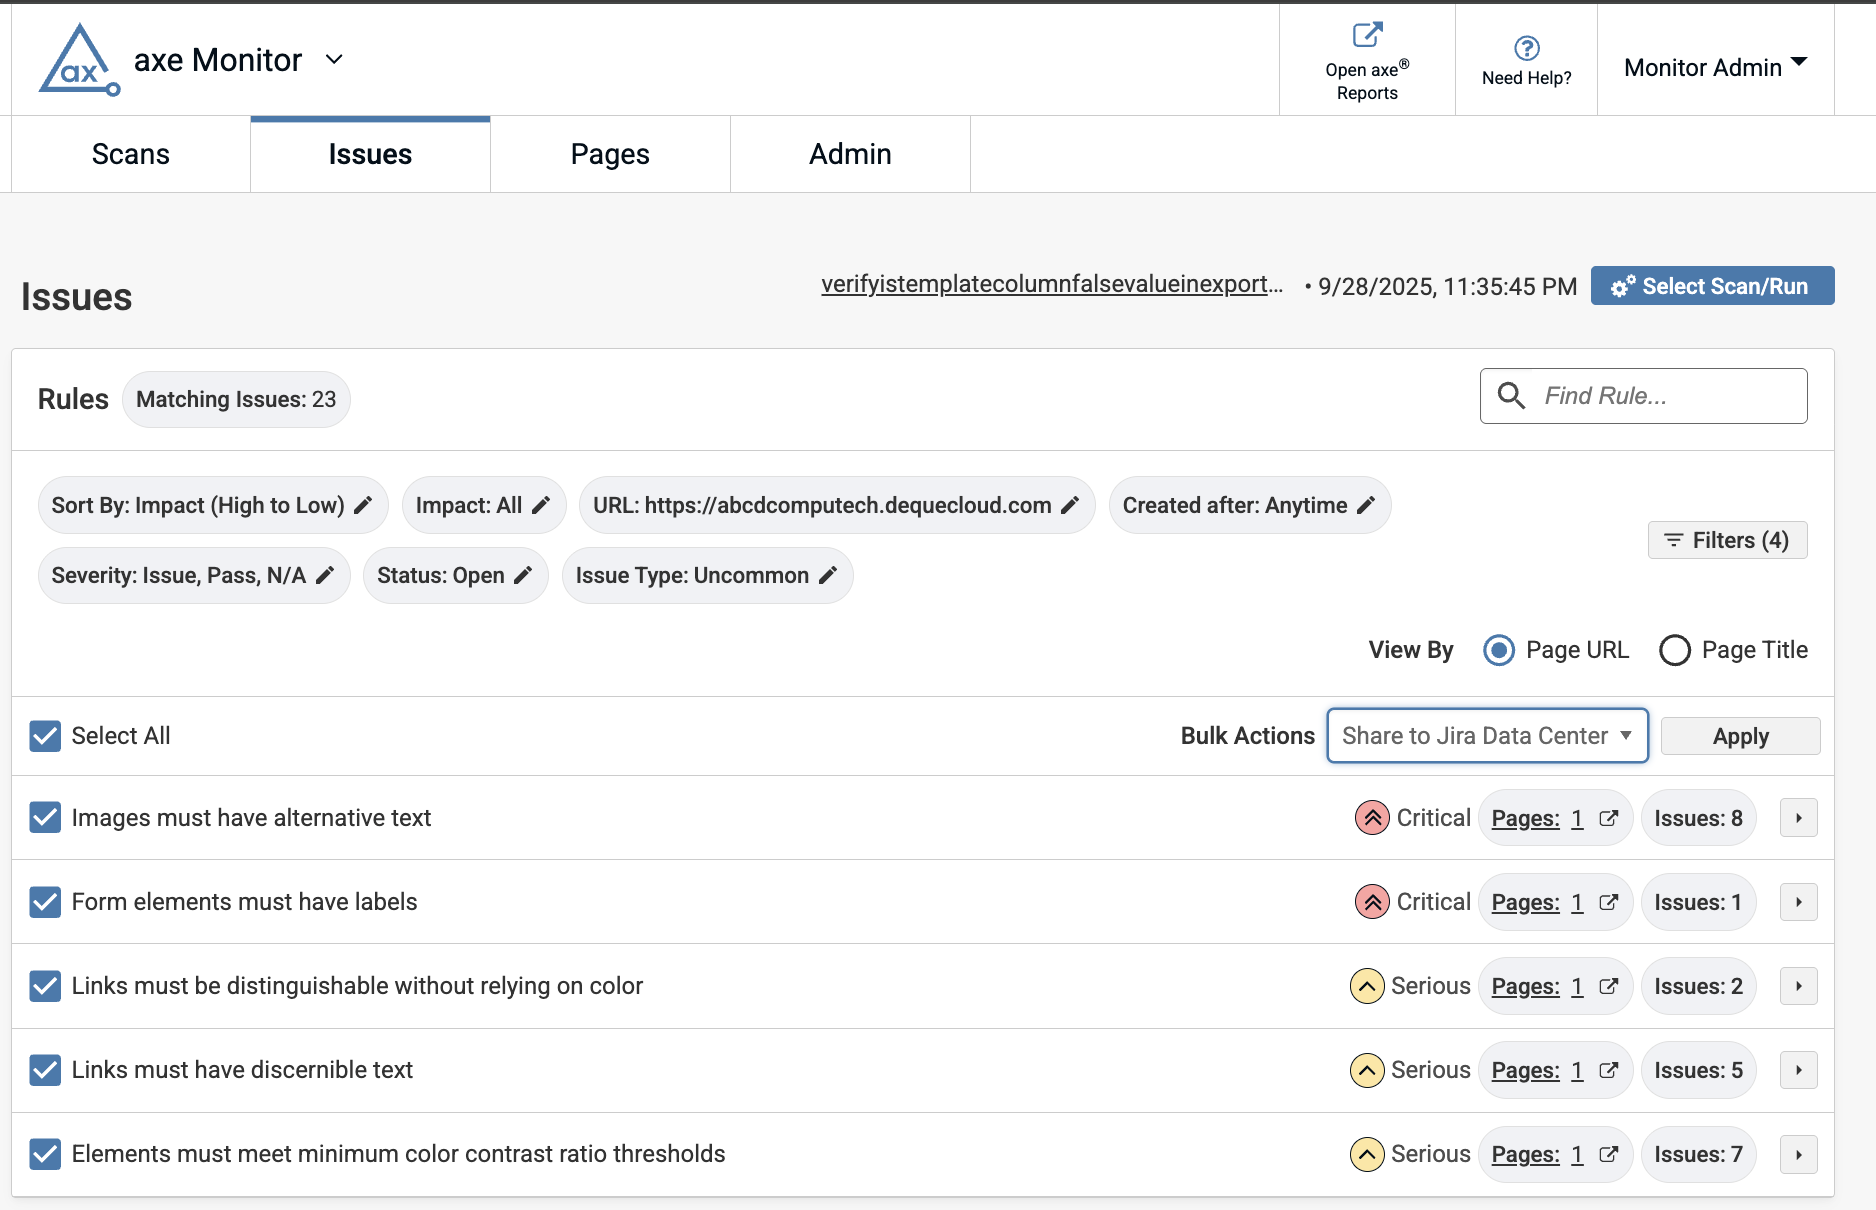
Note: All the issues must be from the same page for the "Share to Jira" Bulk Actions drop-down to show.
-
From the Bulk Actions drop-down, choose Share to Jira. Select the Apply button.
Note: If some of the issues you've selected were already sent to Jira, a confirmation modal will appear explaining that they will not be sent to Jira a second time.
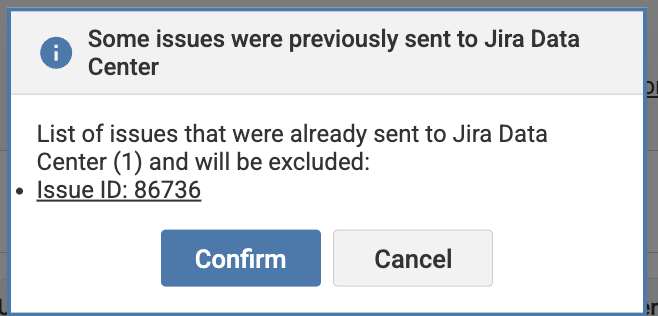
Click Confirm to exclude those issues.
-
A modal, The Share to Jira Cloud will appear. Choose one of the templates from axe Account and select Continue.
In the Set Values dialog, you can optionally modify any fields that are already set in your Jira template. Note that your Jira instance’s fields may differ from the screenshot shown below.
-
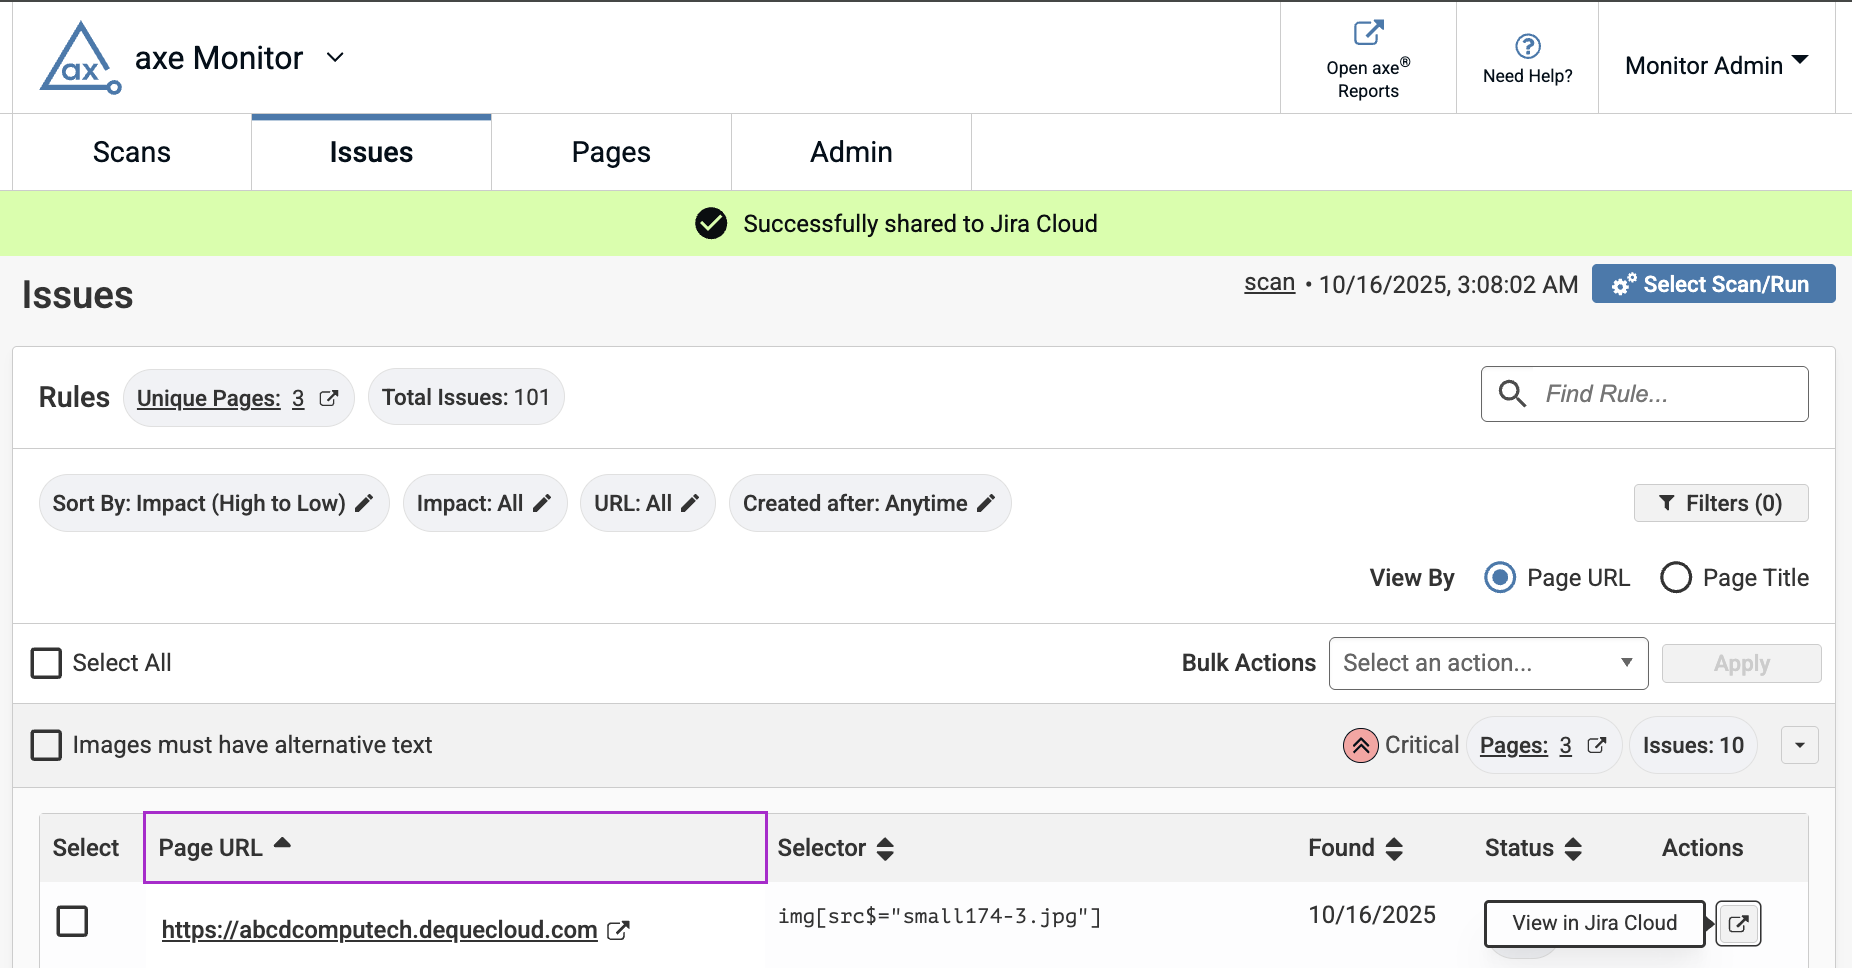
Enter information for the required details and select Save. A success message will show at the top of the screen, confirming that a Jira ticket was created, for the selected issues.
To view the Jira ticket, reopen any of the axe Monitor issues that were sent to Jira. In the Actions column, select View in Jira. The added Jira ticket will open in a new tab.
Note:
- When the issue description exceeds the character limit in Jira, axe Monitor will attach all the issue details as a CSV file on the Jira ticket. Find Attachments on the Jira ticket to download and review issue details.
- When sending multiple Jira issues for a page to a single Jira ticket, consider how many issues are manageable to fix in one ticket. Axe Monitor recommends sending fewer than 25-50 issues to one Jira ticket.