Add Clients
To add a new client for your organization, perform the following steps:
-
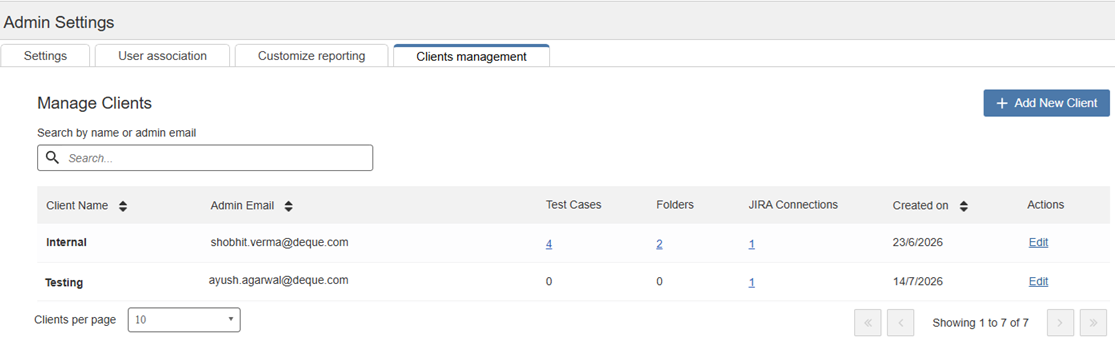
On the Axe Auditor homepage, click Admin Settings and then Clients management. The Manage Clients page appears.
-
Click Add new client. The Create New Client page appears.
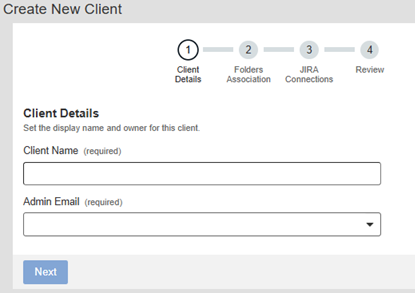
The Create New Client wizard consists of adding client details, folder association, Jira connections, and review process.
-
(Mandatory) Enter a unique name in the Client Name field.
-
(Mandatory) Select the email address of the user who will manage the client from the Admin Email drop-down.
-
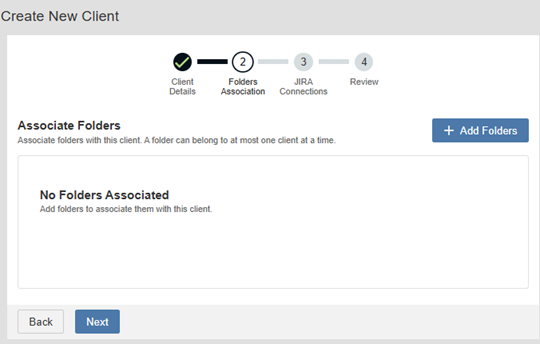
Click Next. The Associate Folder page appears.
-
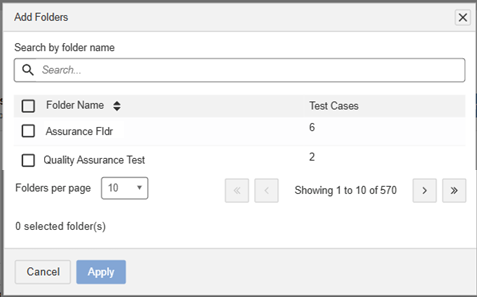
Click Add folders. The Add folders dialog appears.
-
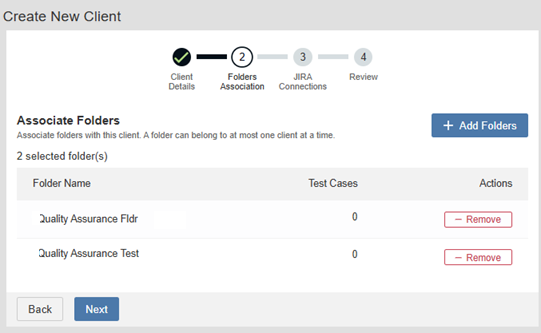
Select one or more folders to associate with the client and click Apply. The folder added details dialog appears.
-
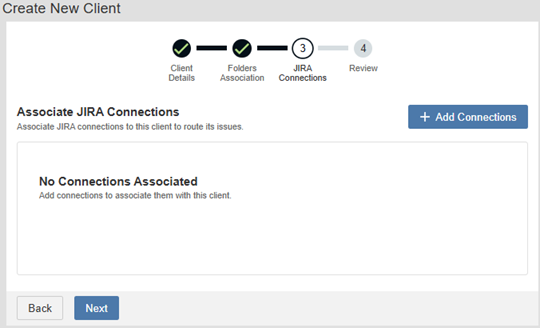
Review the added folder names and click Next. The Jira connections page appears.
Note: To remove an added folder, locate the folder under the Folder Name column, and then click Remove.
-
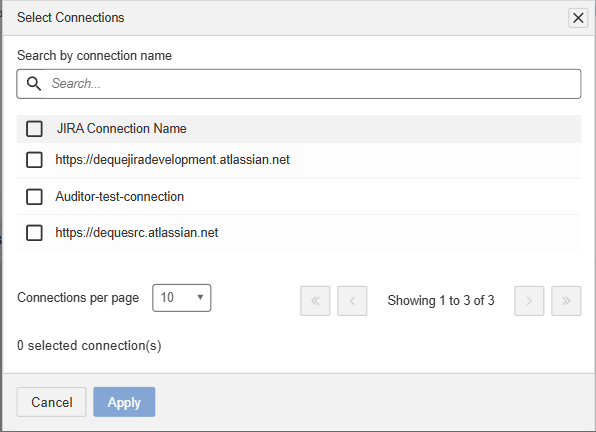
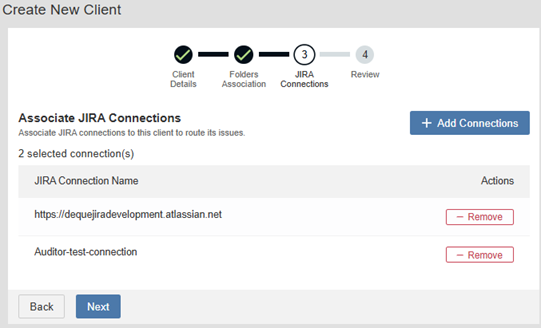
Click Add Connection. The Select Connections dialog appears.
If you know the Jira connection name, enter it in the Search by connection name field to locate the connection.
-
Select the appropriate JIRA connection and click Apply. The added details for the client page appear.
If you know the JIRA connection name, enter it in the Search by connection name field to locate the connection.
-
To make changes, click the Edit (pencil) icon next to the relevant section, or click Back to return to a previous page and update the necessary information.
-
To make changes, click the Edit (pencil) icon next to the relevant section, or click Back to return to a previous page and update the necessary information.
-
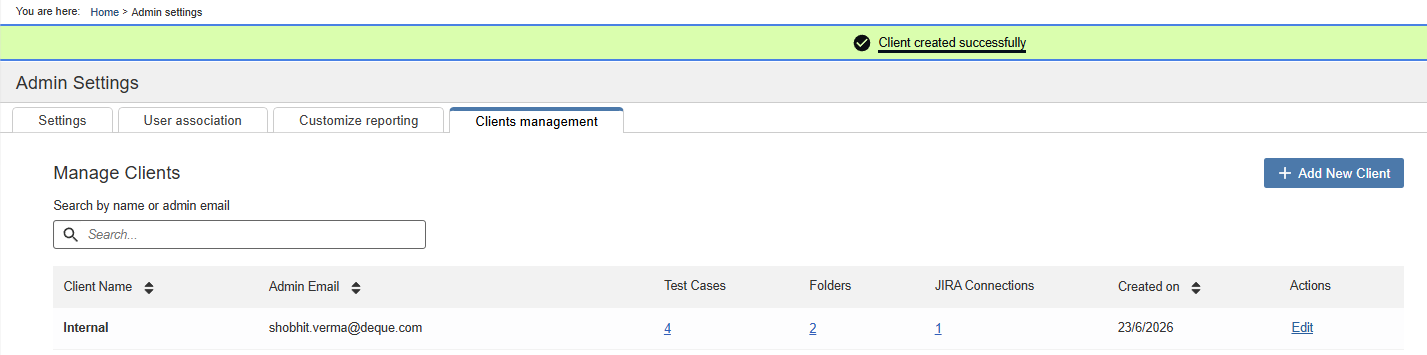
Click Create client. The Client created successfully message appears.