Create a New axe Developer Hub Project
A step-by-step guide to creating a new project in axe Developer Hub
This article shows you how to create a new project in axe Developer Hub.
Visit the Products Page
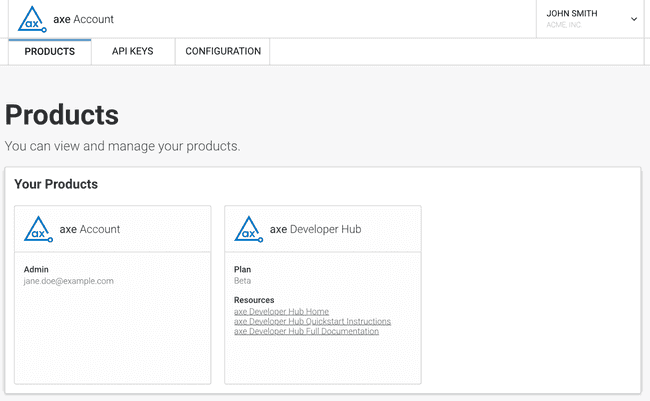
On the axe website, you'll see the Products page, similar to the following:
You should see a panel for axe Developer Hub. If you do not, you can start a free trial. See Get Started Using axe Developer Hub for more information.
Navigate to the axe Developer Hub Projects Page
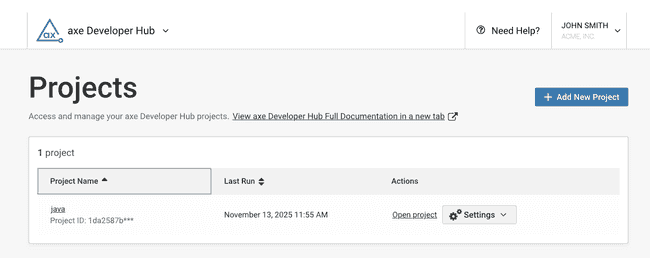
Click on the axe Developer Hub Home link to see the axe Developer Hub Projects page. You will see a page similar to the following:
Click the + Add new project button to create a new axe Developer Hub project.
Choose How You Are Gathering Accessibility Data
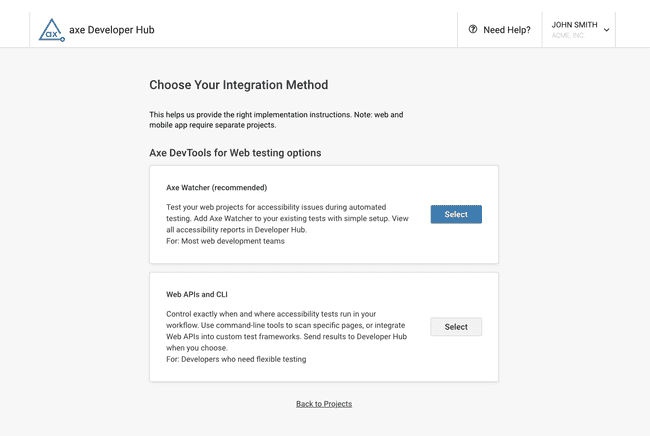
After you click the + Add new project button, you will see the following page:
Select your integration method by clicking on Select.
Name Your Project
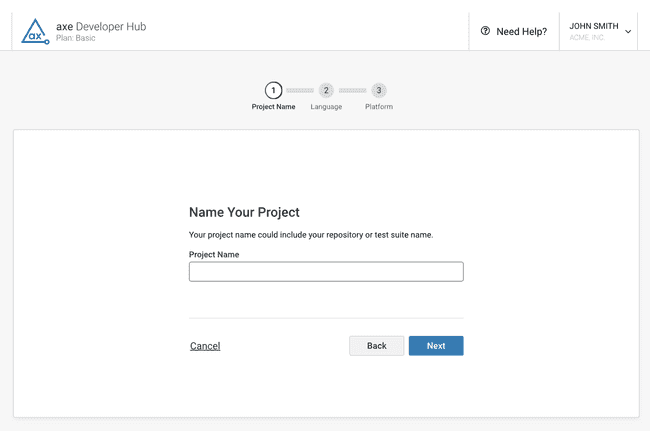
The next step is to name your project from this page (note that this page is labeled as step 1 on the website):
Choose Language
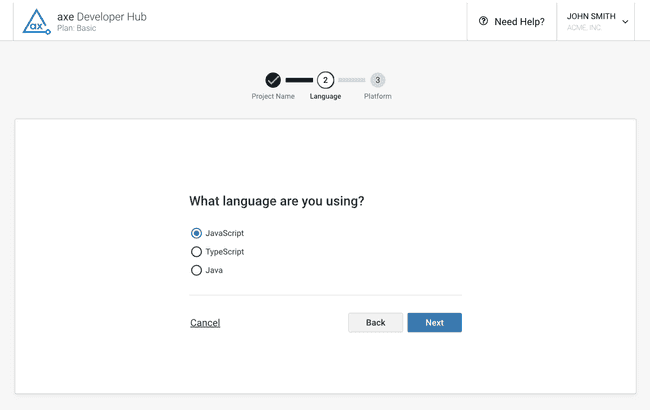
The next step is to choose the language you use for your test suite (labeled as step 2).
Both JavaScript and TypeScript offer the same test automation platforms, but the sample code will be shown in the language you choose here.
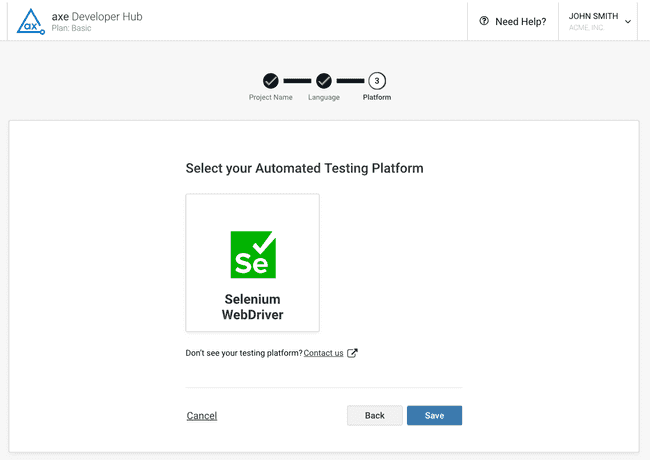
Java offers one automation platform, Selenium.
Choose Platform
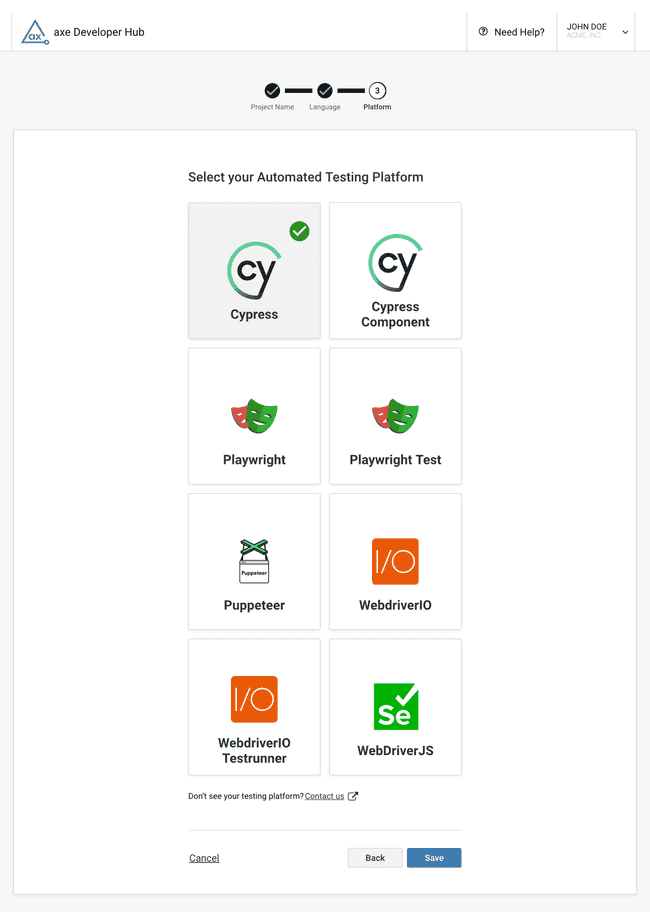
In the next step (labeled on the page as step 3), you select the test automation platform your test suite uses.
JavaScript or TypeScript
If you chose JavaScript or TypeScript in the previous step, you will see this page:
For more information about the platforms for JavaScript and TypeScript, see the following websites:
Click Save to continue.
Java
If you chose Java in the previous step, you will see this page:
For more information about the platform for Java, visit the following websites:
Click Save to continue.
Copy the Project ID and Modify your Test Suite
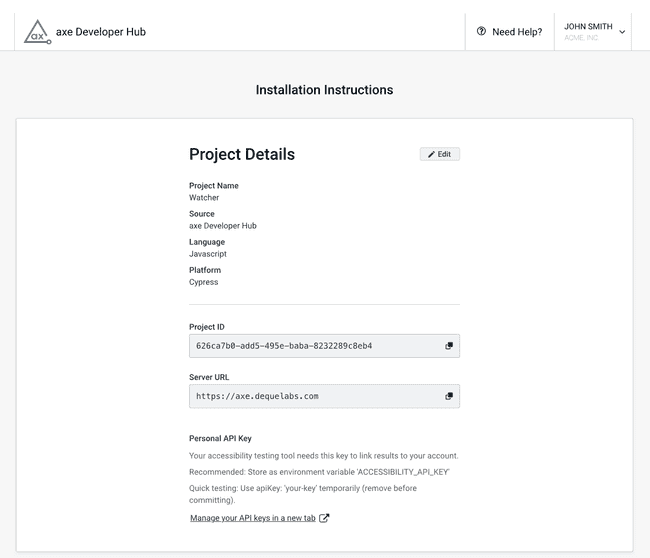
You are now given instructions for modifying your test suite to include accessibility testing. The information includes code snippets (and your project's ID), and you can click on the copy icon to copy each snippet to the clipboard for integration into your test suite. The snippets expect your API key and project ID to be available in your environment.
An example of this information is shown below:
If you'd like to re-review the instructions later, see Re-review axe Developer Hub's Instructions.
Run Your Test Suite
Run your test suite to collect information about accessibility defects and Git commits.
Check Your Code's Accessibility Issues in axe Developer Hub
Once you've run your modified test suite, you can check axe Developer Hub to review any accessibility issues found. See View Accessibility Issues for more information.
Continue to Run Your Test Suite
Whenever there is a new commit, re-run your test suite to collect accessibility information as well as Git branch and commit information. If you're using GitHub, consider using the Axe Developer Hub GitHub action, which runs your test suite automatically whenever there is a commit.

