
Configuring Scripts
Axe Reports supports importing accessibility issues data generated using axe DevTools for Web APIs/CLI. The data is grouped by individual ‘Script’. A script can be thought of as a group of related pages that are scanned using one or more spec files (for axe DevTools for Web CLI), or using automated tests (for axe DevTools for Web API). These are specific configurations that need to be made in the code so that the output JSON files are generated with appropriate keys embedded that are utilized by axe Reports for correct data representation.
Configur3 in axe DevTools for Web CLI
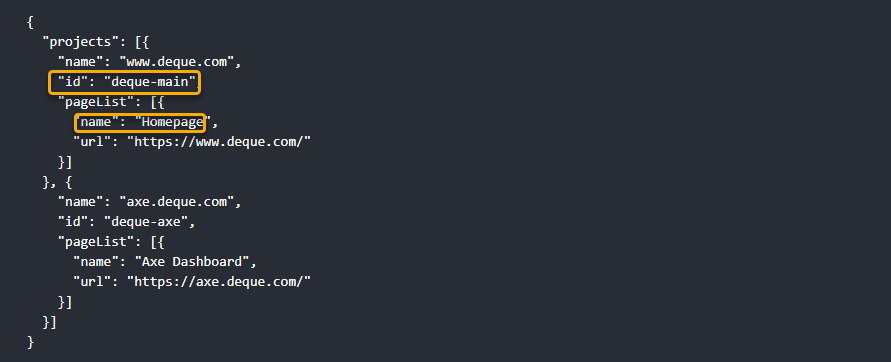
When utilizing spec files to generate output to be imported into axe Reports, the ‘id’ configured for each project object in the projects array becomes the name of the script. The ‘name’ for each page in the ‘pageList’ array represents each page in that script. In the example below, ‘Homepage’ is a page within the script ‘deque-main’. It also contains another page called ‘AxeDashboard’ (spaces are taken out by axe DevTools CLI from the output) in a script named ‘deque-axe’.
Configure Scripts - First time data setup
Axe DevTools for Web data needs to be uploaded into axe Reports through results file upload. Follow the steps below to configure and upload axe DevTools data into axe Reports.
-
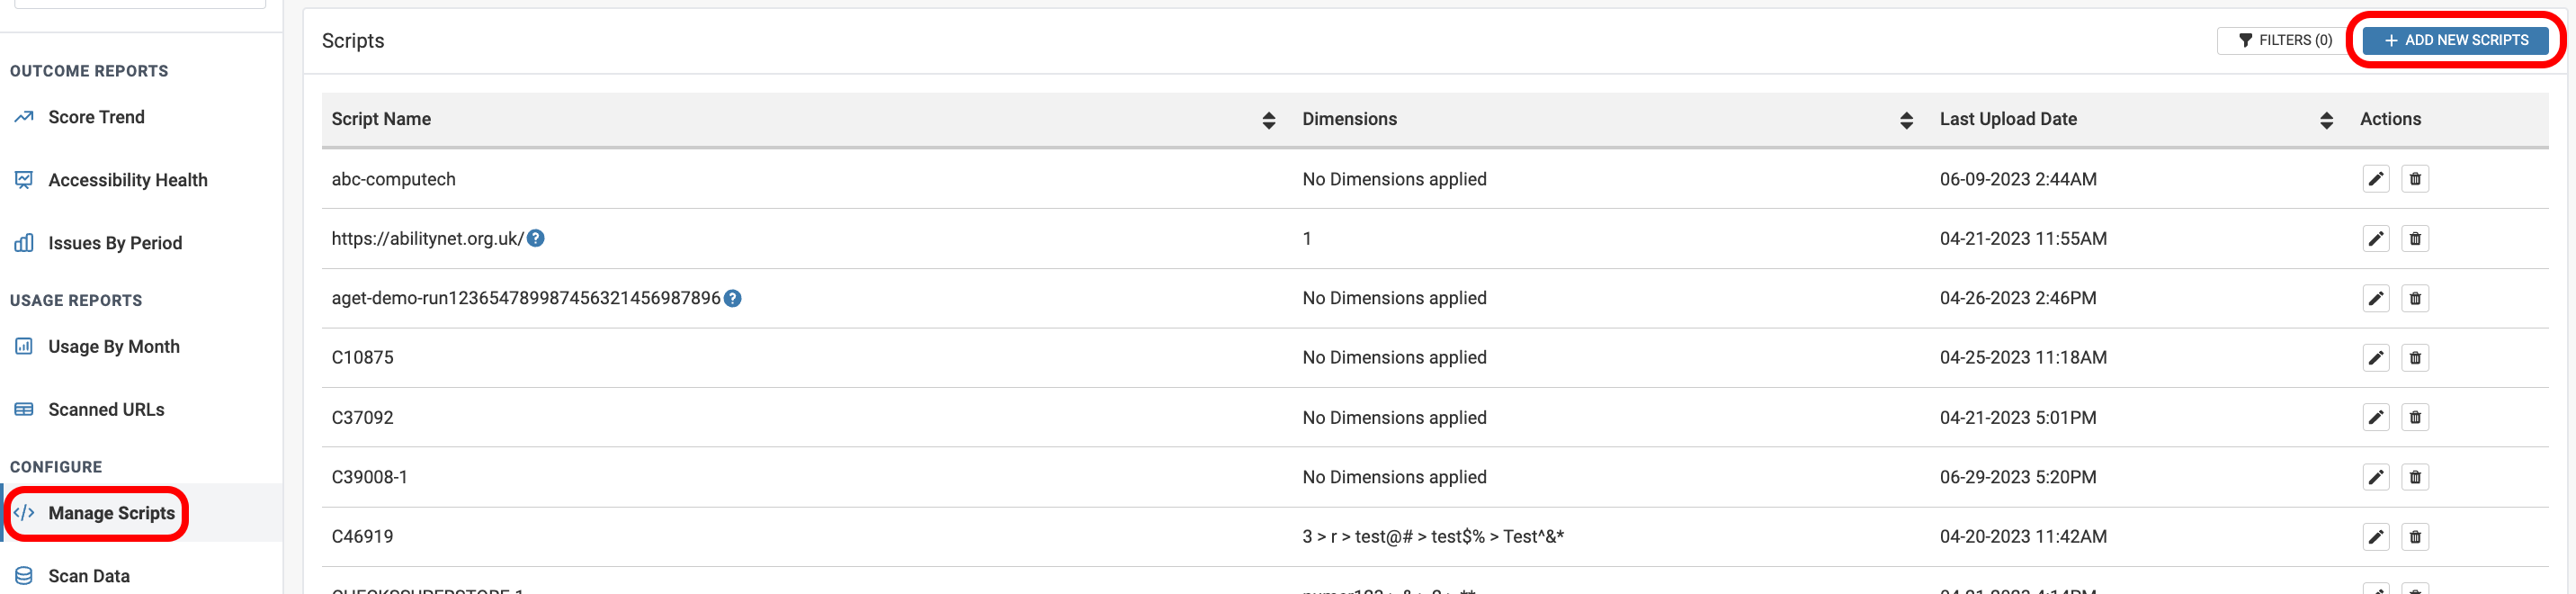
Select the Manage Scripts option from under the Configure section on the left hand corner of the screen.
-
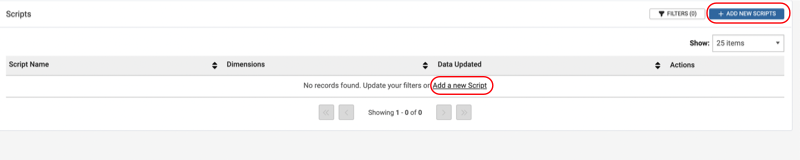
To create a new Script, use the +Add New Scripts button. There are 3 steps to create a Script.
-
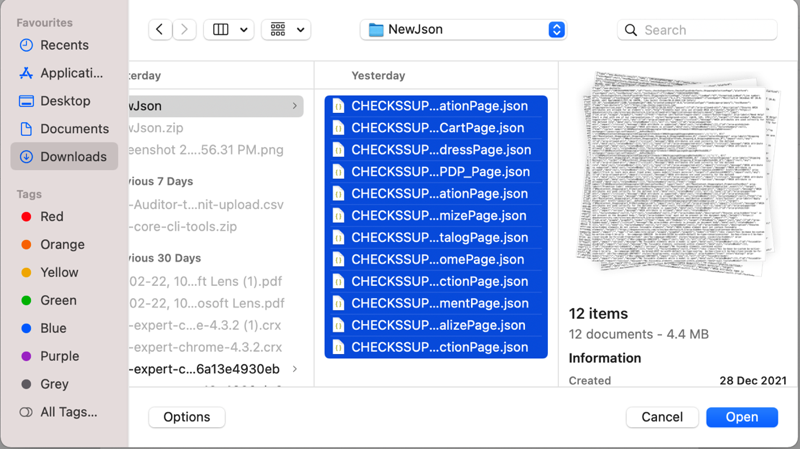
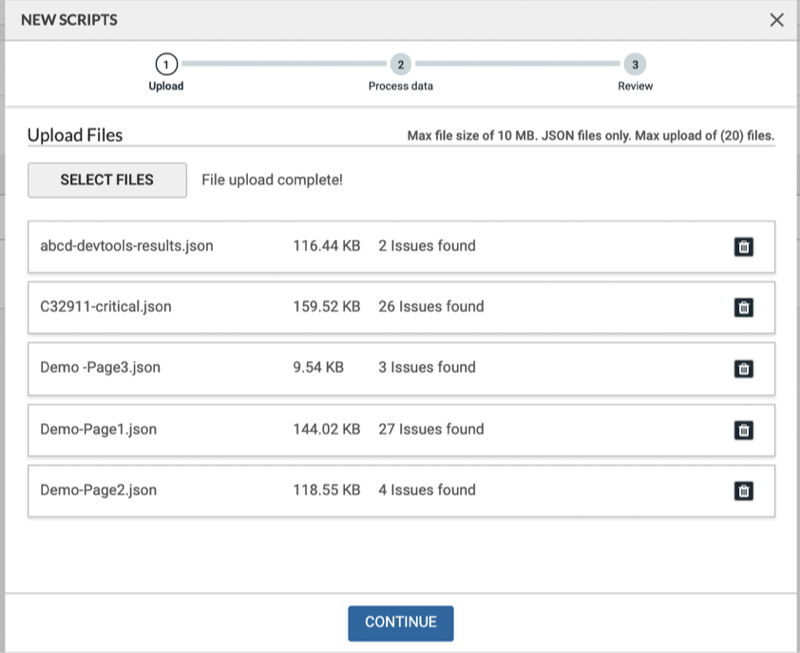
Select the ‘Select Files’ on the ‘Upload Scripts’ panel, and choose the files to be uploaded. You can upload up to 20 files (max 10 MB size each) in a single upload operation. These files also need to be valid DevTools for Web output files.
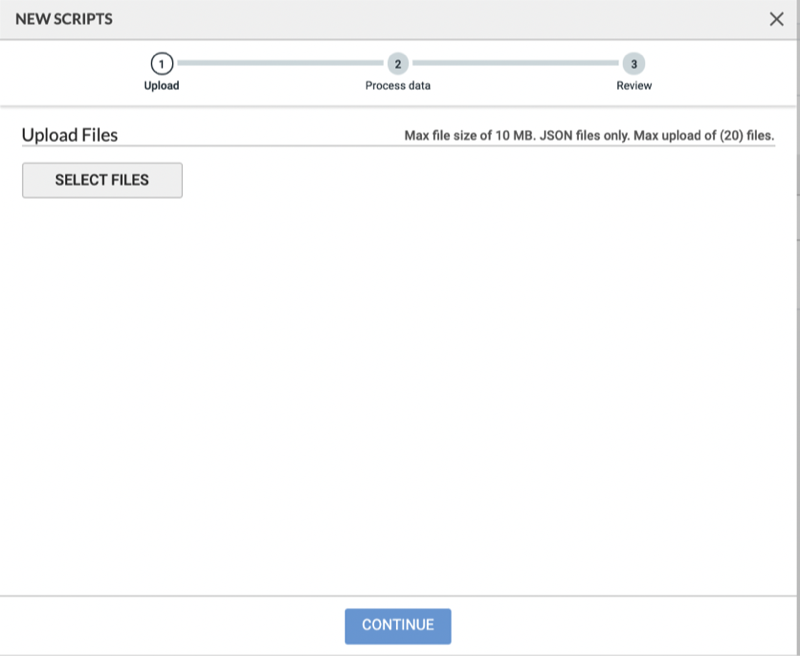
Axe Reports provides details on the number of issues found on each file with the ability to remove any of the uploaded files. Once you have verified the information, select ‘Continue’ to move to the next step.
-
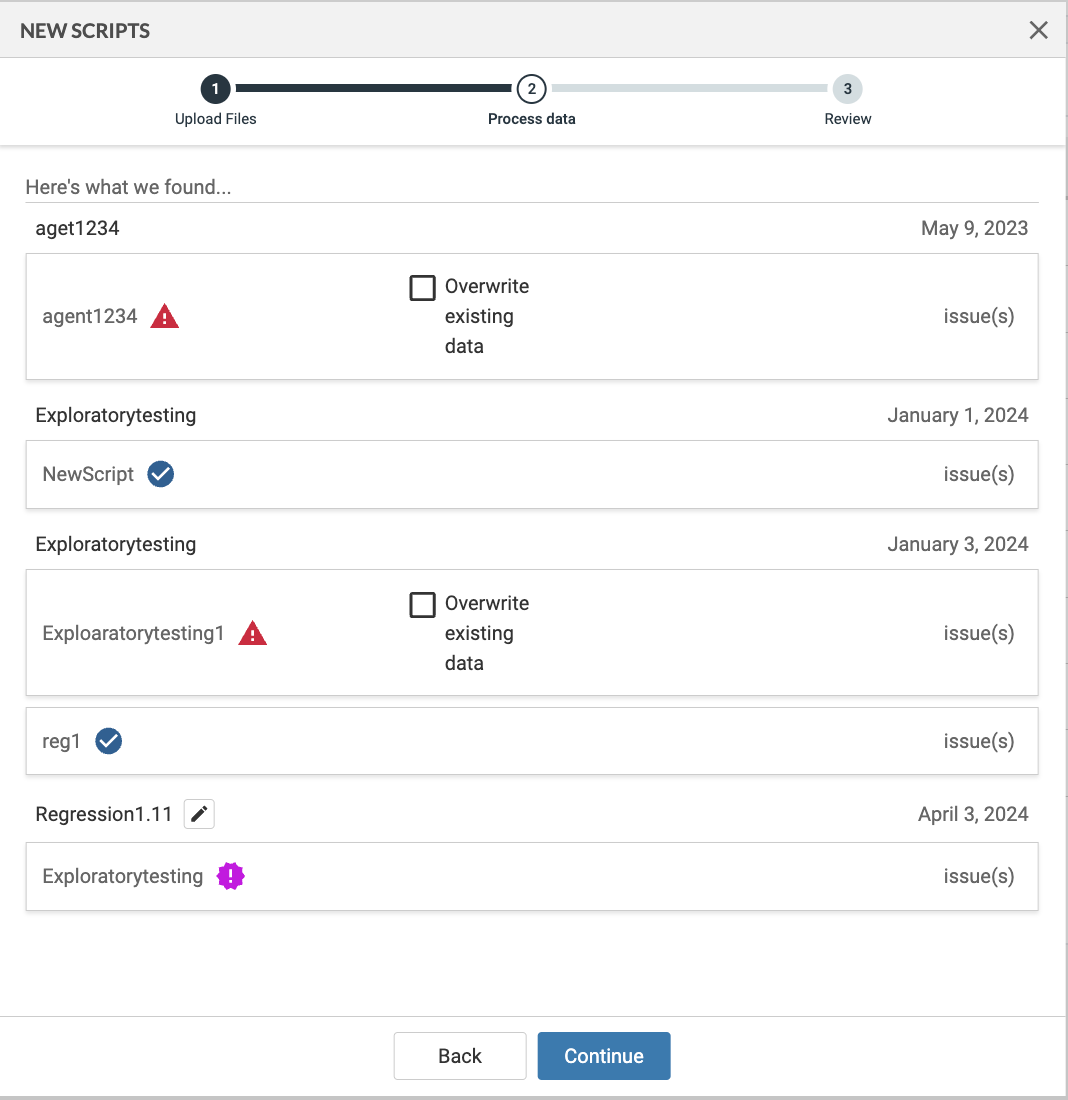
Axe Reports validates the data being uploaded against any data already present in the system to check for any duplication. In case of duplicate data, the system provides a warning about the duplicates, and provide an ability to overwrite the existing data. After verifying data, select the Continue’** button to go to the next step.
-
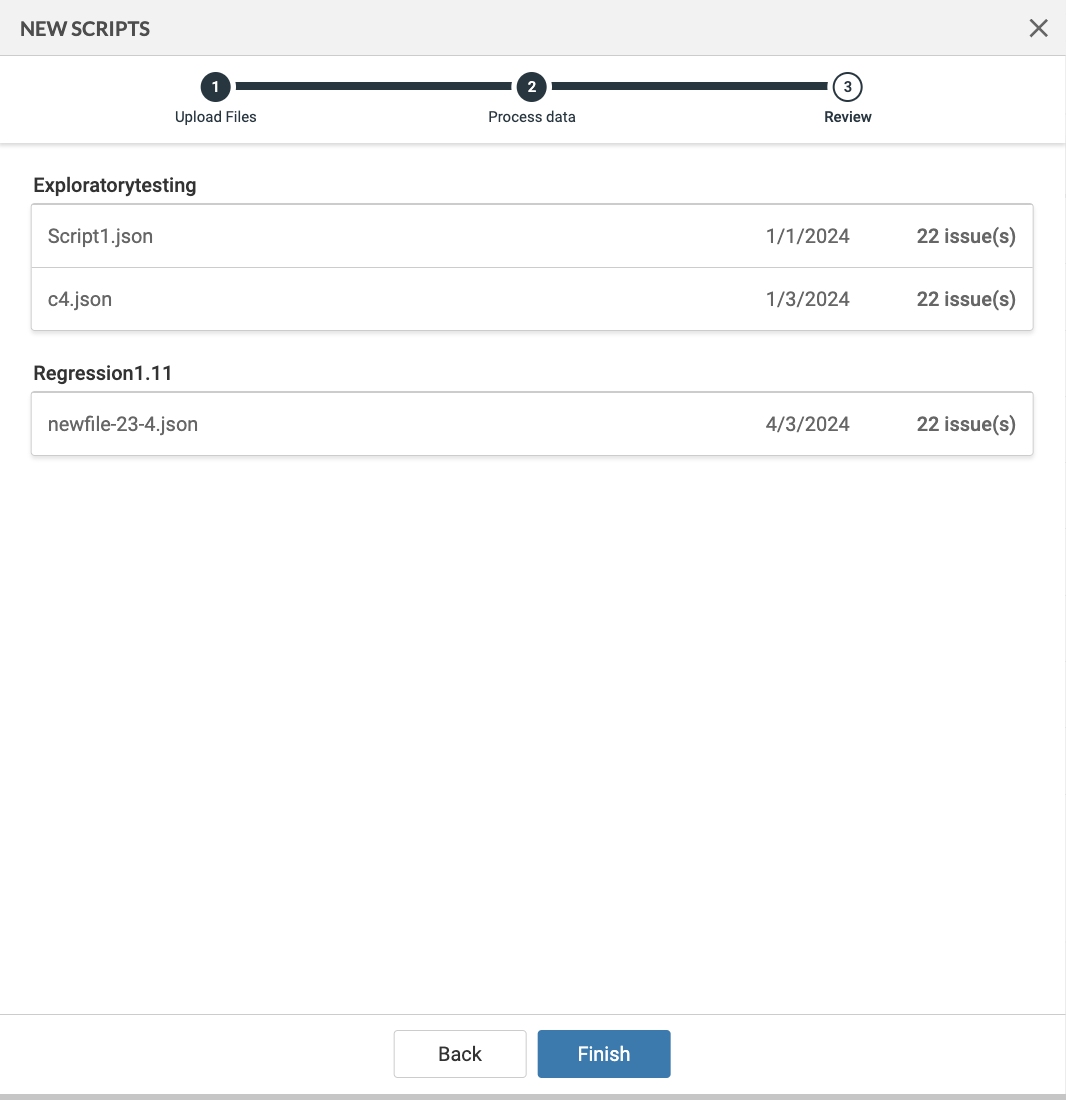
A Review screen appears showing all the configurations you have performed. Select Finish** to confirm or Back to make changes.
-
A confirmation screen appears with all the Scripts configured shown.
Result: Once the configurations are submitted, data is available in axe Reports on the Charts view. If new files are uploaded for the same scripts and pages, but new dates, the step to configure Dimension is skipped by the script upload utility.