Delete Scans
Axe Reports admins can delete unwanted scan data from the system in rare cases where incomplete or invalid data has been imported from axe Monitor.
-
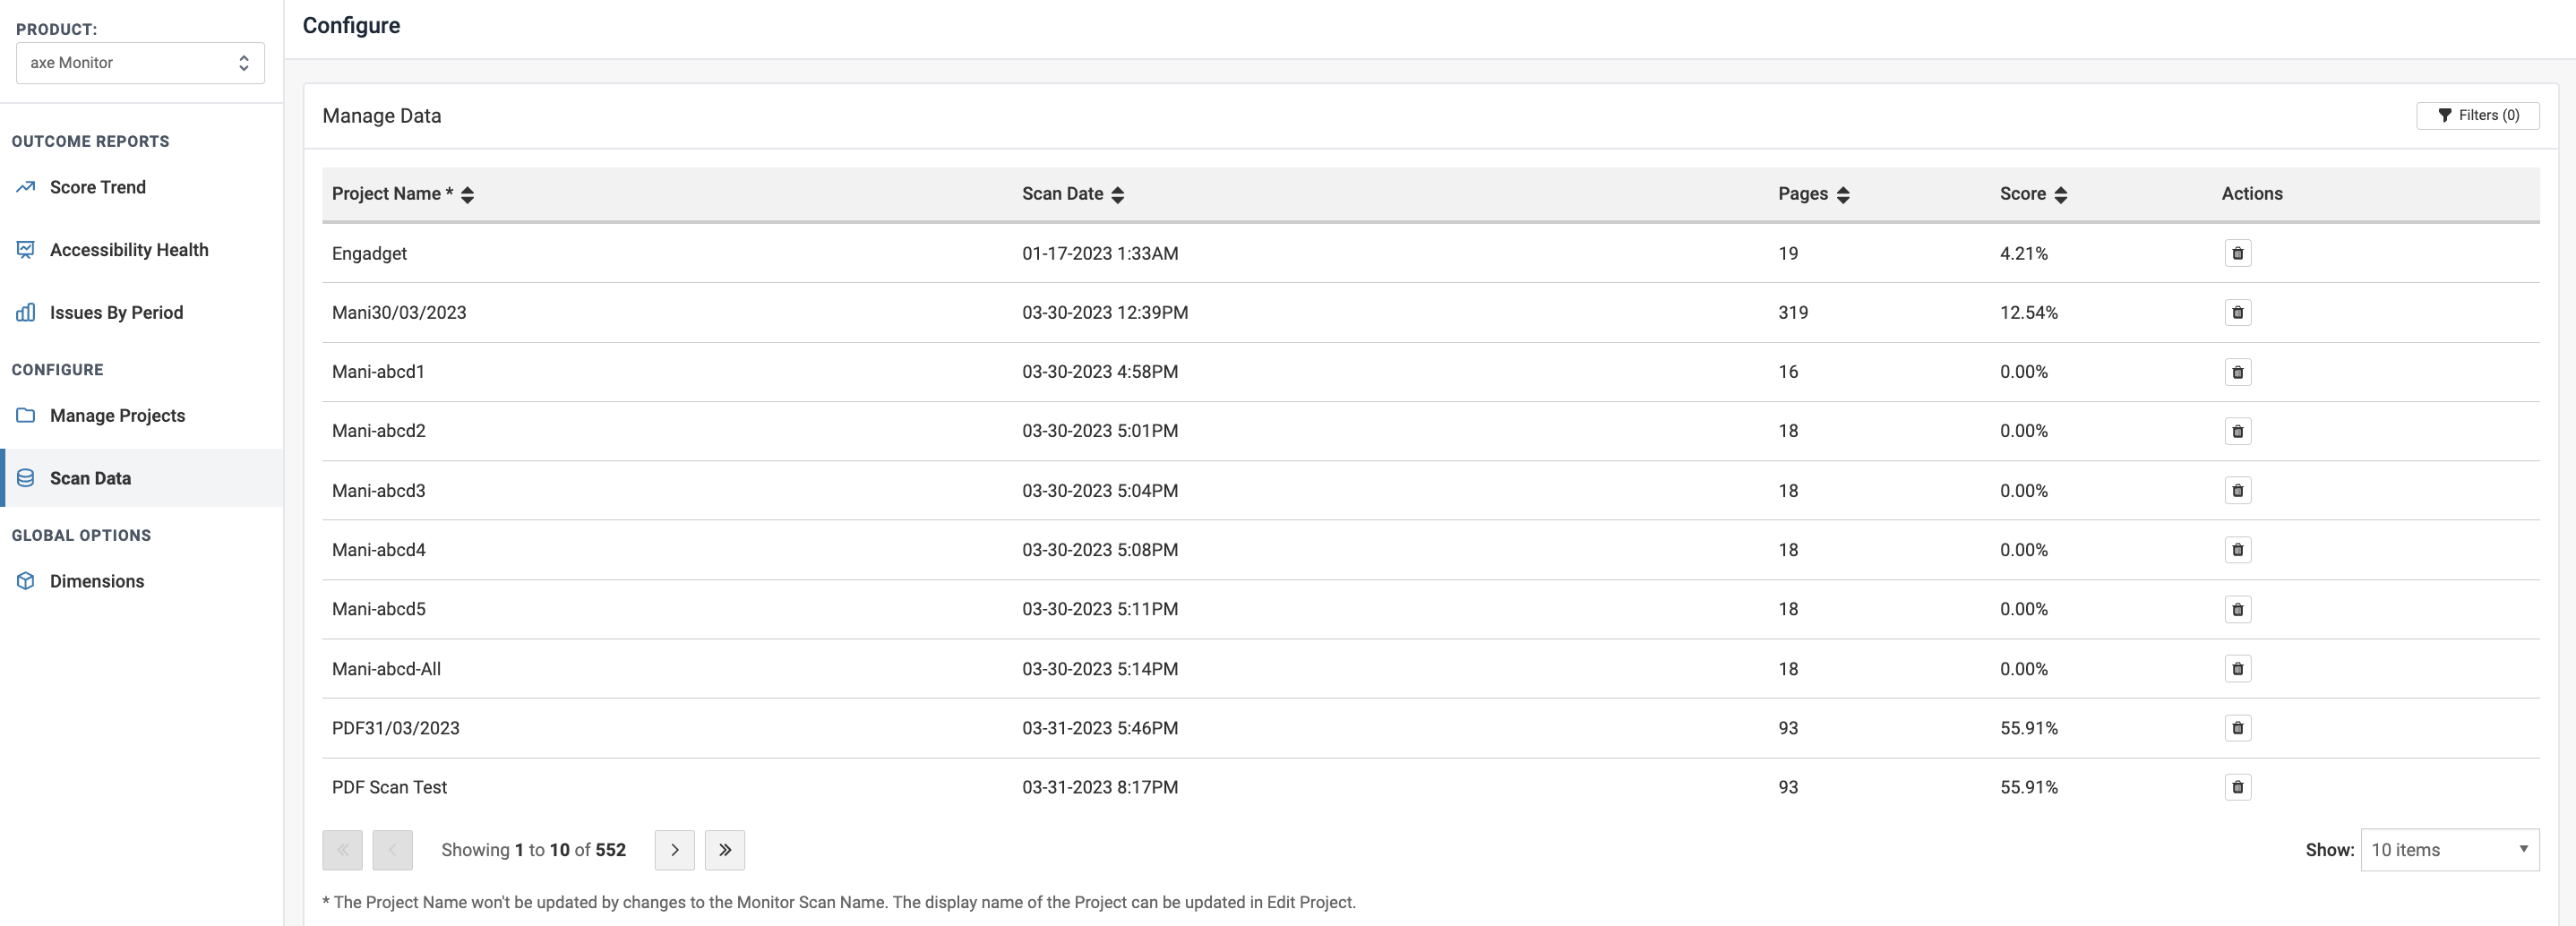
Navigate to the Configure section and select Scan Data. Ensure that the product selected is axe Monitor. You will find a list of scans for a specific project.
-
On the Scan Data page, select the corresponding trash icon for a scan to remove its data from axe Reports.
-
A modal will appear, "Once you delete scan data, there is no going back. Please be certain." Select Yes to delete the scan data, or No to keep data. Note: Removing the scan from axe Reports will not remove the scan from axe Monitor.
Apply Filters
-
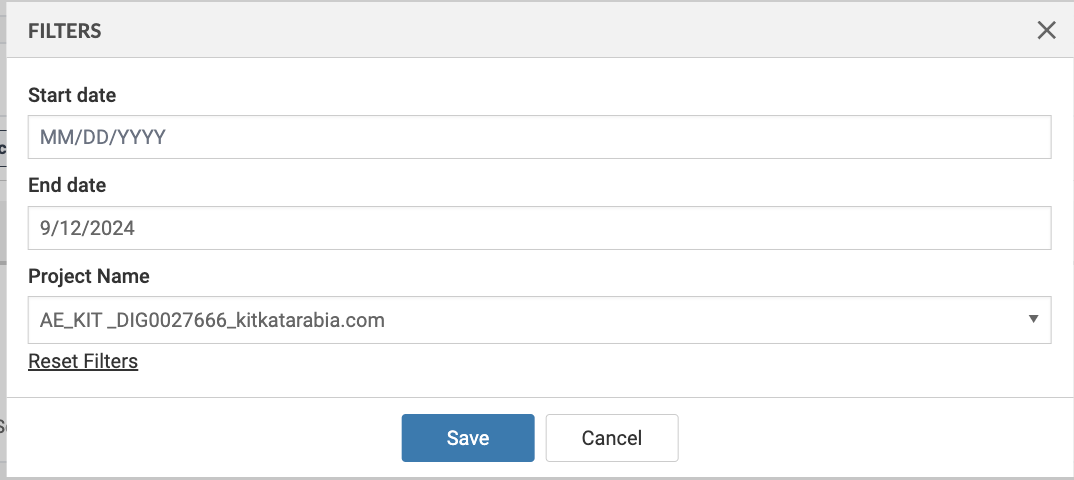
Select the Filters button to more easily find the scans you want to delete.
-
Optionally enter the Start Date and End Date in MM/DD/YYYY format, and a Project name to refine your results. You may filter by dates, projects, or both. All fields are optional.
-
Start Date: Filters scans imported on or after the specified date.
-
End Date: Filters scans imported on or before the specified date.
-
Project Name: Filters scans associated with the selected project.
Click Reset Filters to empty your selections.
-
Select Save to apply your filter, or Cancel to return to the previous list of scans.