
Create a Project for Your Results
When you integrate Axe DevTools Mobile with your existing automated tests, you will send results to Axe Developer Hub - a central location where your whole team can view and manage accessibility issues found in your app. Before configuring your suite to test for accessibility, you must visit Axe Developer Hub to create a project. If you only want to save results locally, skip this step and Get the axeDevToolsXCUI Framework.
Steps to Create a Project
-
Visit axe Developer Hub
-
Click the + Add new project button to create a new axe Developer Hub project.
-
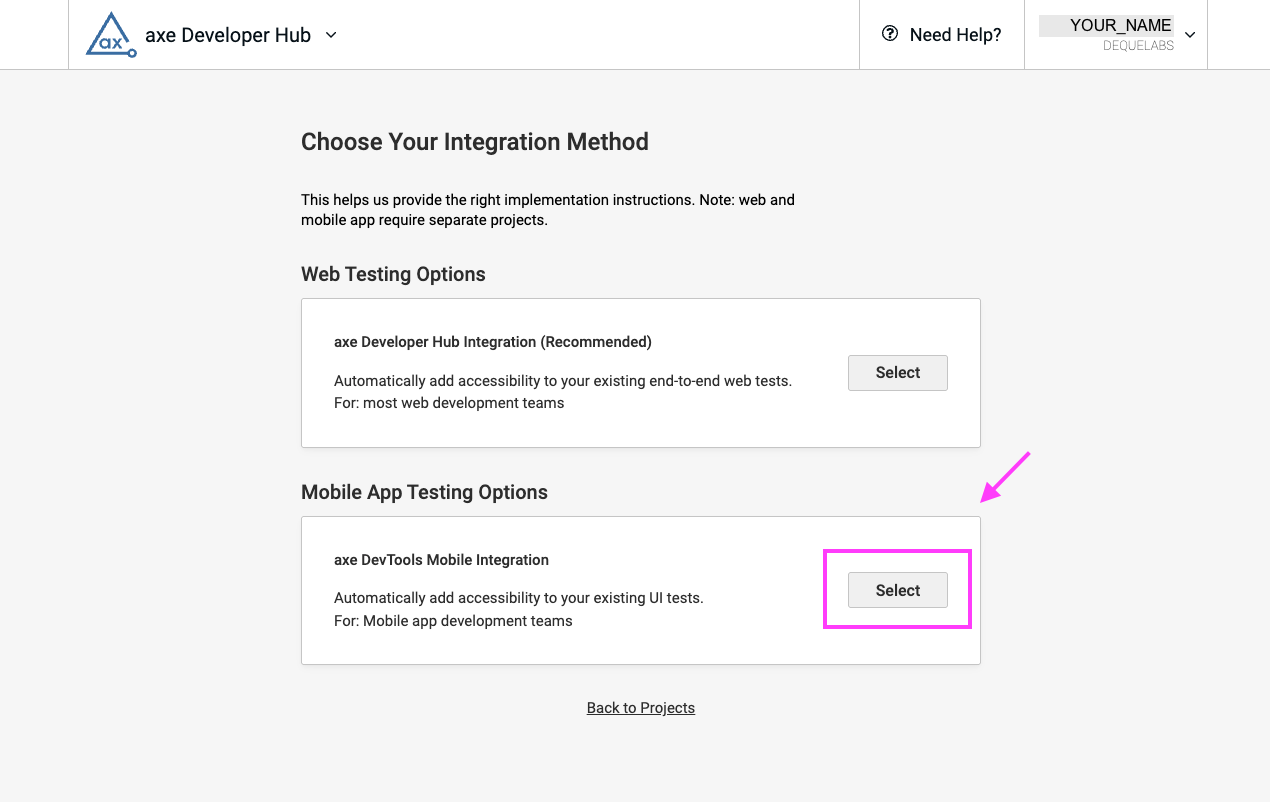
After adding a new project, you will pick an integration method for gathering accessibility data. Select the axe DevTools Mobile Integration.
-
The next step is to name your project. We recommend including your repository or test suite name for easy reference. After entering a Project Name, select Next.
-
Continue to follow the prompts, indicating the testing framework you are using.
-
Once your project is successfully created, you'll see installation instructions. Copy the Project ID for installation. The Project ID will also be available from the main Projects page in Developer Hub, if you need to access it later.
What's Next?
Once you have created a project in Developer Hub and copied the Project ID, you are ready to integrate the AxeDevTools framework with your UI tests.